

")
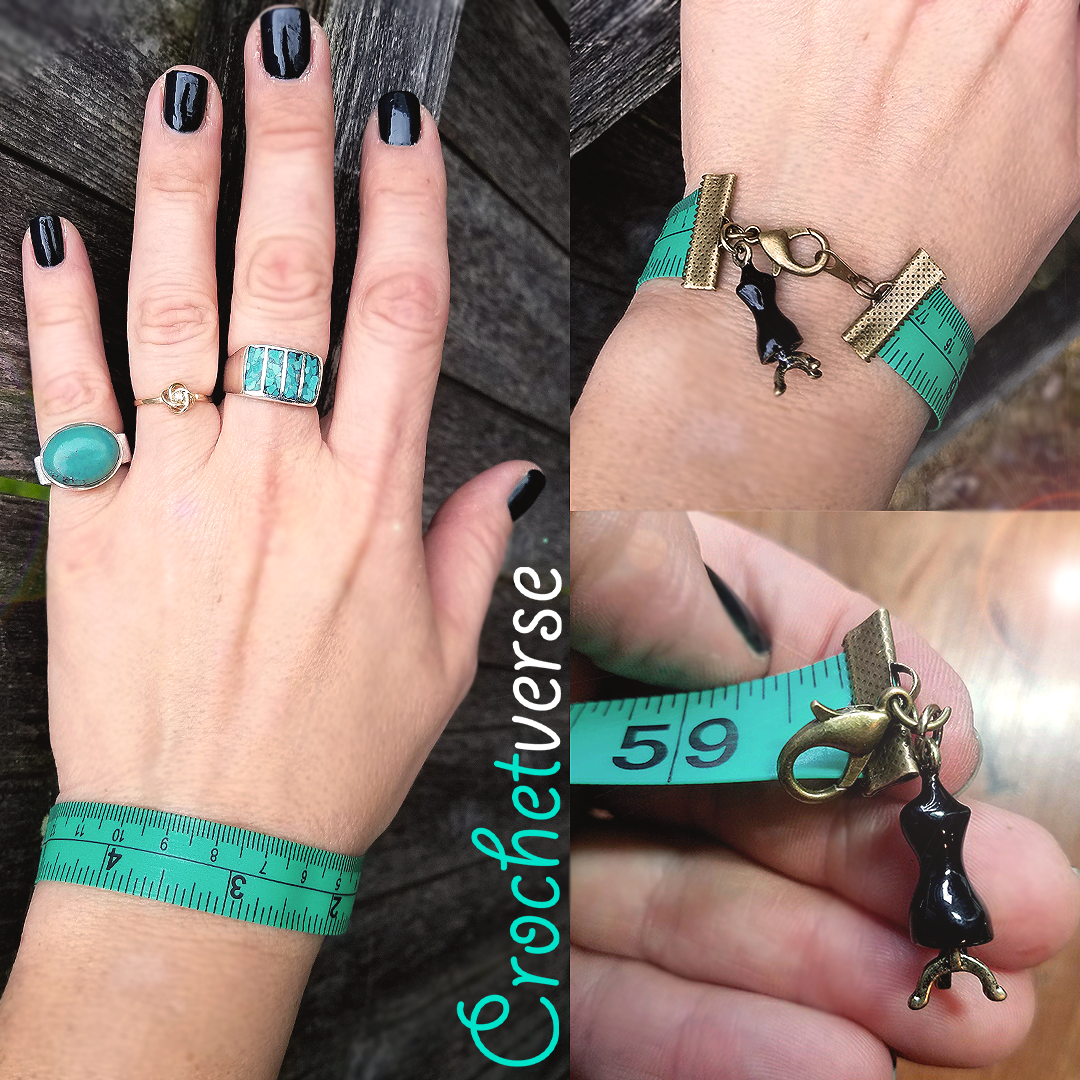
DIY Tape Measure Bracelet in 4 Steps!
Here is a DEFINITELY crochet related quickie DIY make for you! Especially if you are always misplacing your supplies like me!
I KNOW you all check gauge…or you think about it…or you should, haha! It is so important in crochet! It is the difference between a hat that fits and a hat that might end up being gifted to the neighbor’s guinea pig! LOL!
In any case, I am SO into cute little novelty items for creating and this bracelet FITS!
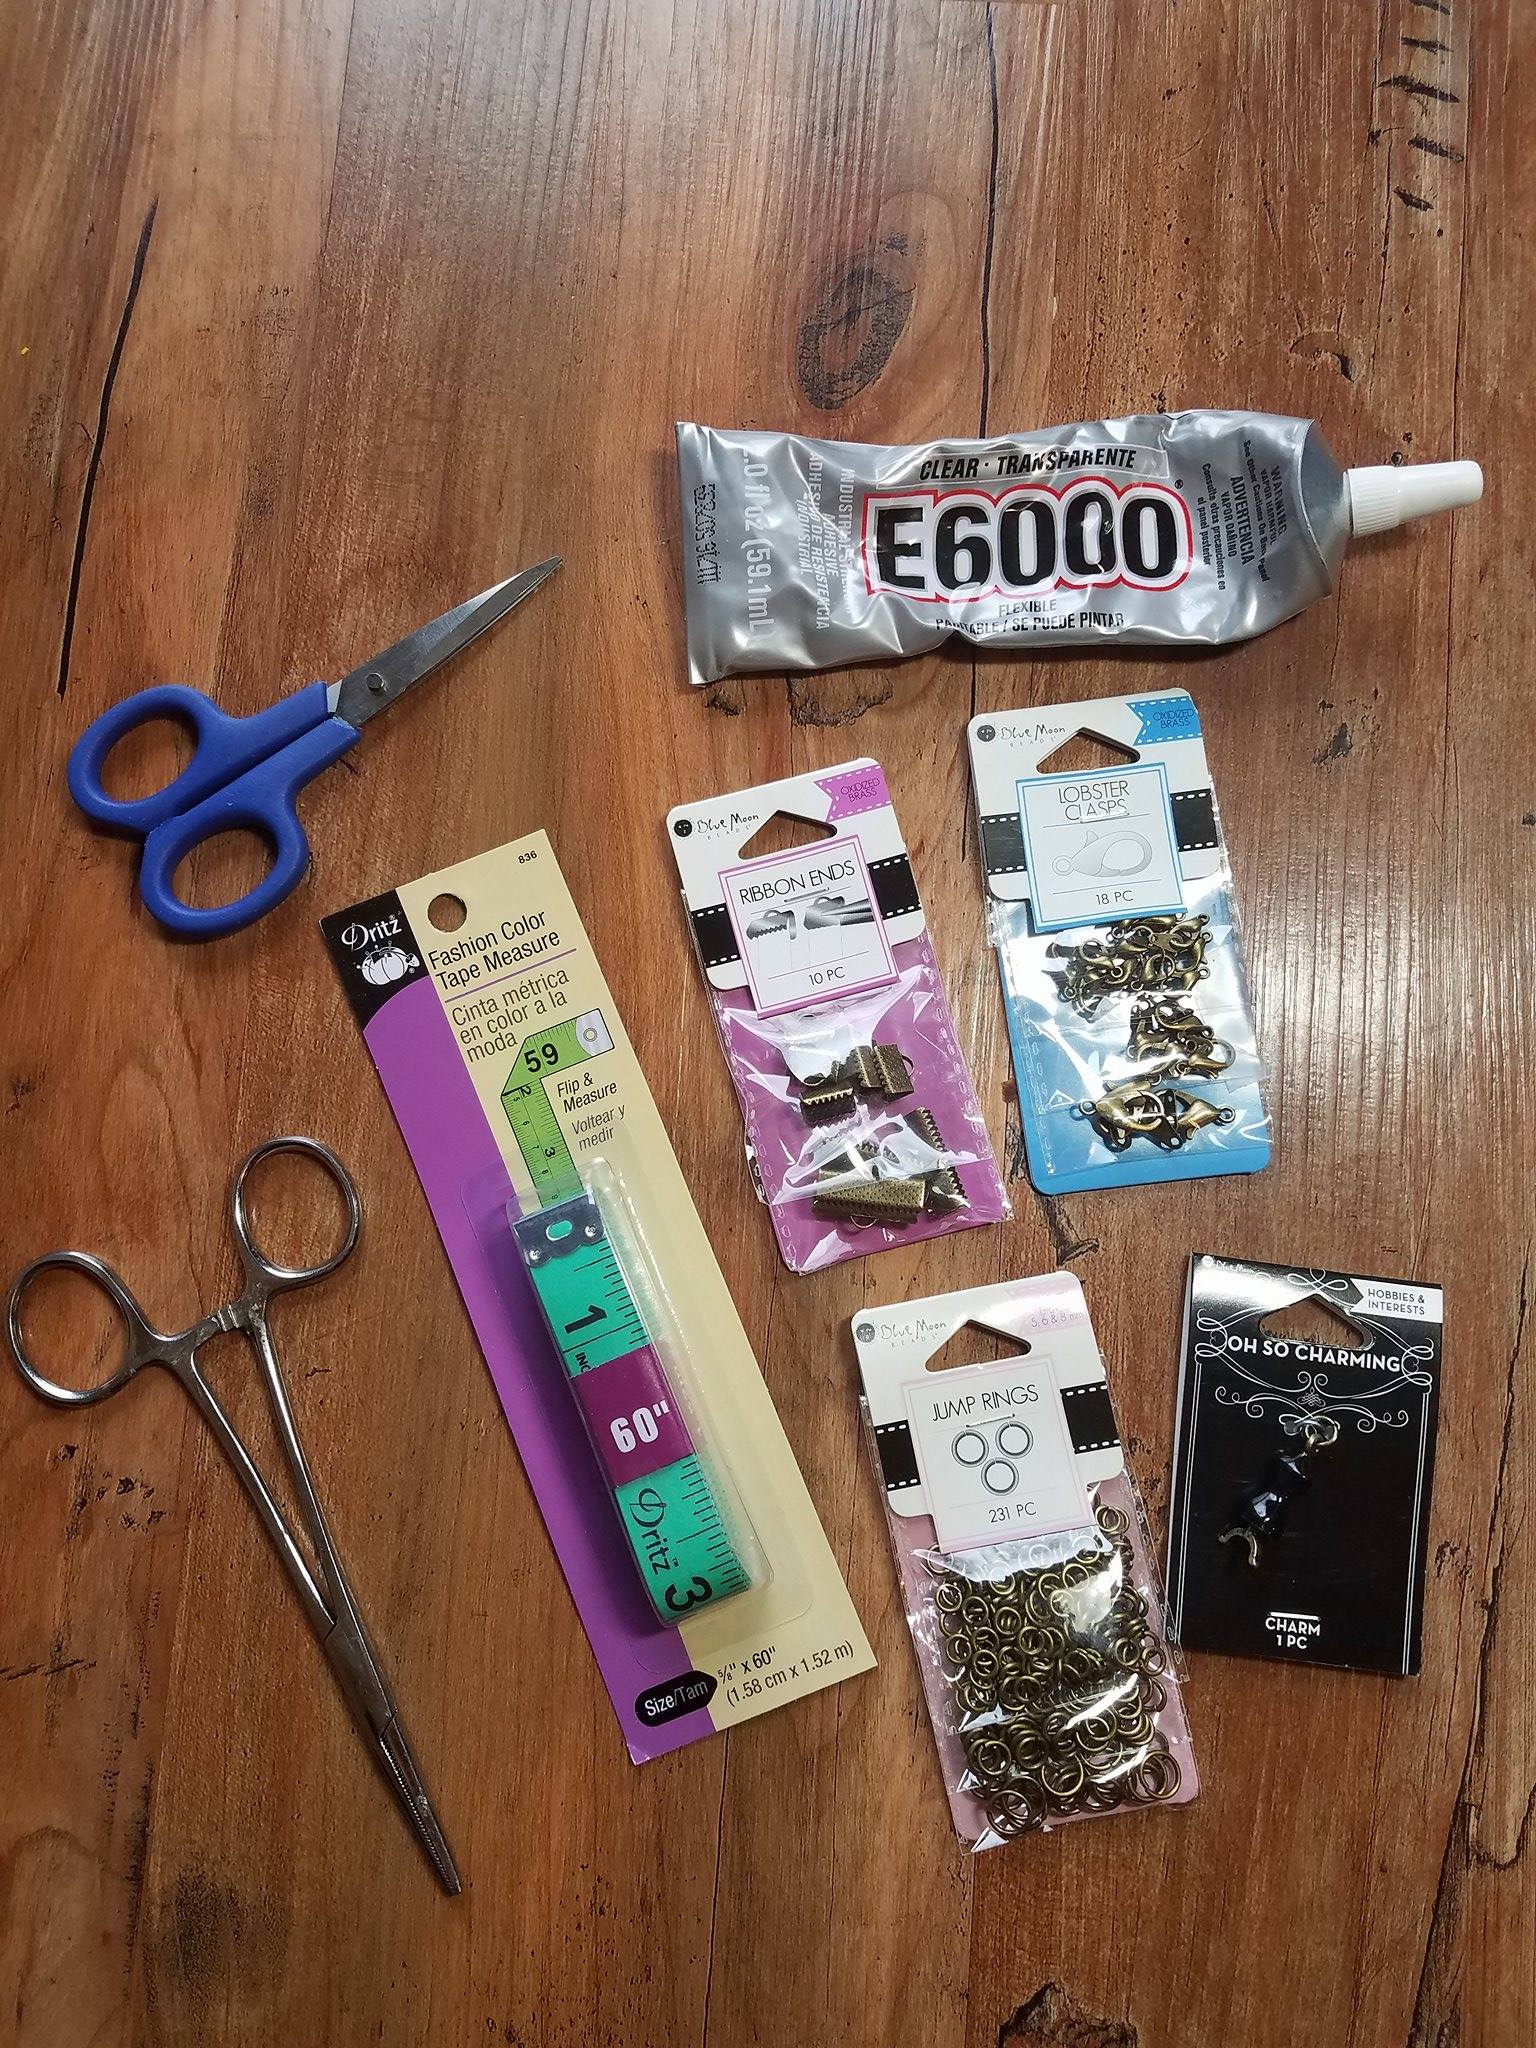
Everything you see in the supply pic was purchased at Joann Fabrics. With creative coupon combining, it was all under 10 bucks too! I have plenty of supplies left over to make more too! (the basic supplies were on hand)
SUPPLIES:
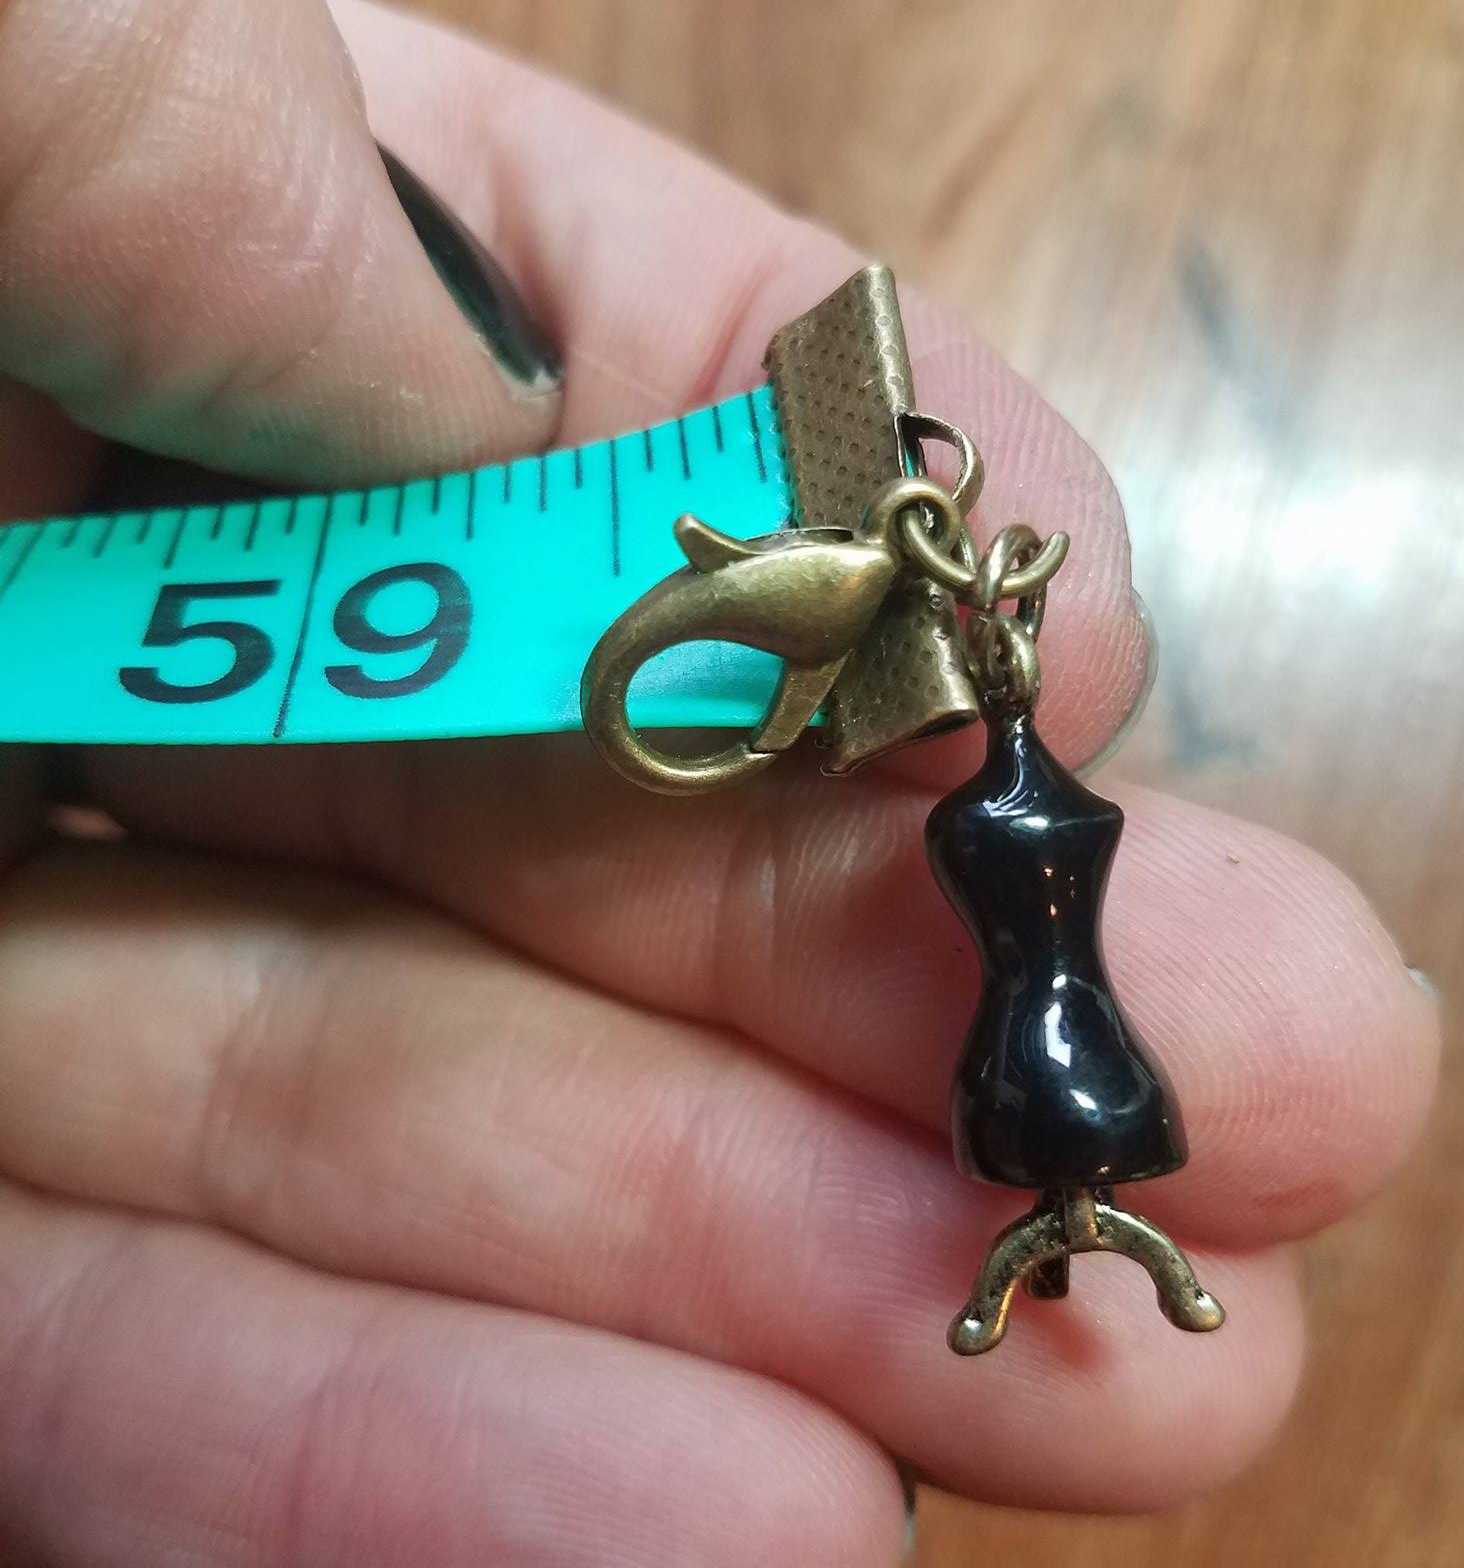
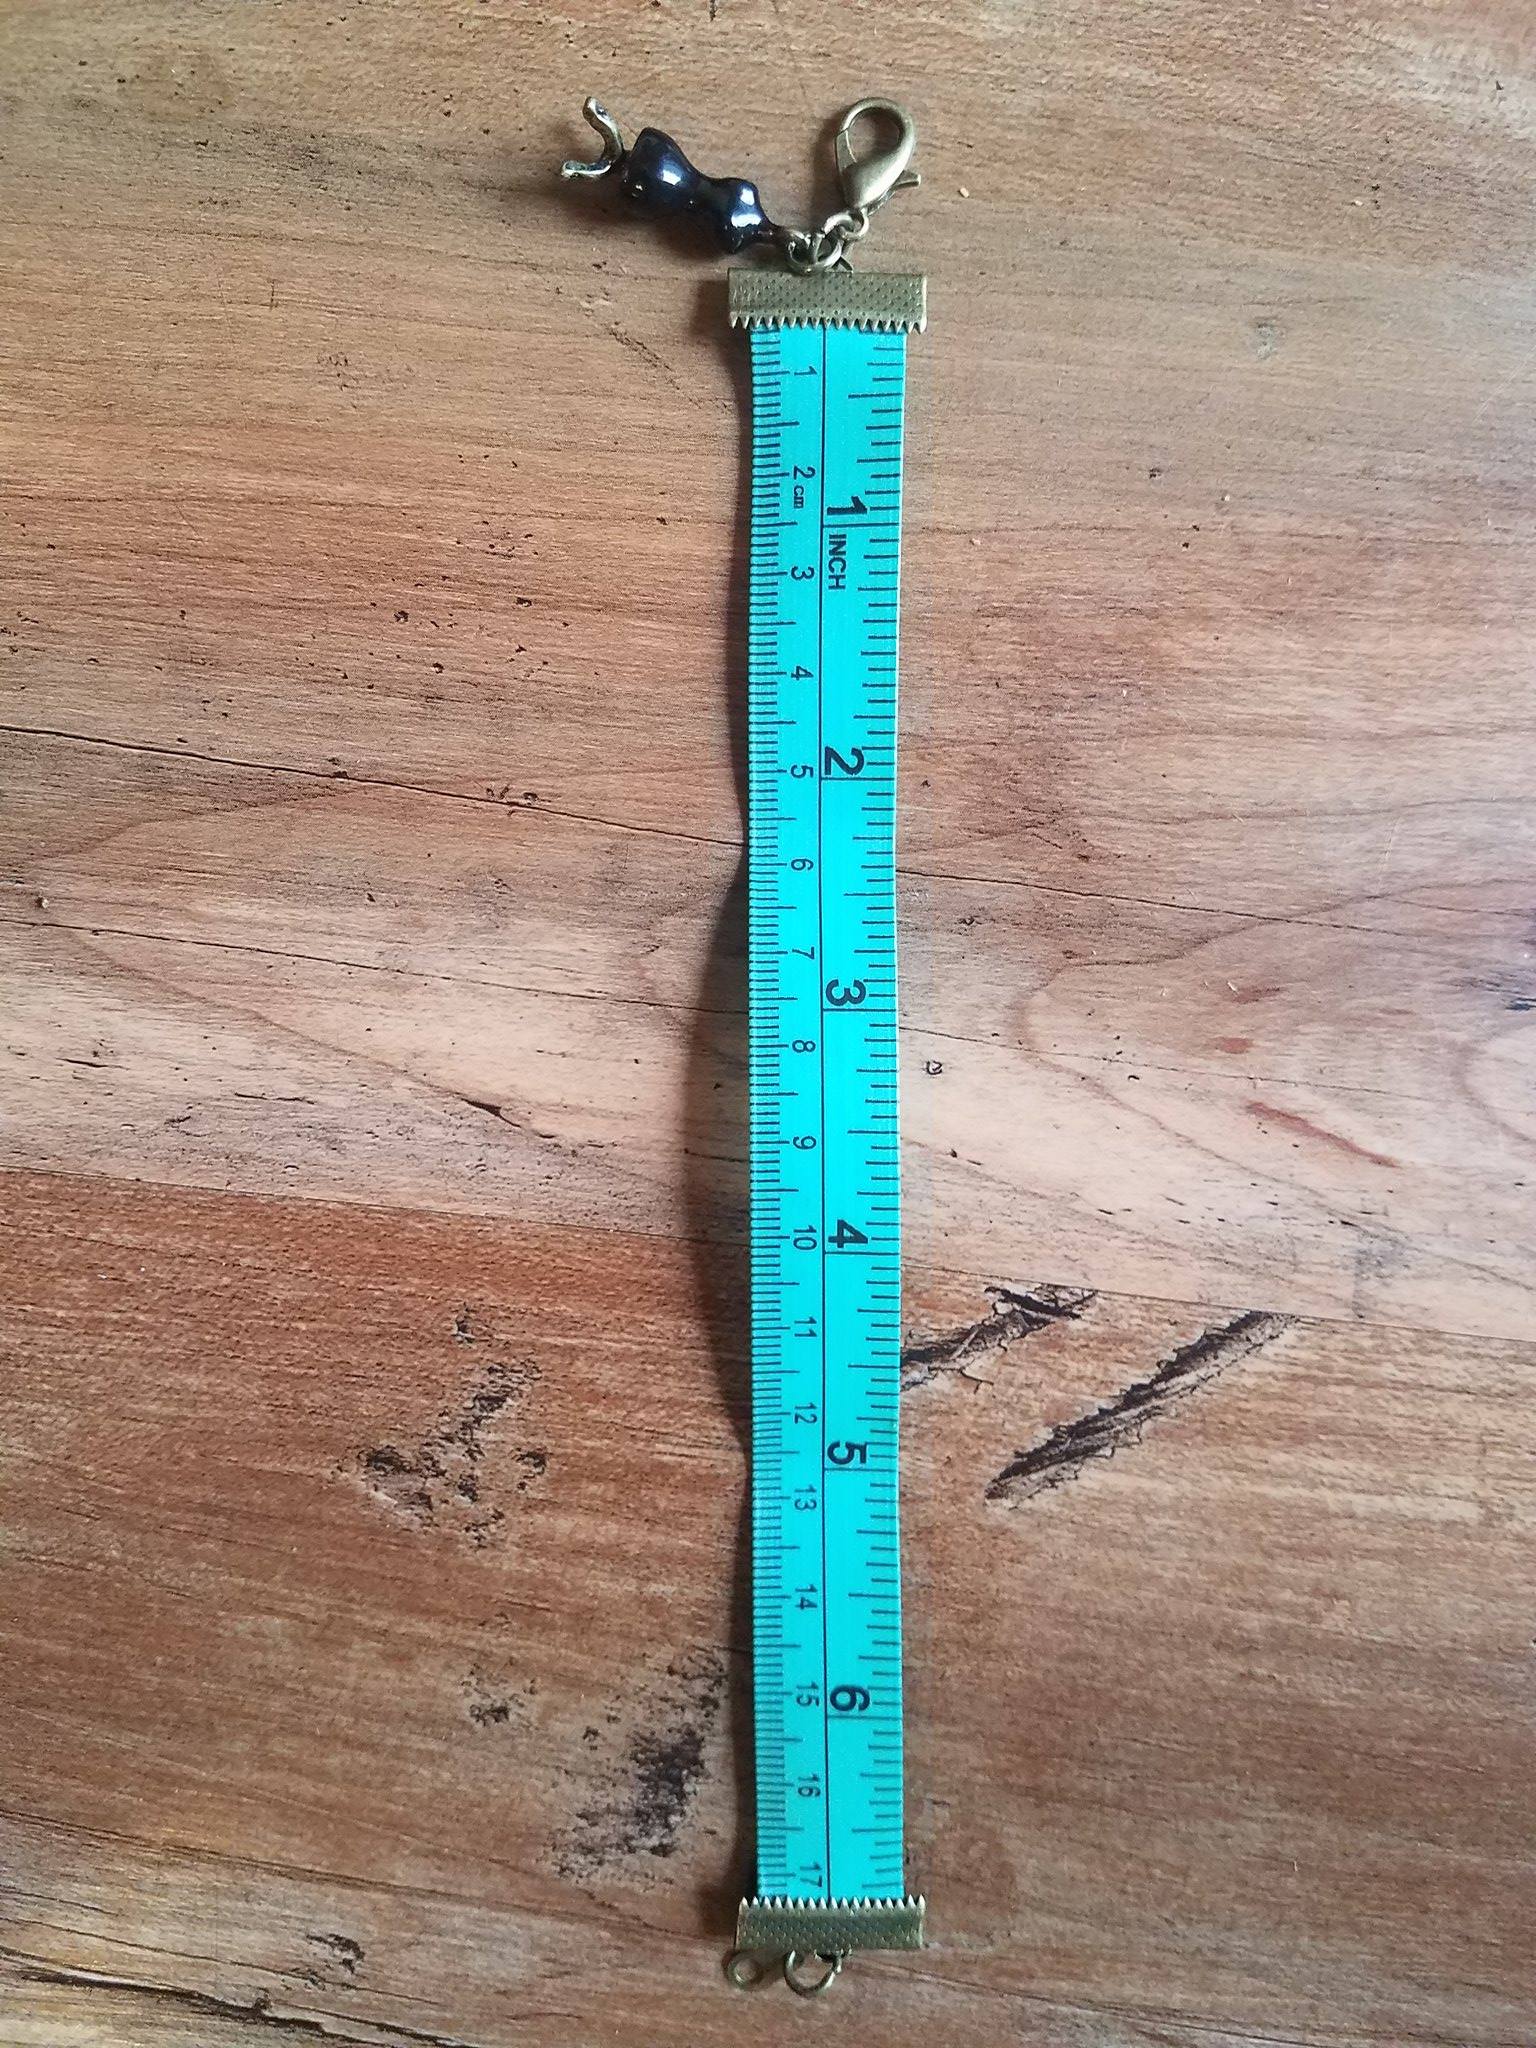
(1) measuring tape (this one is vinyl and was in sewing notions section)
(1) ribbon end (this is a crimp style end treatment in the beading section)
(1) lobster claw clasp
(2) jump rings
(1) optional charm that makes you happy! I found this adorable dress form!
Basic tool kit: glue (optional, the crimps are STRONG!), scissors, jewelry tool (I couldn’t find mine, so hemos it is!)
HOW TO:
Step 1: Remove the metal ends that are on the tape measure. Mine came off very easily, no tools required. Choose what numbered section you want to be your bracelet. It can be the beginning or use a section that includes numbers that are meaningful to you or lucky as well!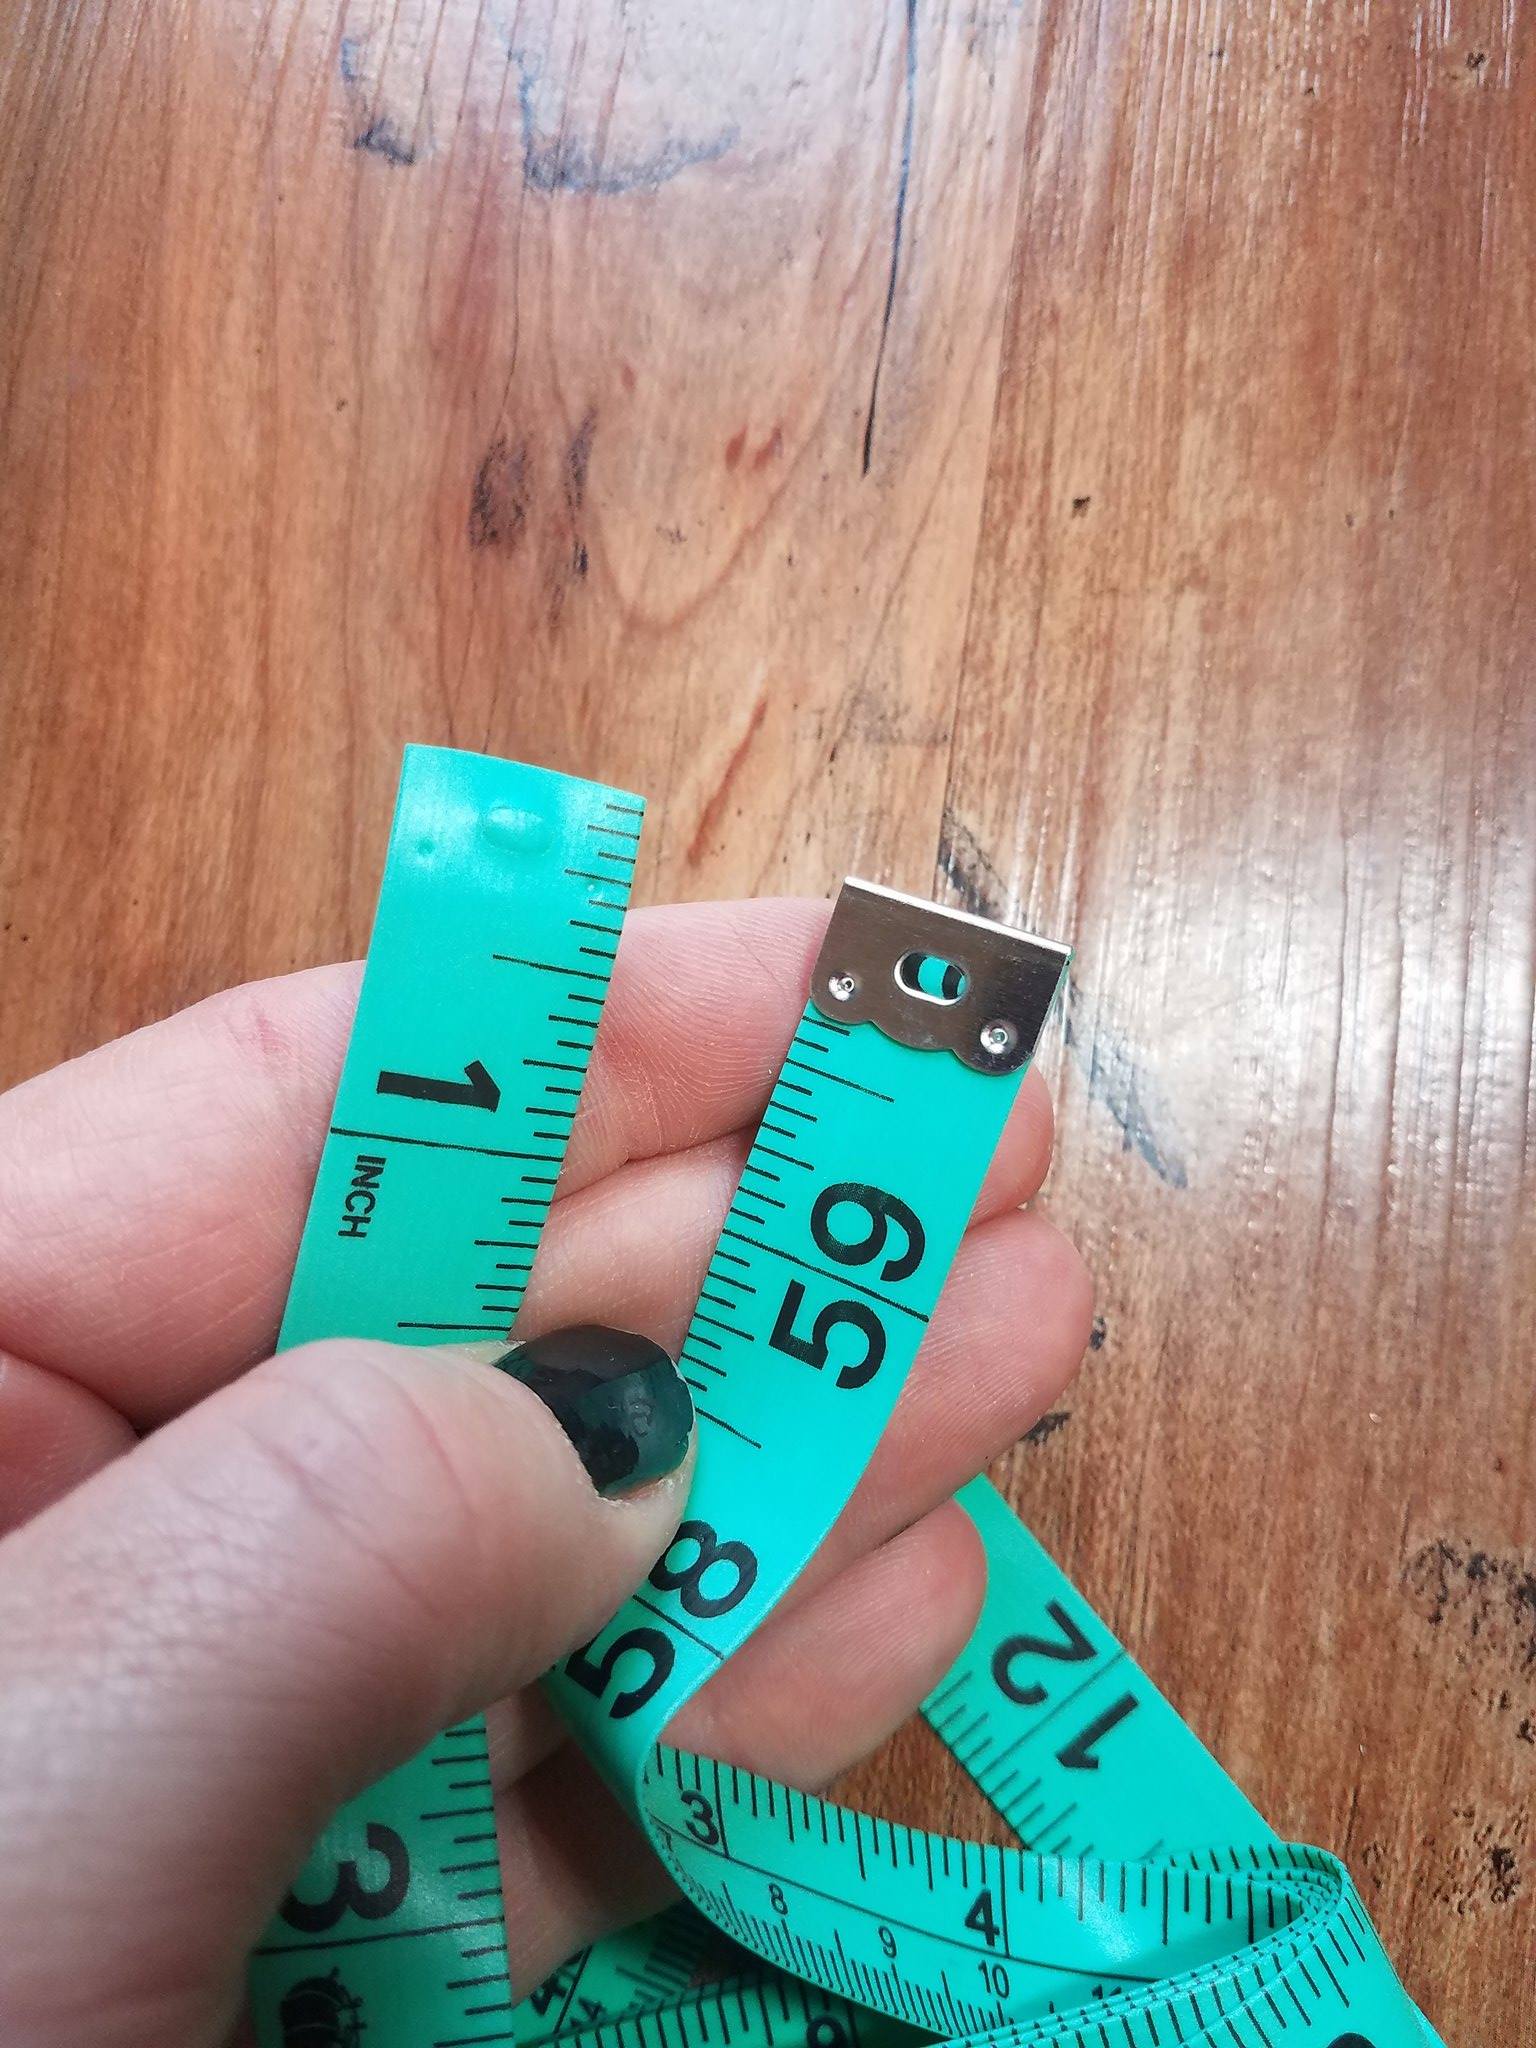
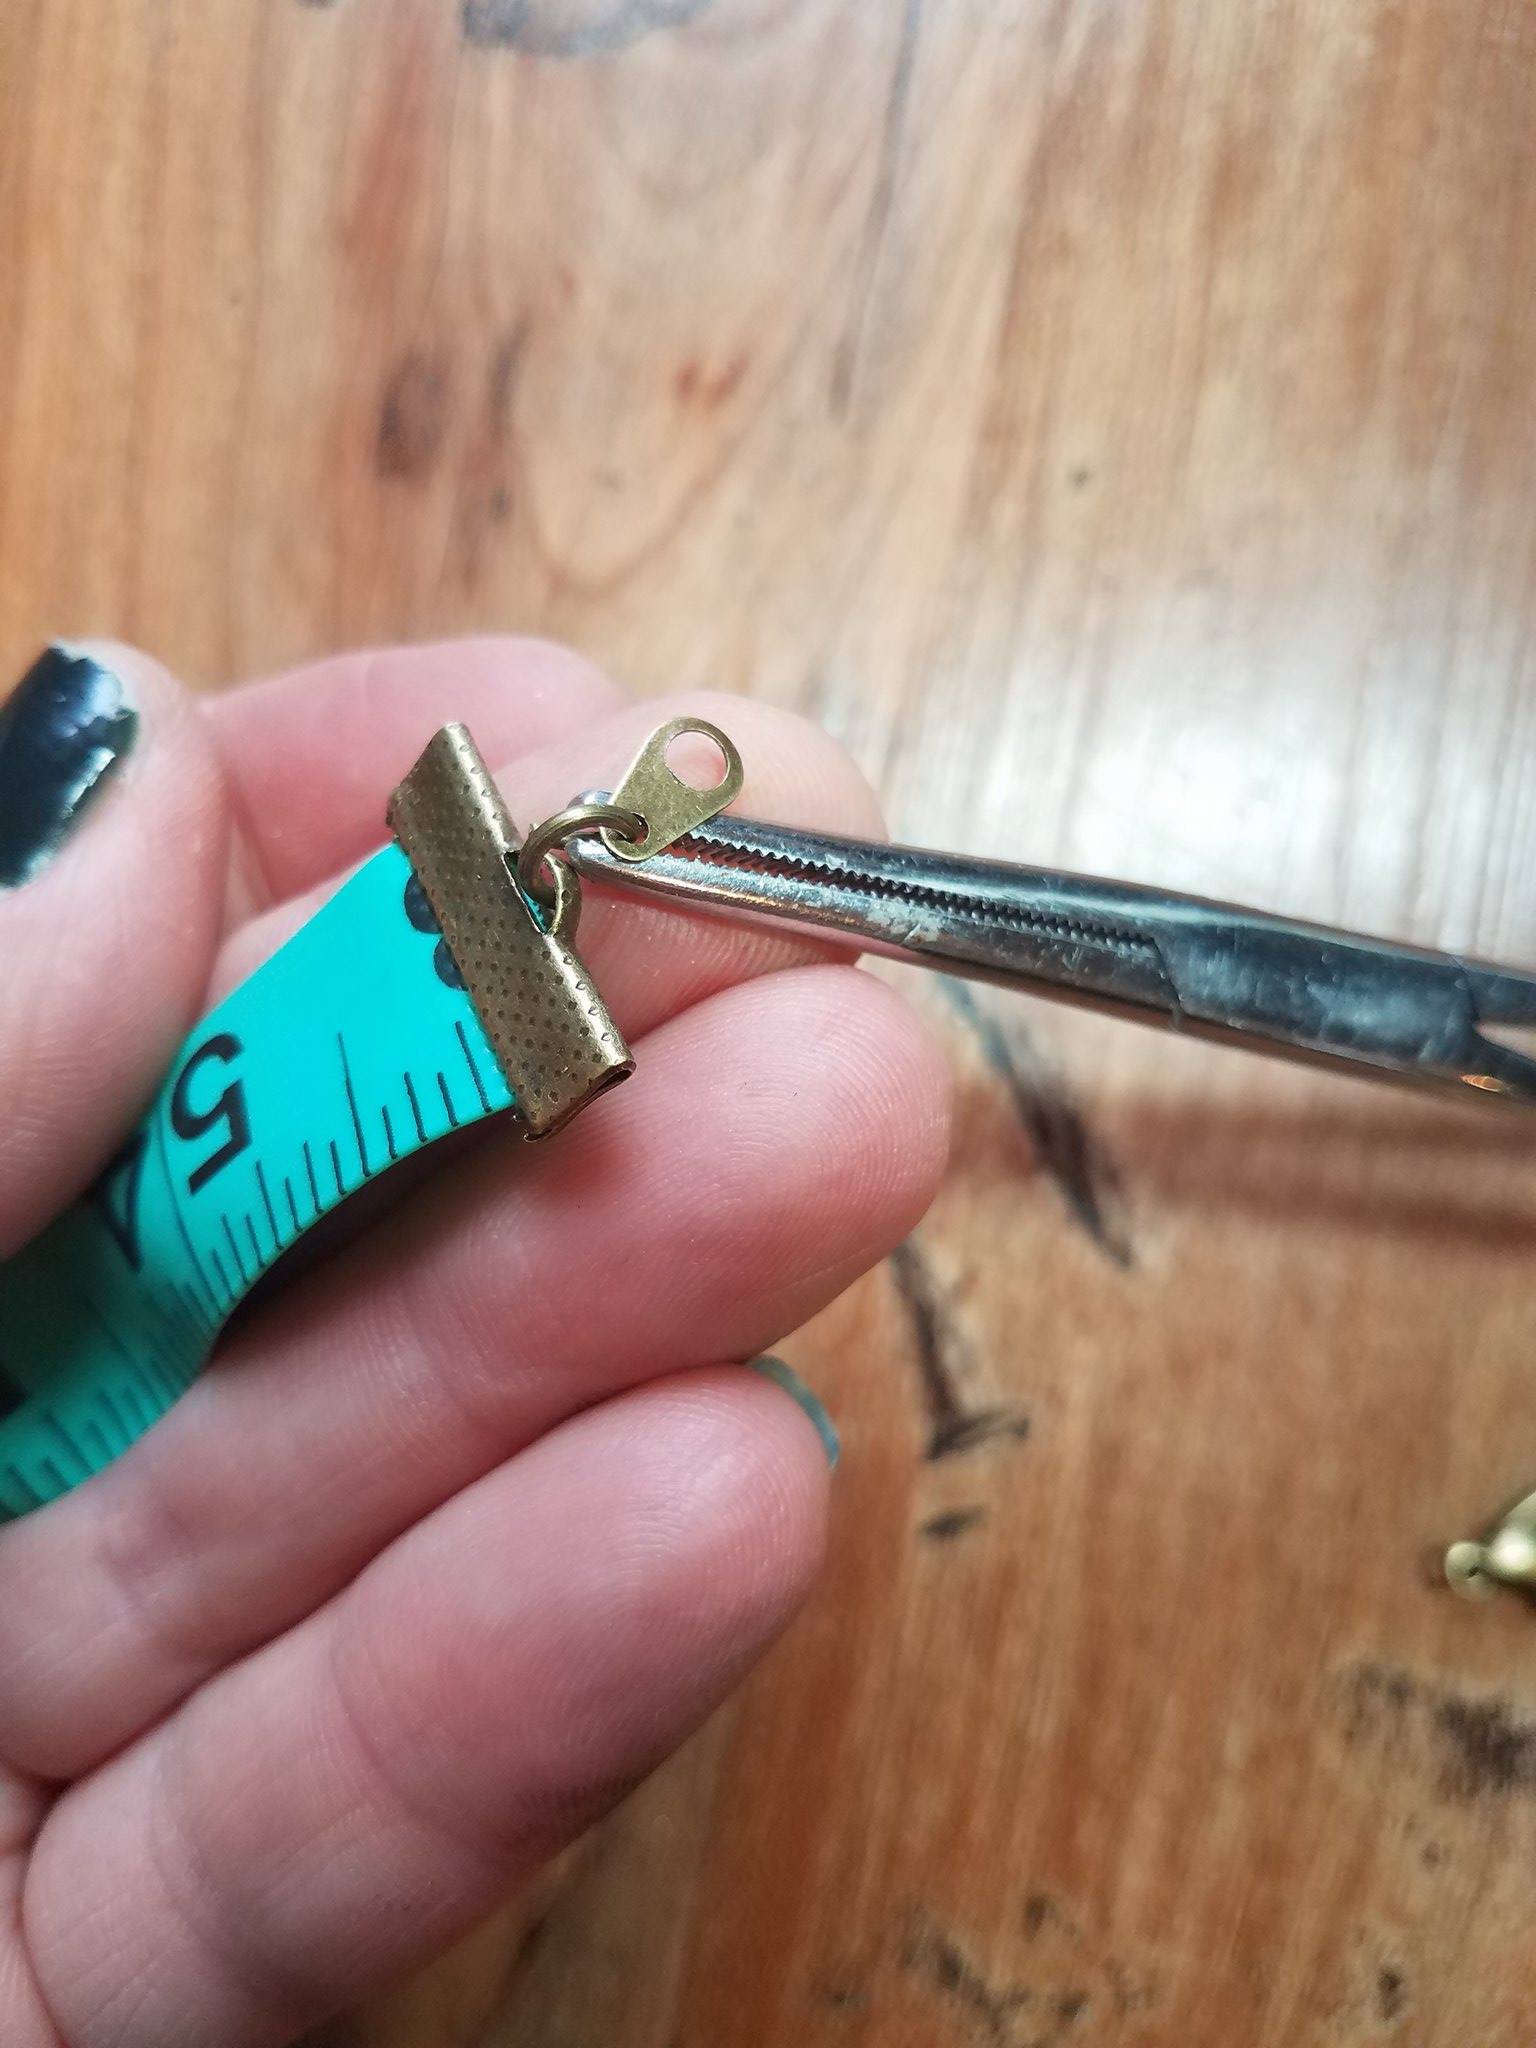
Step 2: Using the hemostats or flat ended jewelry pliers, crimp one end of the ribbon crimp on the end of the tape. You can wrap the end in a paper towel if you want so the tool doesn’t mar the surface of the crimp.
It will overlap the tape and that is ok. The metal ends on the tape that were original overlapped too! Then, place it around your wrist to measure for comfort. T
rim the other end of the tape to the desired length. Now, crimp on the other ribbon crimp as you did the first! You can add a small amount of E6000 glue for a little extra security if you want.
Step 3: Gently open one of the jump rings (not too far) and slip it over the loop on one end of the clasp. Place the non-opening end of the lobster claw clasp on the ring as well. Then, gently and evenly, re-close the jump ring.
Step 4: Using the same method as step 3, attach the other side of the lobster claw clasp and also slip on the charm if you chose one.
THAT IS IT! FINITO!
I would love for you to share your make with me on any of the social media site below!
If you are viewing this pattern anywhere but crochetverse.com or downloaded from the Official Crochetverse Ravelry or Etsy store, it is an illegal reproduction copy. Please help me stay on top of this by emailing me, so I may stay afloat and continue to share patterns and ideas with you all! <3
Much Love and Yarn
Stephanie
The information and photos in this posting are the sole copyrighted property of Crochetverse©2016. Please do not copy and paste any of the information contained within either electronically, verbally, or written in part or in whole. Instead, please share the DIRECT LINK to this posting only, and if you do, I thank you for sharing. You of course may sell anything you make from this pattern that you have made with your own two hands, no contract labor or mass productions are permitted. If you credit Crochetverse as the designer, that is greatly appreciated!
