

")
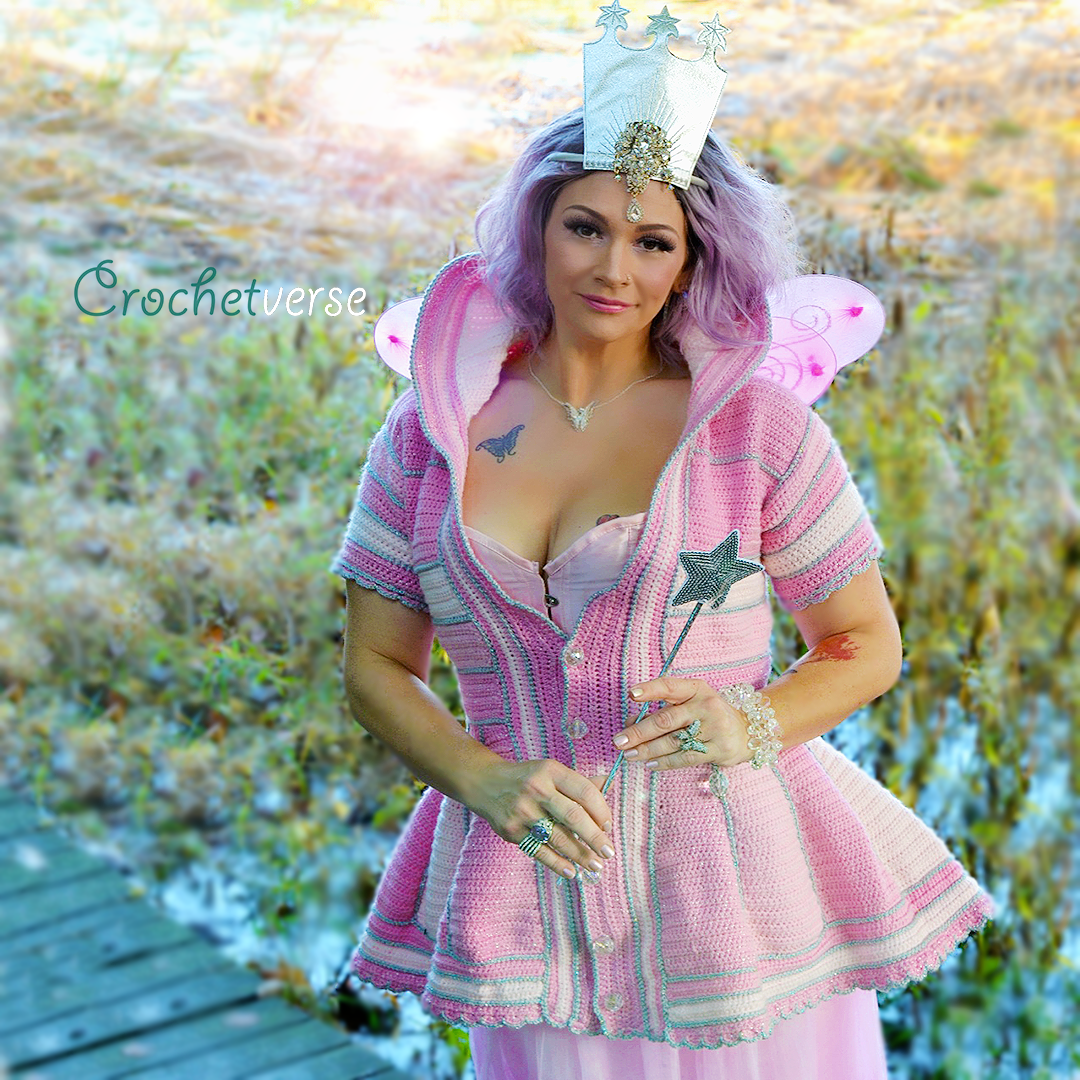
I Love the Serged Dream Coat, I Love Halloween, I Love Wizard of Oz!
These three things mixed and out came my interpretation costume…
Glinda the Good Witch from Wizard of Oz!
Link to pattern:
https://www.ravelry.com/patterns/library/serged-dream-coat
The pattern is, of course, my Serged Dream coat, inspired by all the amazing upcycled clothing creators, such as Katwise. It has sizing up to 2x/3x and even guidance for child sizes. Here is the pattern link, over 40 pages, fully tested, and kind of my baby!
https://www.ravelry.com/patterns/library/serged-dream-coat
This time, I used all the shades of pink I could to get that Good Witch glow! I’ve got I Love This Yarn in Pinky Toes Sparkle, Pink, Soft Pink, and Crafter’s Secret in Pink. The seams are all done in Caron Simply Soft Part in Silver Sparkle. The “buttons” are large round faceted glass beads I found in the bead section at Joann’s. They sparkle like disco balls! I sewed them on with fishing line (courtesy of the husband!)!
I opted for a short sleeve version, which is super easy to do…just stop making the sleeves when they are at a length you like! Easy peasy!
The other change I made to add a touch more fairy femininity was to edge the bottom and sleeves in SHELL edge! Here is a close up I took as I worked…
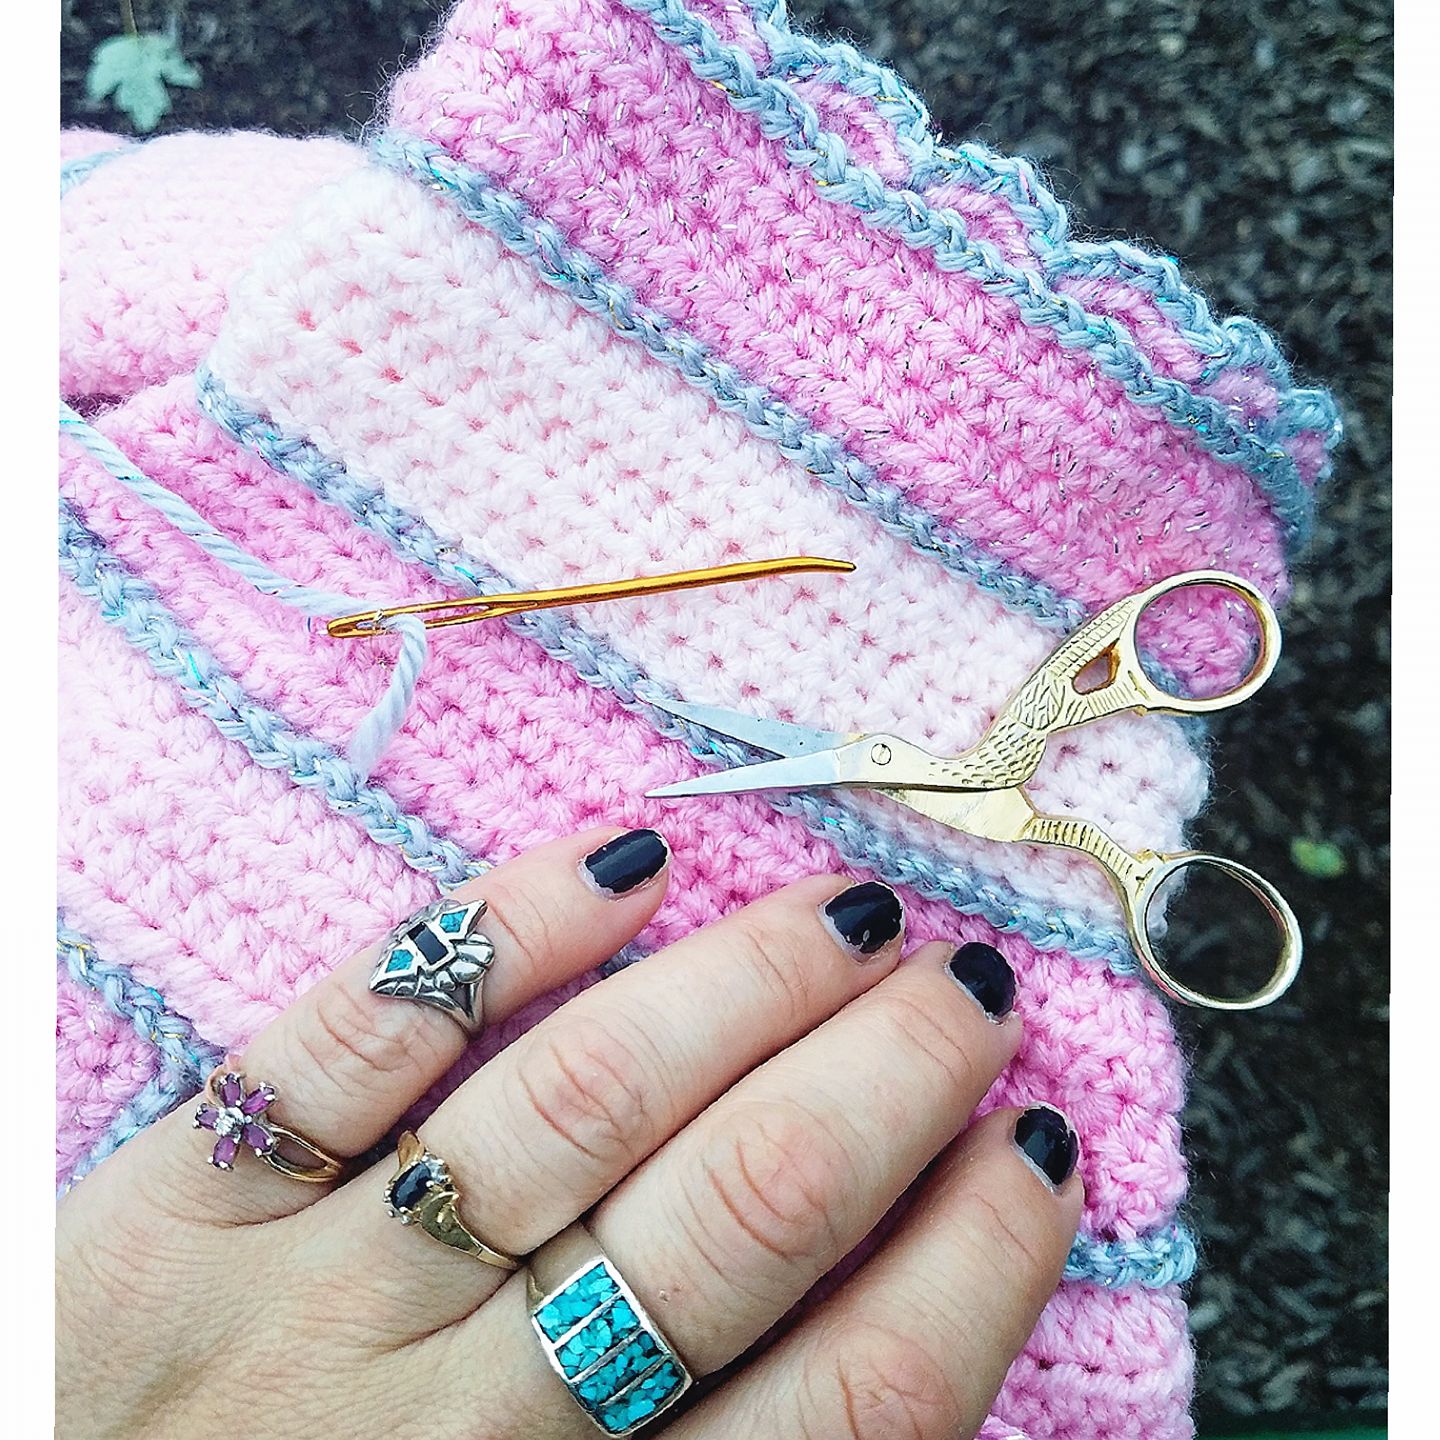
Here is my method for the shell edge:
On my last skirt extension panel, I eliminated row 2 and instead did this:
“ch 1, turn, make (4 hdc, sl st) in the 1st st, sk nxt 3 sts, *make (4 hdc, sl st) all in the nxt st, sk nxt 3 sts, repeat from * across, in the last st make (4 hdc, sl st)”
Keep in mind that based on the size you make, you may have to skip one more or one less stitch on your final shell to ensure that you end up with a full shell in the last stitch. The small stitch change will not be detectable in your finished project.
When doing the final edging for the coat on the shells, work (sl st, ch 1) in the BACK loop only of the shells (the 4 hdc sts), THEN sl st with no ch-1 after it into the space between the shells, then continue on across in the same manner. This method seemed to make my shells stand out better!
For the sleeves I worked the shells in the back loop only in the same manner as above. Then I added an additional row of edging just below them in the front loop that remained unworked.
That’s it! Hope you enjoy, Happy creating!
Much Love, Yarn, and Happy Halloween!
Stephanie
The information and photos in this posting are the sole copyrighted property of Crochetverse©2017. Please do not copy and paste any of the information contained within either electronically, verbally, or written in part or in whole. Instead, please share the DIRECT LINK to this posting only, and if you do, I thank you for sharing. You of course may sell anything you make from this pattern that you have made with your own two hands, no contract labor or mass productions are permitted. If you credit Crochetverse as the designer that is greatly appreciated!
