

")
Here ye! Here ye! Lend me your Whovian ears!
Imagine, if you will, a world without Dr. Who. I know it’s a painful thought, but for a moment, humor me and place yourself in this uncomfortable imaginary place…YUK. I just threw up in my mouth a little.
NOW SNAP OUT OF IT!! PLEASE, PLEASE, don’t ever let this become a reality. It’s simply horrifying.
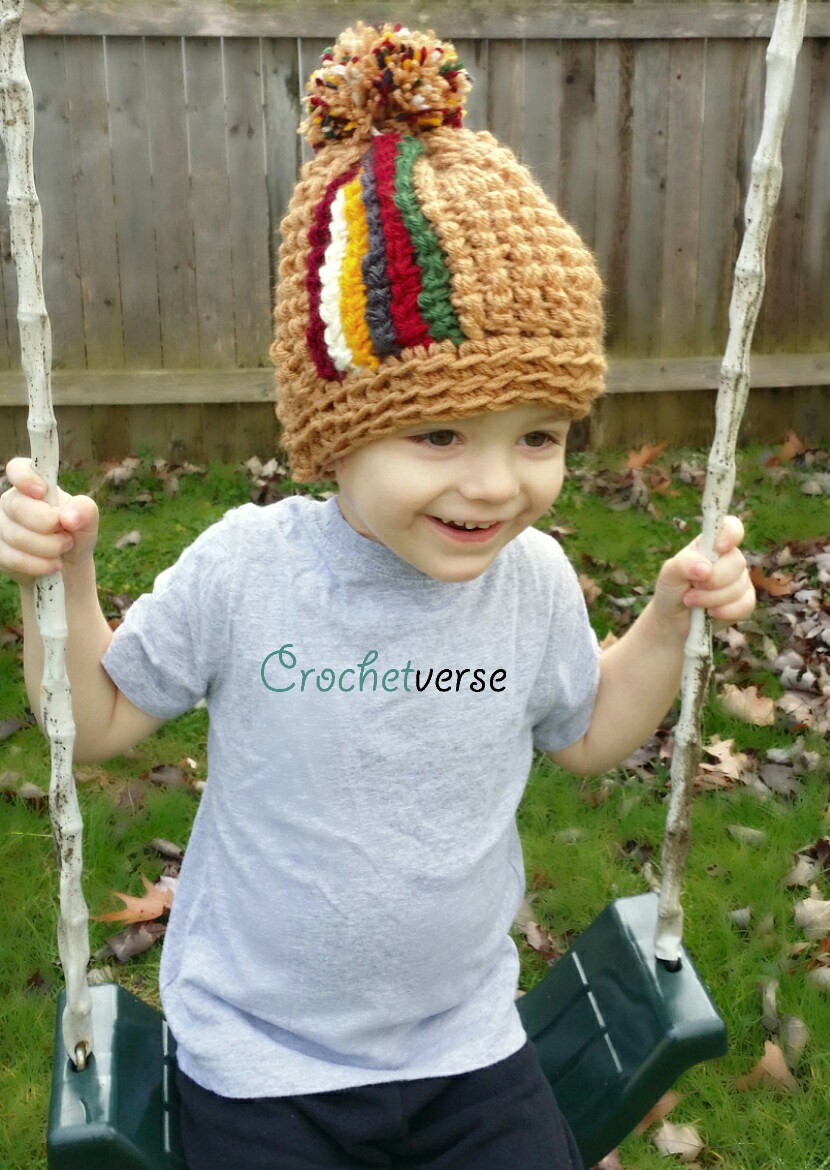
I call on you to keep this world full of all things Dr. Who. We must all do our part, and therefore, I offer you this free pattern for a toddler sized Dr. Who inspired beanie 🙂
What better way that to have those little cute faces be the billboard for our Dr. Who obsessions. Muahahah. But really, how cute is this little hat?!
This hat is created through some simple modifications of our previously published Corduroy Ridge Slouchy Here!
The hat is created on a REGULAR size P hook, but using Tunisian Crochet techniques. I will show you how to do this in my tutorial!
HOW WILL WE DO THIS?! Follow me on an adventure.
- Quickly, join me inside the TARDIS and travel to the original post so you may learn the technique, nothing needed besides a P crochet hook, a rubberband, and some scrap yarn. Sounds interesting, right? Click HERE for the tutorial. Once you’ve got the technique down, return here for the pattern:
THE PATTERN BEGINS HERE:
(You MUST first learn the technique linked for you in step one, no cheating!)
Sizing Overview:
The hat as written will fit looser and quite comfortably on a toddler’s head. My son shown is 3 and has an average toddler head.
Now guess what? This hat also fits me, an average adult head, as a beanie style. The stitch has an amount of give that permits this.
So, truly the hat can be for anyone, you may also eliminate rows for those teeny tiny tots!
Materials:
– Red Heart Super Saver in the following amounts and colors:
*200 yards Warm Brown
*20 yards each Claret, Burgundy, Heather Gray, Gold, Medium Thyme, Aran
– P Hook, set up as shown in the tutorial post
– Tapestry needle to weave in ends and your favorite pom pom making tool
Instructions:
HOW TO CHANGE COLORS: The only other thing I will need to tell you is how to change colors, as that was not covered in the original tutorial. You will change to the NEW color on the row JUST PRIOR to needing it, at the FINAL YARN OVER PULL THROUGH of the last two loops on your REVERSE PASS. This is very much like a standard crochet color change, do not let this confuse you, you got this smarty pants. You like Dr. Who, you’ve gotta be pretty dang bright.
Tunisian crochet patterns when written can feel a little informal. Don’t worry this is ok, I promise it will turn out 🙂 If you get confused or need to refer back to the tutorial, do so. Leave both the pattern and the tutorial open, flip flop back and forth as needed.
`*THE ENTIRE PIECE IS MADE USING THE YARN HELD DOUBLE STRAND!!**
With warm brown double, chain 16:
Rows 1-10: Work the Tunisian Ridge Stitch (TRS) as shown in the tutorial, at the FINAL yarn over/pull through on the REVERSE pass of Row 10, change to BURGUNDY.
Row 11: Work TRS across, changing at end to ARAN as instructed.
Row 12: Work TRS across, changing at end to GOLD as instructed.
Row 13: Work TRS across, changing at end to HEATHER GRAY.
Row 14: Work TRS across, changing at end to CLARET.
Row 15: Work TRS across, changing at end to MEDIUM THYME.
Row 16: Work TRS across, changing at end to WARM BROWN.
Rows 17-34: Work TRS across, do not tie off.
Continue on to seam shut:
With the right side facing, match the last and first row up, slip stitch the 1st and last rows together through the FRONT LOOP only of the row closest to you and the BACK LOOP only of the row furthest from you. I find this join mimics the ridge look and eliminates seaming, do not tie off.
Continue on to band:
With the right side of the hat facing out:
Round 1: Do not turn rounds. Work one regular sc into the end of each row around the opening of the hat, sl st to the 1st sc made. (34 sc)
Round 2-3: ch 1, scblo (single crochet back loop only) in each st around, sl st to the BACK LOOP only of the 1st st made, tie off after round 3.
To close the top:
With a strand of the warm brown yarn and needle, weave it through the ridge of each row end at the opposite side of the hat, pull to close the opening. Now, weave in all the ends, same color into same color.
For the POM POM:
I’ve used one strand of each of the accent colors along with many strands of the warm brown to create a 3″ pom pom. I have used the new (and amazing) Clover Pom Pom makers, but feel free to employ any technique you like! I found that even amounts of all the colors was too much and just the warm brown was too boring. This combo, for me, was perfect 🙂
Now, The ONLY thing I love more than crochet is ADORABLE LITTLE KIDS.
So, instead of charging for the pattern, I ask you to show me your cuties by posting on the FACEBOOK PAGE HERE!
Please feel free to share the watermarked pictures and link to this pattern and tutorial only. Do not copy, paste, or share the information in anyway otherwise. I had to go to the ladies room really bad, and held it so I could finish this pattern for you, so be nice to me! Please also feel free to sell this adorable hat anytime and anywhere you’d like, but only ones that you make with your own two hands. No farming out or mass productions permitted. Thank you very much!
– Much Love and Yarn, Stephanie
Follow us on Instagram: @Crochetverse
