Welcome! I have just about the easiest and most snuggly little pattern for you today!
Even if you are an absolute beginner, you can make this for someone you love!
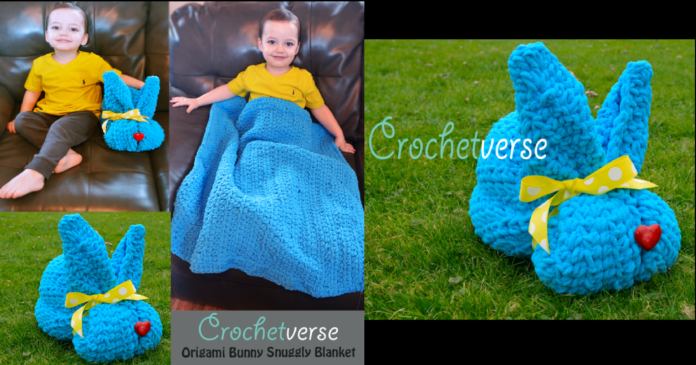
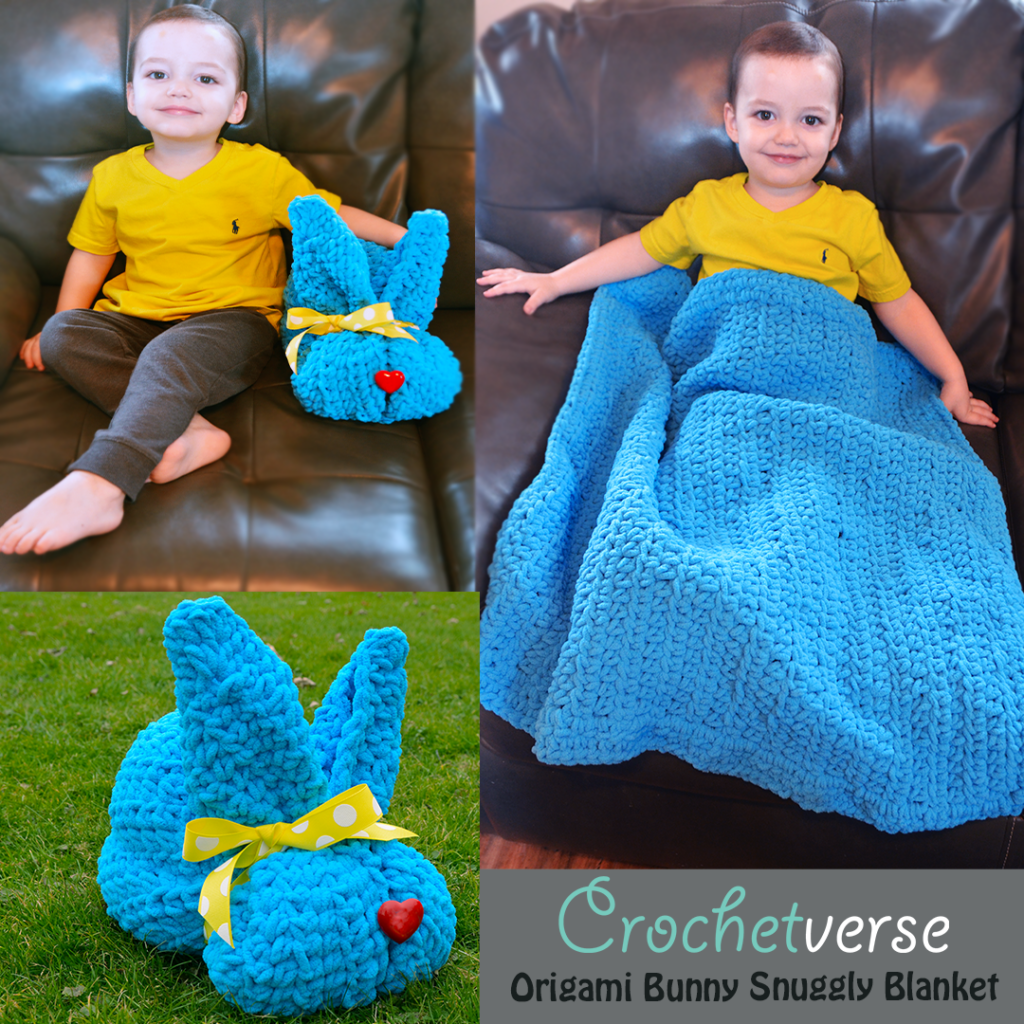
Origami meets Crochet in the:
Bunny Snuggly Blanket!
It is suitable for an absolute beginner and can be finished in just an evening or two!
Why should you run to your crochet hook and yarn, you ask? Because it is a combo of ORIGAMI AND CROCHET! How cool is that?!
First, we will create our “Snuggly” portion, just a basic shape using simple stitches. It is the perfect size for your little one to cuddle up with or cover their lap as they watch cartoons!
Then, with a few twists and ties, we will turn it into a BUNNY, like magic! Intrigued? Then, let’s get started!
What do you need?
- (2) Balls Bernat Baby Blanket Brights (Shown in Busy Blue) About 420 yards total of super bulky/size 6 yarn if you want to sub another yarn.
- (1) Heart shaped button (If this is for a small child, ELIMINATE this or remove before the child uses the item for safety purposes)
- Size M/N (9.0mm) crochet hook -OR- size needed to obtain gauge
- Basic tool kit (scissors, tapestry needle, measuring tape)
- About 2 yards ribbon for the bow
- A length of coordinating yarn to tie the bunny into position ( I could not use the blanket yarn for this, it breaks too easily. I used regular worsted weight yarn for the tie)
- You could also sub in some elastic or rubberband to secure the neck to make it easier to rework into a bunny over and over.
Gauge?
To be sure you use the amount of yarn stated and don’t run out, you will want to do a gauge check. Your goal is:
4″ x 4″ = 5 rows by 8 stitches
Finished Size?
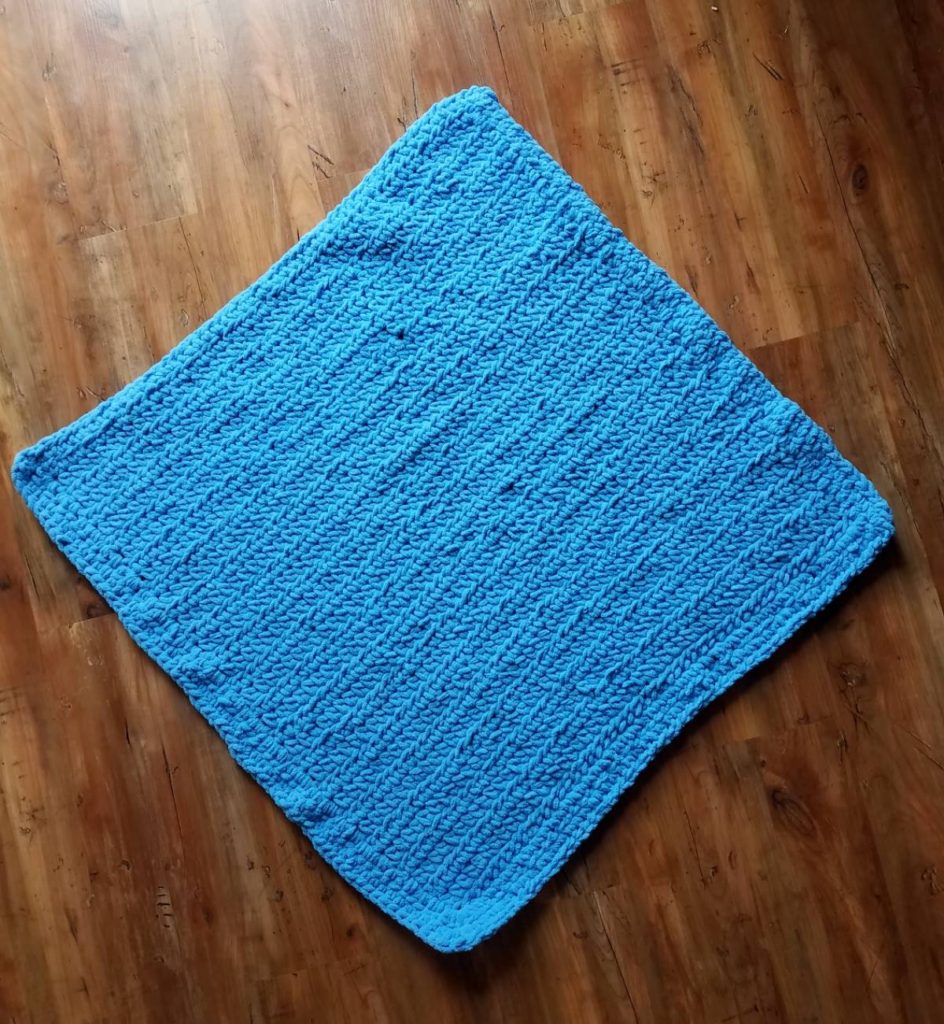
The finished snuggly before folding is about 30″ x 30″, or lapghan sized.
Want it larger? Double the yarn & double the stitches to 100 wide instead of 50, and work rows additionally until it is square. For it to fold properly into the bunny, our goal is a square blanket!
Instructions?
Snuggly Portion:
With the blanket yarn and the M/N hook, chain 51:
Row 1: hdc in 2nd ch from hook and in each remaining chain across, skipped chain does NOT count as a st. (50)
Row 2-36: ch 1 (does NOT count as a st here and throughout), turn, hdc in 1st st and in each st across, do not tie off after row 36, carry onto edge rounds. (50)
The following are ROUNDS, which means we will work around the entire perimeter of the piece to edge it.
*If at any point during the edge rounds your work puckers or buckles; feel free to add/subtract an hdc as needed to keep the piece flat.
Edge Round 1: ch 1, do not turn, 4 hdc in the same stitch to create the corner, hdc in each st across the row until the nxt corner stitch is reached, 4 hdc in the next corner st, work down the side of the blanket making 1 hdc in the 1st row and then 2 hdc in the end of the nxt row, (the stitch is not quite as wide as it is tall so we need more than 1 to 1), repeat that pattern down the side, 1 hdc in the next row end, 2 hdc in the next row end until the nxt corner is reached, make 4 hdc in the corner st, continue across the bottom working 1 hdc in the remaining free loop of the beg chain, 4 hdc in the nxt corner stitch, work up the opposite side in the ends of the rows as you did for the other side, then sl st to the 1st hdc made.
Edge Round 2: ch 1, do not turn, work 1 hdc in each st around and 4 hdc in each corner st, sl st to 1st made, then tie off.
Weave in all ends.
Let’s Origami!
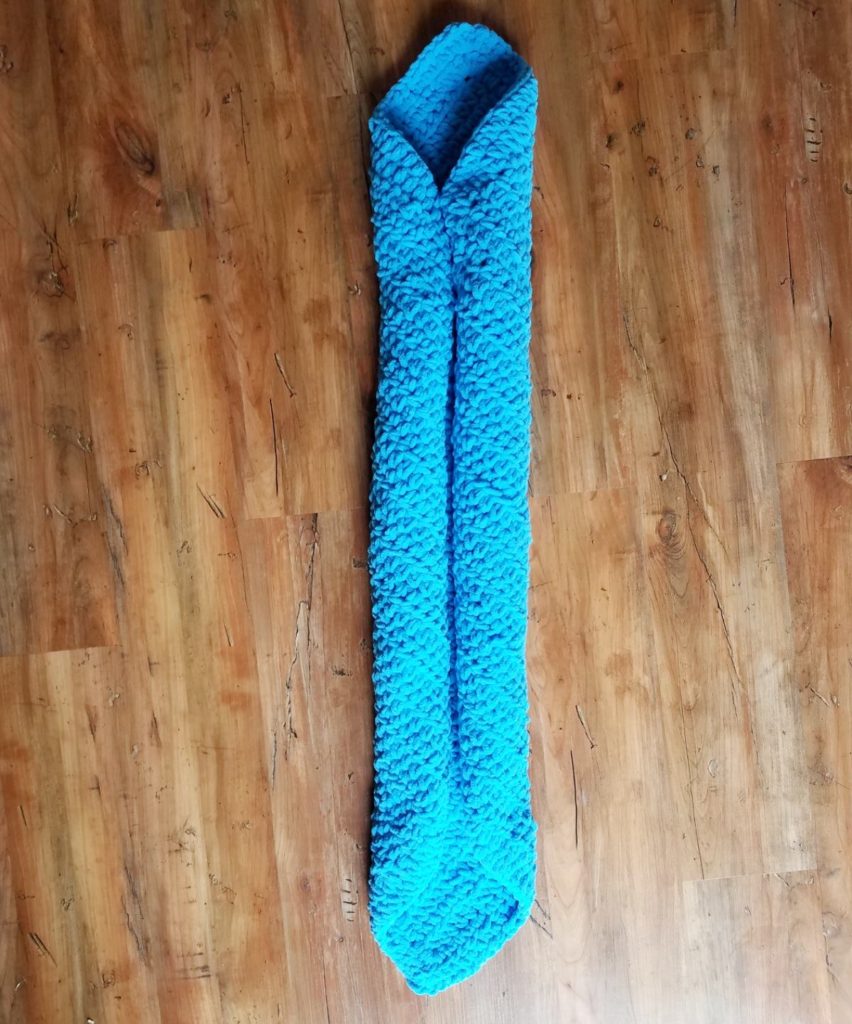
Step 1: Position the piece flat and in a diamond orientation.
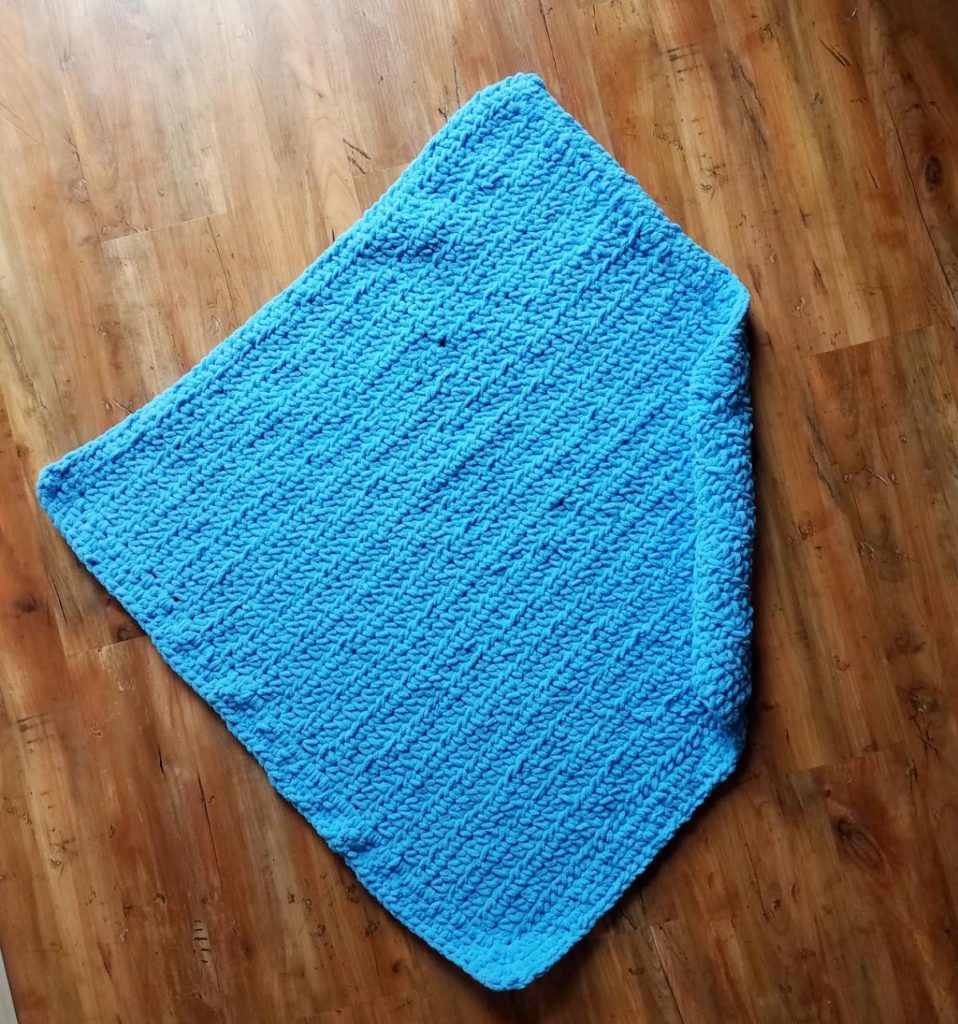
Step 2: Begin at the side corner and tightly start to roll towards the center.
Step 3: Roll tightly until you reach the centerline, then repeat for the other side.
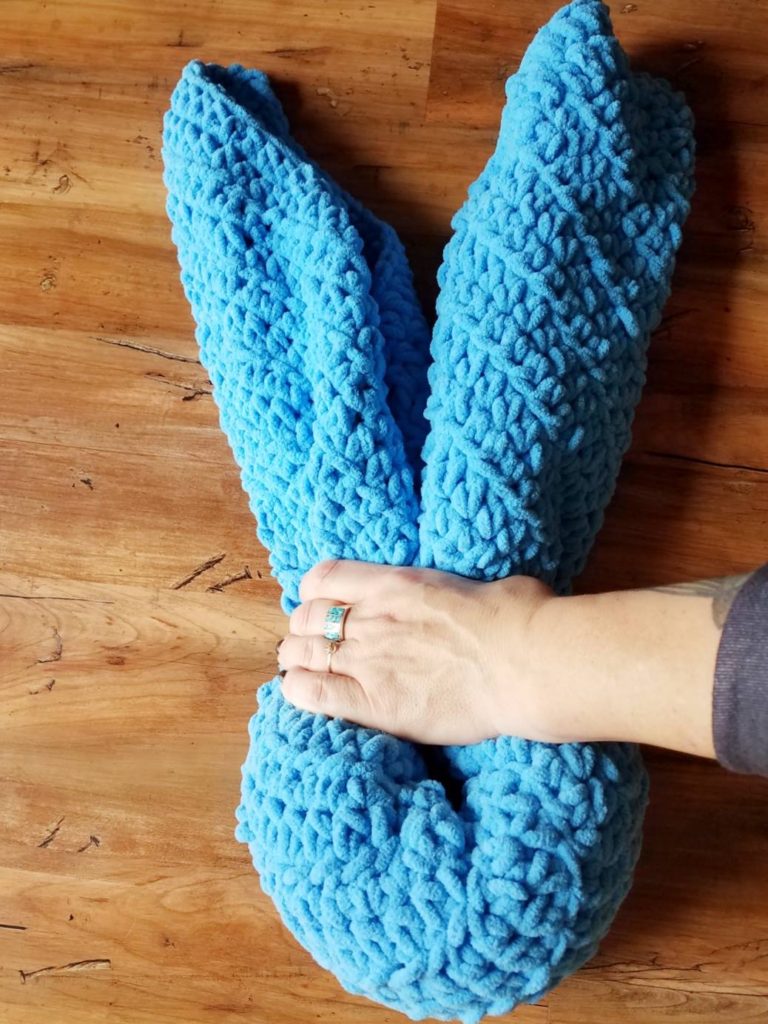
Step 4: Grasp the center and bend into a “U” shape with the line where the 2 rolled halves meet facing IN and the side with no rolling seam is facing OUT.
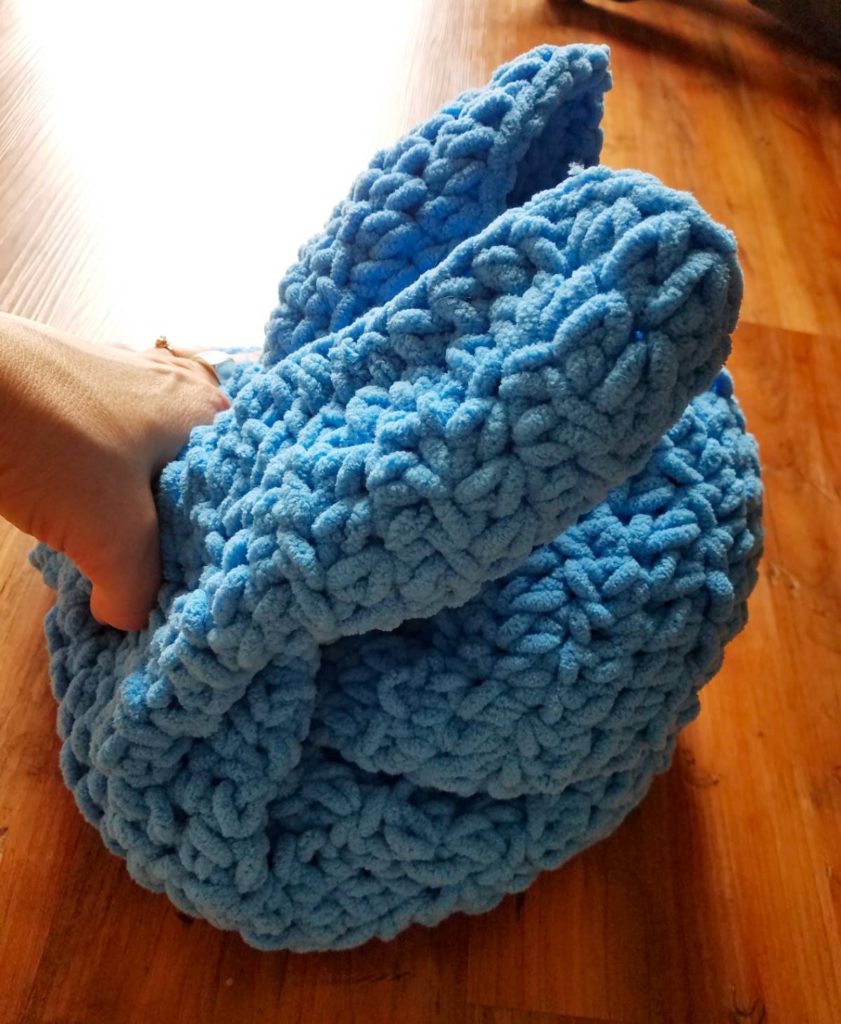
Step 5: Fold the pointed ends BACKWARDS and ON TOP of the center bottom of the “U” shape.
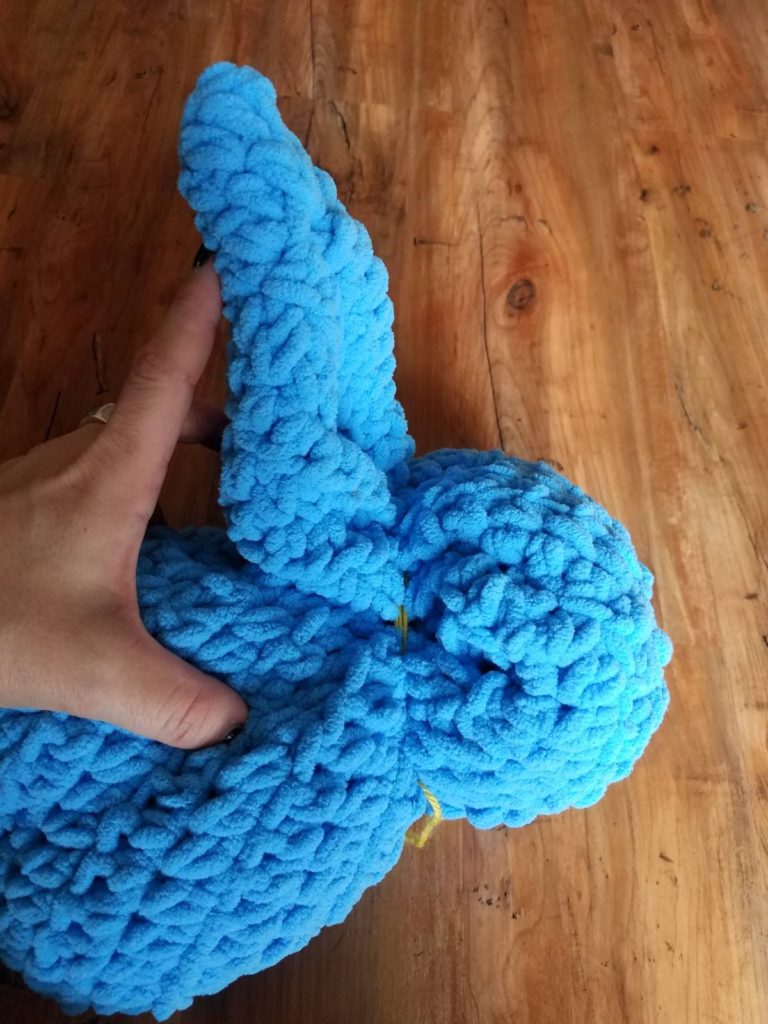
Step 6: With the long strand of worsted weight yarn, begin wrapping around the base of what will be the ears and head (the neck) which is about 1/3 from the front of the bundle, see photo for placement. Wrap around and knot. Then, wrap around and knot the other direction. Repeat until it is very secure.
Step 7: Gently tug and arrange the bundle to enhance the “bunnyness” of him. The stitch the button nose in place. REMEMBER! If this is for a small child, remove it before they use it or eliminate it entirely. SAFETY OUTWEIGHS CUTE! Tie a pretty bow around his neck and voila!
Please post projects and questions to any of the social media sites below, and/or email me at info@crochetverse.com. I SO WANT TO SEE YOUR BUNNY OUTSIDE!
If you are viewing this pattern anywhere but crochetverse.com or downloaded from the Official Crochetverse Ravelry or Etsy store, it is an illegal reproduction copy. Please help me stay on top of this by emailing me, so I may stay afloat and continue to share patterns and ideas with you all! <3
Much Love and Yarn,
Stephanie
The information and photos in this posting are the sole copyrighted property of Crochetverse©2016. Please do not copy and paste any of the information contained within either electronically, verbally, or written in part or in whole. Instead, please share the DIRECT LINK to this posting only, and if you do, I thank you for sharing. You of course may sell anything you make from this pattern that you have made with your own two hands, no contract labor or mass productions are permitted. If you credit Crochetverse as the designer, that is greatly appreciated!


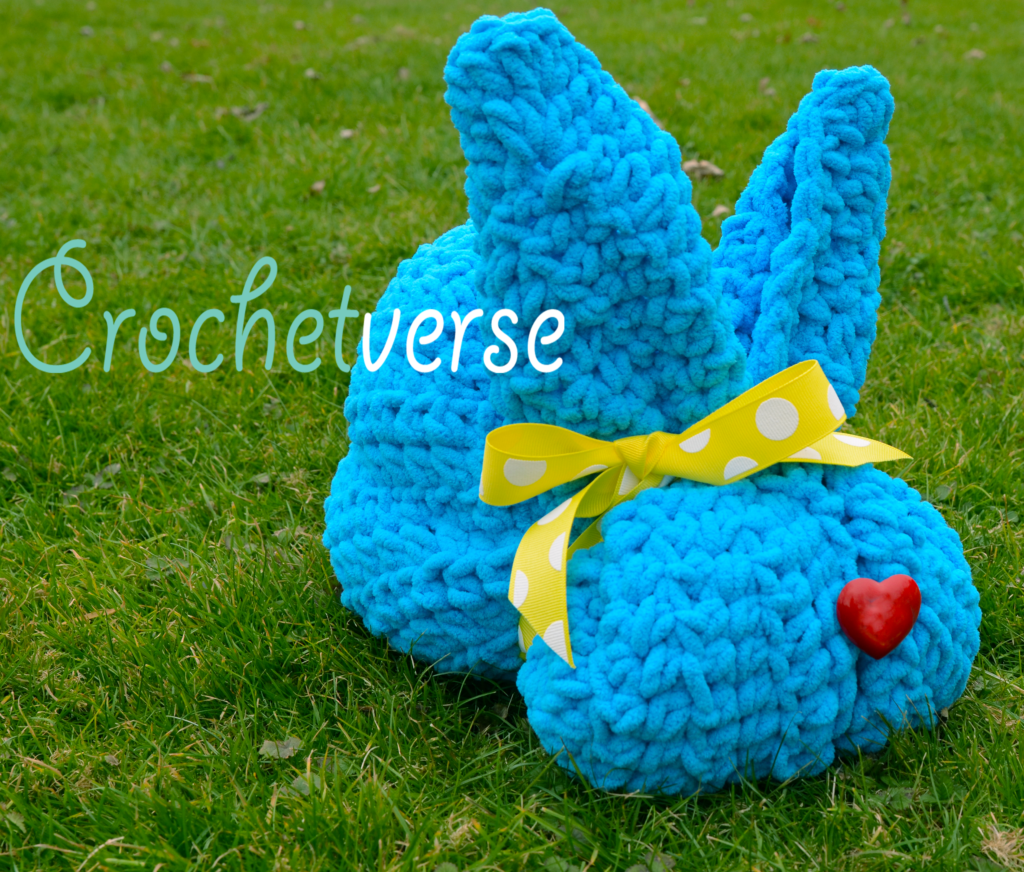

Totally, a big cuddly bunny! SWEET!
Hi I don’t understand the rounds at all I finished rows to 36 then done 4 hdc it took me to the rough side so I hv all way across now I’m at bottom of blanket. I so confused any help would be great.
Hi! Have you ever edged a piece of crochet work before. It can definitely be tricky, but once you get it you’ll be a pro in no time. Once you complete the rows, you will then crochet around the perimeter of the piece (all 4 sides) to finish it off nicely. Here is a video that should help you: https://www.youtube.com/watch?v=DvW6aaraf8A
If you still have trouble after watching the video and giving it a go, let me know! Thank you!
A white Pom Pom on the end would be really cute too!
OH It SURELY WOULD! That is an amazing idea! Thank you!
This is such a cute idea! Thank you for sharing. I don’t have any littles around, but adults like bunny things, too. I’ll be checking in again, for sure.
THank you!
I absolutely love this! Thank you for sharing this pattern!
I’m wondering if something elastic could be permanently attached to be able to form the bunny? I realize if it’s for a baby or someone younger you may not want to do this. But think it would be nice to be able to do for traveling purposes.
Thanks so much!
I think so, the user would just have to know how the folding process is done and have elastic! Great idea!
Comments are closed.