

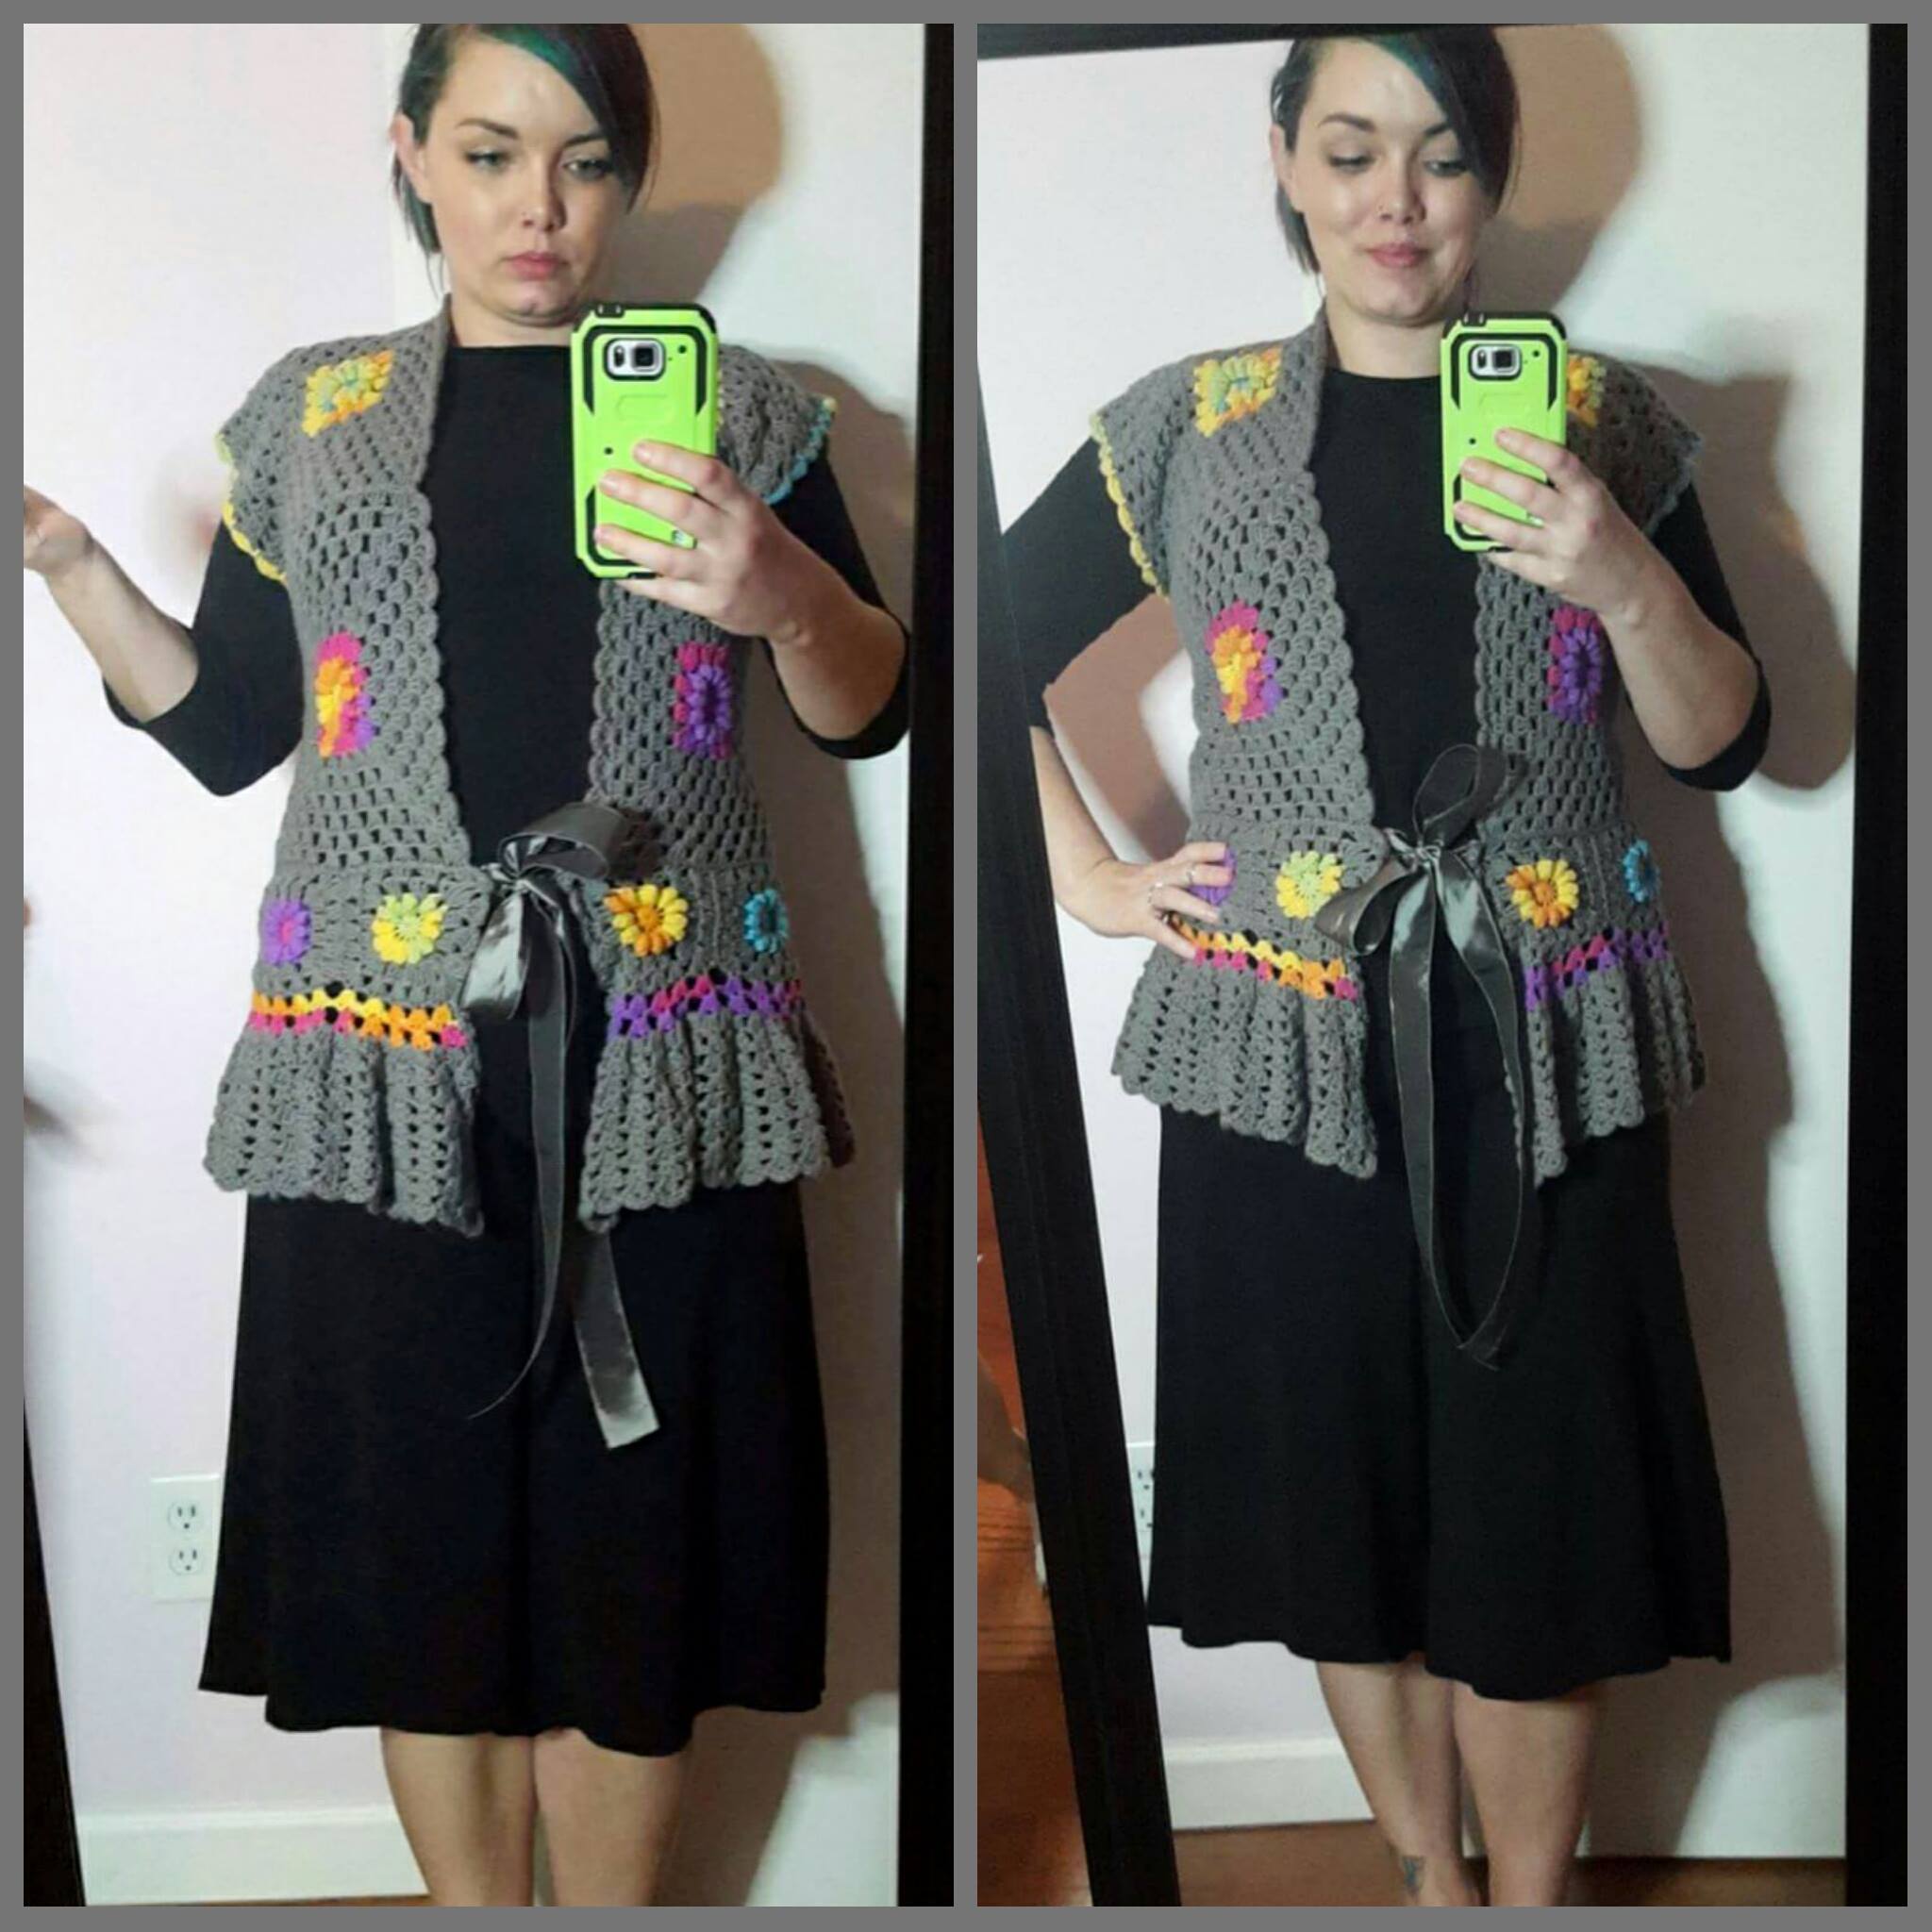
GARDEN PARTY JACKET
![]()
![]()
![]()
![]()
“FIT HINTS, TIPS, & TRICKS!” CHART
READ ME REALLY WELL AND BOOKMARK ME AND VISIT ME OFTEN!
Message us on the FACEBOOK PAGE HERE! with any wonderful things you discover as you work.
There are so many beautifully shaped and different bodies on our planet, and there is no way a single garment can fit them all. SO, as we have tested and made our own, we documented things to help you customize your garment as needed, based on your personal body needs and desires!
Huge thank you to the “Cal – Crochet a Long” FB group and the team of translators who are working hard to get this done. Below is the DUTCH translation, and more will follow as they become available 🙂
There are tips for every section, both as we work and once we are completed!
LEFT COLUMN IDENTIFIES NEED/RIGHT COLUMN IDENTIFIES SOLUTIONS
|
ISSUE OR CHANGE DESIRED & WHERE TO CHANGE IN PATTERN |
SOLUTIONS TO TRY |
|
Want to use a thicker or thinner yarn than suggested? (Before starting) |
Keep in mind the final fabric and garment will look somewhat different, but these can be used with success, alter hook size to achieve target widths for each square as needed.
Thicker yarn/smaller hook, Thinner yarn/larger hook
|
|
Want your jacket to be loose & swingy? (Before starting)
|
Make a size or two larger than your size for a loose fit. Keep in mind it will have a drop waist appearance, or you can eliminate the peplum completely and have it be more cardigan like. |
|
Can’t seem to reach target width for square? (Part 1 & 2) |
Don’t be afraid to use multiple hook sizes within the SAME square! Switch as needed, and take note of where you changed, so you can repeat it for the other squares of that size. |
|
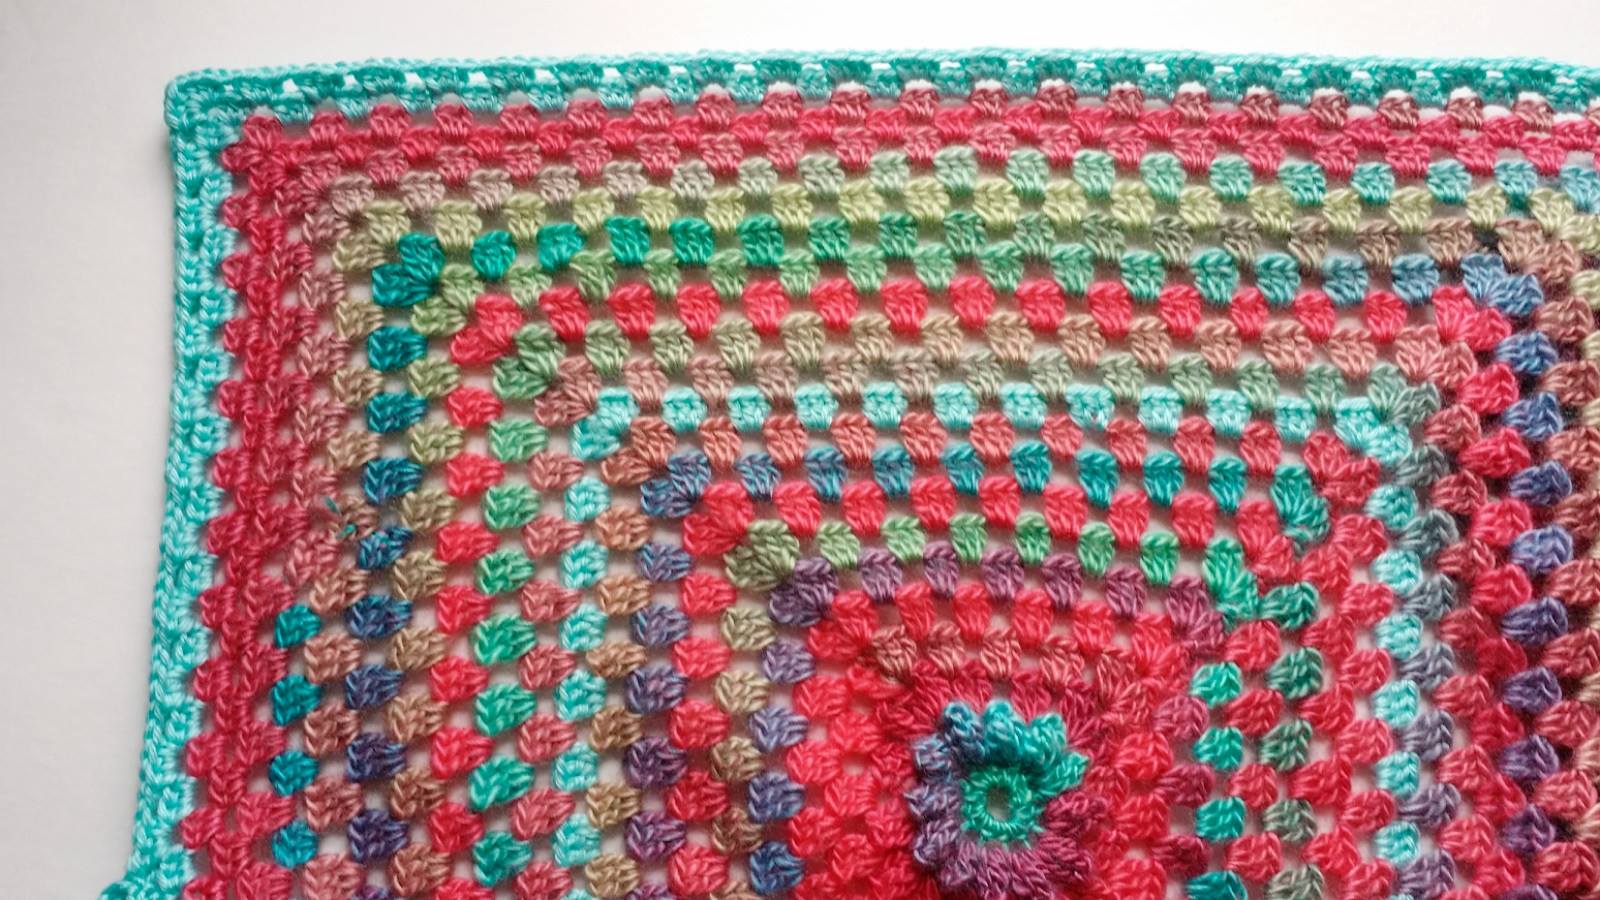
Tried the above and simply cannot reach target width for your square and it is too big? (Part 1 & 2) |
Though it will slightly alter the look of the final few rounds, it is more important to have the correct width and stitch count. Replace the last few rounds (4 or so, especially on plus sizes) with hdc instead of dc, possibly even try last rounds in sc as well. The square below used hdc for the last 4 rounds.
|
|
Want your jacket to be longer and drop waist in look, and small squares are done? (Before you begin Part 2) |
Do NOT change garment sizes for any of the squares, instead use a hook to achieve a larger width on your MEDIUM and LARGE squares ONLY as those are the ones to give the jacket length and width. Don’t become enormous, just a few inches over gauge will drop the waist down and make it longer. |
|
Want a longer sleeve? (Before you begin Part 2, sleeves) |
Add rounds to the sleeve simply by continuing the rounds in the pattern. Keep in mind the sleeves are not tapered or shaped and will be kimono or butterfly in nature the longer they are worked. Try on as you go, once you are satisfied, tie off and continue to edge rounds. |
|
Have a very large bust and would like it to close a tad more? (Before you begin Part 2, MEDIUM squares) |
Do NOT change garment sizes for any of the squares, instead use a larger hook and achieve a larger width for ONLY TWO OF THE MEDIUM squares, as these are the ones that cover the bust/chest area. (add maybe 1″ at most) (seam these to the TOP of the panels, so they are positioned over the bust) |
|
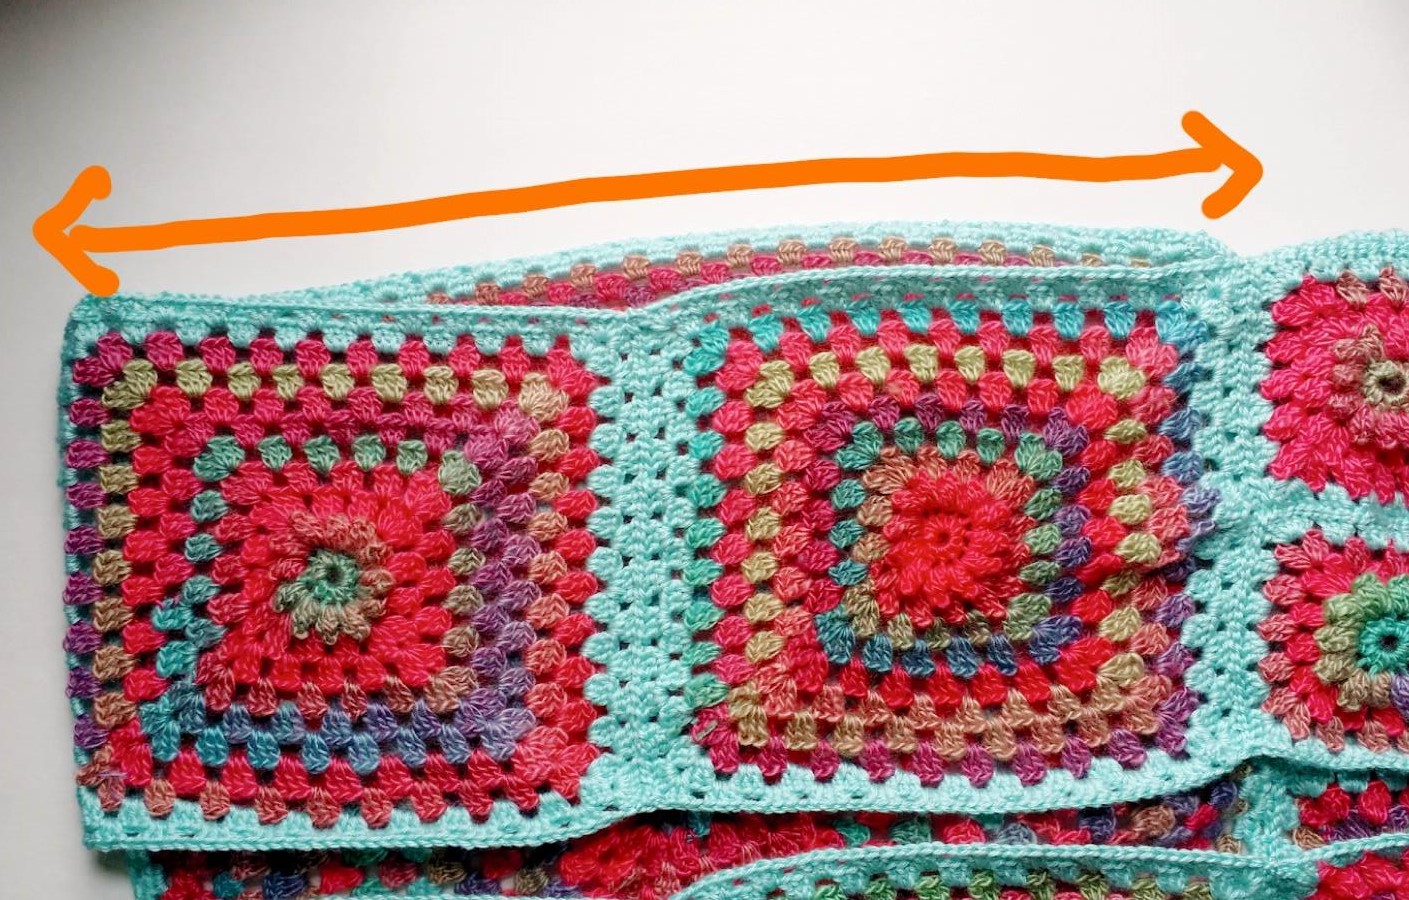
Large/Medium square assembly doesn’t quite make it across the back when tried on for fit? (Especially for Plus Sizes and BROAD SHOULDERS) (Part 3, after seaming) |
1. Because we rely on the fabric stretch to create width while keeping height correct, the LARGE square may need to be blocked WIDER (meaning re-block it and pin it stretching wide and not tall, more rectangular in shape) Can be done before seaming or after seaming as well.
2. If you are very broad shouldered, you may add width, by undoing the side seams, thereby creating a large side opening, pick up around this opening and work in pattern stitch to create more width trying on as you go. The photo below shows the opening with no side seam.
|
|
Seamed the MED & LRG squares together and put it on to test and it rides too HIGH (because we rely on the stretch to create width)? (Part 3, after seaming, BUT BEFORE attaching 8 strip square, or remove it for this tip) |
Note how the plus sizes use the natural stretch of the fabric to achieve width while avoiding it becoming too long. If you slip on the large and medium square assembly and find it rides too high: BEFORE seaming on the 8 small square strip and working in pattern stitch, add more rows to the bottom edge of the assembly, then seam on the 8 strip square. |
| Seaming bound the garment and reduced the stretchability too much?
(Part 3, after seaming) |
Snip out the seaming thread, taking care to NOT accidentally snip the actual squares. Reseam taking care to leave slack in the stitches. Stretch the squares to test as you work. |
|
Have larger upper arms? (Before you begin Part 3, seaming) |
When seaming the MEDIUM and LARGE squares together, sew the side seams less, resulting in a larger opening, then adjust sleeve rounds accordingly for new opening size. (increase count of 3dc as you work around) |
|
Want a longer flouncy peplum for more coverage? (Before you begin Part 3, peplum)
|
Add rows to the peplum by simply continuing the rows as described in that pattern section, trying on as you go. Once you’re satisfied, tie off, and continue to edging rounds. |
|
Completed garment a bit small for your liking? (After completion) |
This fabric is open and stretchy and can be GREATLY altered in size with a heavy blocking. Use the method described in the pattern, but pull VERY FIRMLY (wider/taller/or both) and pin in place to dry. |
|
Completed garment hangs a bit too low for your liking? (After completion) |
At the back of the neck (midpoint of the large square where the medium panels meet) seam 2-5 rows of the medium squares to raise the waist slightly. This will result in a higher ride of the fabric on the back of the neck, but it is quite pleasing in appearance.
|
|
Completed garment is too loose at the waist? (After completion, before sewing on ribbon) |
As opposed to sewing ribbon at the opening, WEAVE the ribbon in and out of the spaces in the small square strip and use the ribbon to cinch the waist to close more. |
|
Completed garment feels too spread open at the chest? Larger bust, wider shoulders may have this result (Before Part 4, Edging) |
1. Using the method used to create the sleeves, add more granny rows BEFORE the edging round, on the CHEST OPENING ONLY (do not add to the bottom peplum edge)
2. Alternately, add more edging rounds, working and adjusting placement as needed |
| Wish you had done something differently or made a different size entirely?
(After completion) |
Live, learn, give it to a loved one and make another J |
Remember crochet is fun and anything you do is a creative expression! Channel Bob Ross, no mistakes only happy accidents!
Much Love and Yarn,
Stephanie
Much Love & Credit Given to the Test Team: Nichole Chapel, Jamie Cowley, Janean Craig, Tammii Crosland, Maggie Diaz, Katherine Popowski, Amber Sarita, & Heather Sutton
The information and photos in this posting are the sole copyrighted property of Crochetverse©2016. Please do not copy and paste any of the information contained within either electronically, verbally, or written in part or in whole. Instead, please share the DIRECT LINK to this posting only, and if you do, I thank you for sharing. You of course may sell anything you make from this pattern that you have made with your own two hands, no contract labor or mass productions are permitted. If you credit Crochetverse as the designer when you sell, that is greatly appreciated. Thank you so much for respecting the hard work that goes into patterns, so that we may all remain creative 🙂

Where is the pattern for the adorable cardigan above? Where can I get it? Thank you.
Hi! All the parts to the jacket (which was part of a crochet along, so it is presented in parts) are available on this page here. You’ll want to start with the INfo & Supply post which can be found at http://www.crochetverse.com/615-2/ and then each subsequent part will be linked in the previous! Thank you so much and if you have any questions as you work, feel free to message me on my Facebook page at http://www.facebook.com/Crochetverse 🙂
Comments are closed.