Sleigh bells are ringing and I AM LISTENING….
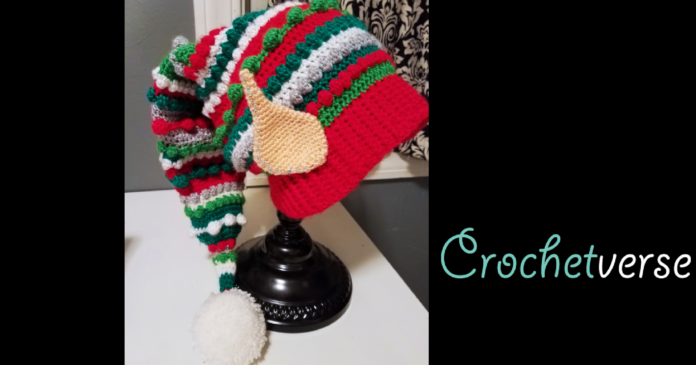
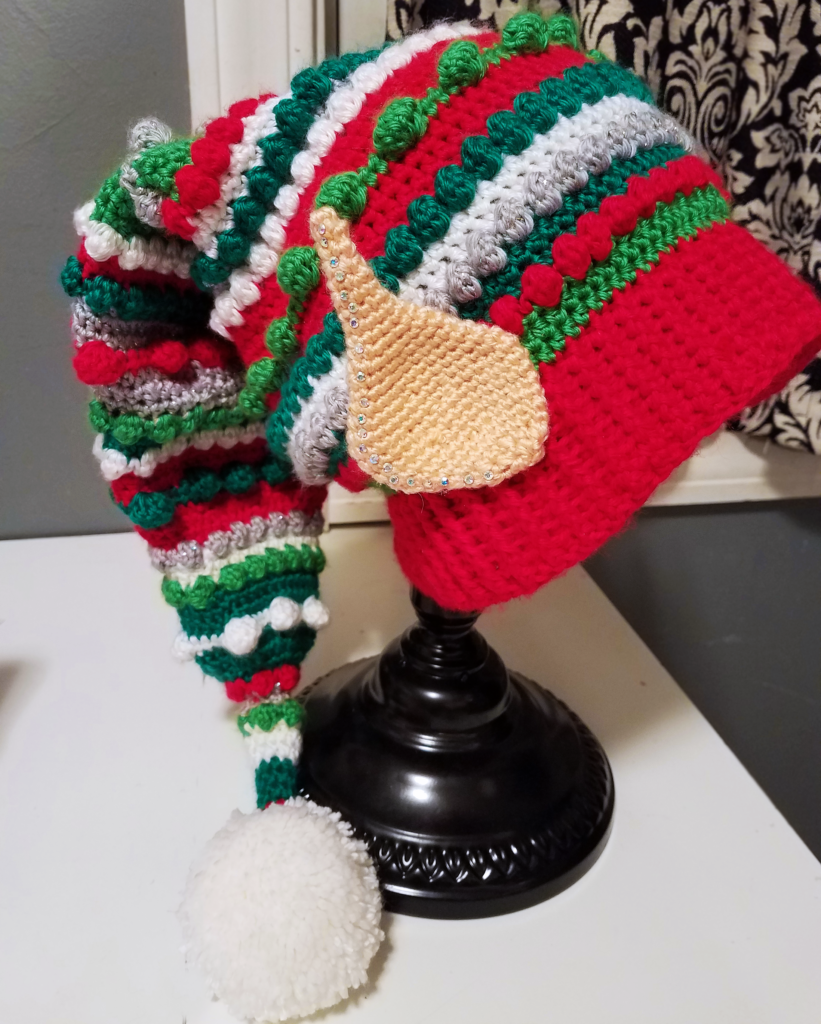
With my NEW FAIRY ELF EARS, that is!
Have you ever sat there and really truly wished you could be a fairy or an elf…magical and glittery and all that amazing stuff?!
No? It’s just me. Isn’t it? COME ON! I know I’m not alone!
So, what I have for you today is this adorable FREE PATTERN for Fairy Elf ears so that you may…..
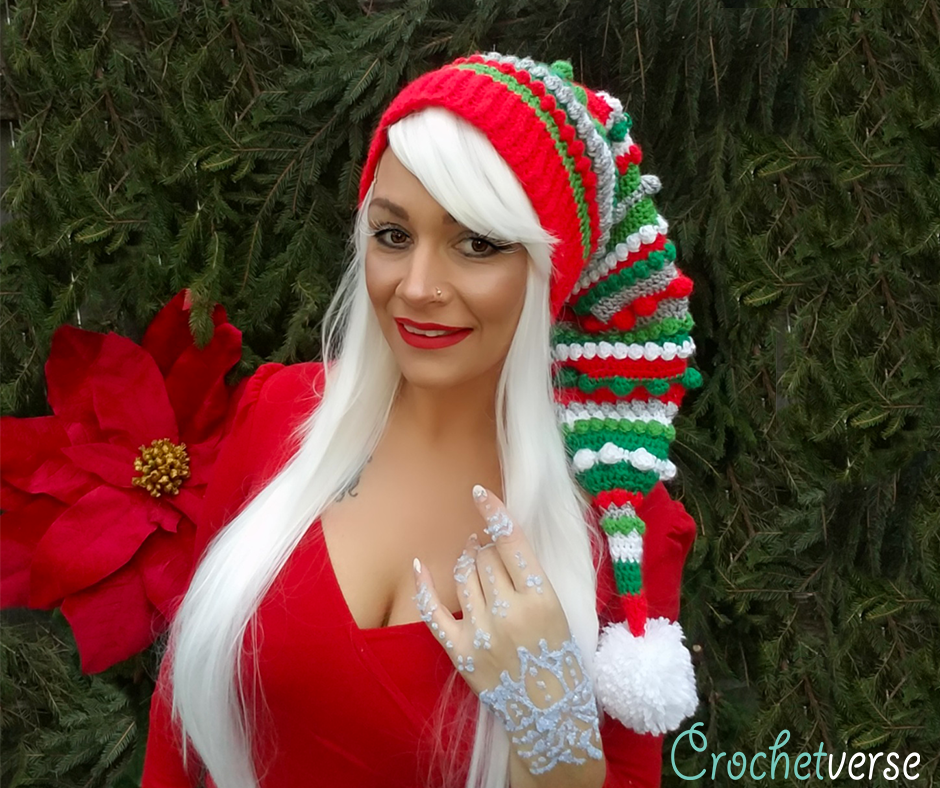
ELF YOURSELF!! (Or your hats and headbands and costumes! I’ve shown them here on my Winter Fairy Hat that can be found here: http://www.ravelry.com/patterns/library/fairy-bells-pixie-stocking-hat
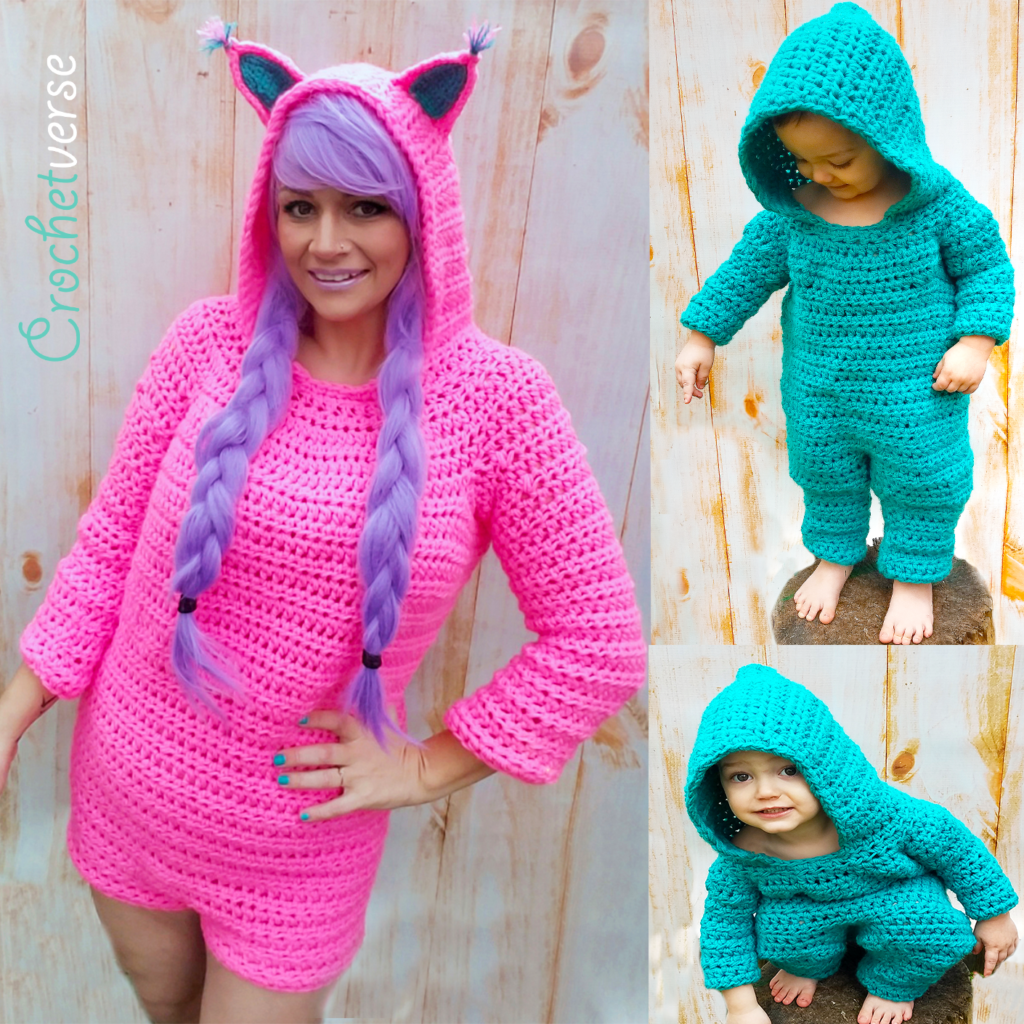
These are also super perfect to embellish up the new “Blank Canvas Onesie” Pattern!
This is my new pattern that is sized from 0/3 months to Men’s XL, yes ALL those sizes. This is my way of allowing all of you a blank canvas to create your costumes and cosplays with, after the popularity of my ET Crochet Costume! This pattern can be found here:
http://www.ravelry.com/patterns/library/blank-canvas-onesie
I’m sure you’re super busy getting ready for Santa, so let me get right to it!
Materials:
– Size E (3.25mm) crochet hook
– About 50 yards skintone yarn or whatever color matches your intended use
Instructions:
Fairy Elf Ears (Make 2)
NOTE: Use a bobby pin to mark the LAST stitch made of each round! This is important because this ear is designed to curve a bit and does not follow a standard pattern of increasing and decreasing. I catch just the outer most loop of the stitch so I don’t stretch the stitch of the piece and leave any gaps. We want these ears worked TIGHTLY. MARK THE ROUNDS!
Make a magic circle: Be sure to mark rounds, even one stitch off will alter the shape of the ear and it won’t stand up as nicely.
Do not join or turn rounds, worked in spiral. When stated to repeat: only repeat the instructions in the parenthesis immediately preceding the repeat instructions (here and throughout the pattern this applies)
Rnd 1: 4 sc in ring (4)
Rnd 2: sc in each sc around. (4)
*The above rounds are 1-2 are going to have the tendency to be kinda of hard to work, you can assist by not working too tight for the 1st 2 rounds and not pulling the magic circle closed tightly until you are a little further along. ALSO, they likely will flip inside out, take a second and wiggle that piece so the right side of the stitches are facing out again. The remaining rounds will get easier
Rnd 3: (sc in nxt sc, 2 sc in nxt sc) twice. (6)
Rnd 4: sc in each sc around. (6)
Rnd 5: (sc in nxt 2 sc, 2 sc in next sc) twice. (8)
Rnd 6: sc in each sc around. (8)
Rnd 7: (sc in nxt 3 sc, 2 sc in nxt sc) twice. (10)
Rnd 8: sc in each sc around.
Rnd 9: (sc in nxt sc, 2 sc in nxt sc) five times total. (15)
Rnd 10: (sc in nxt 4 sc, 2 sc in nxt sc) three times total. (18)
Rnd 11: sc in each sc around. (18)
Rnd 12: sc in nxt 8, 2 sc in each of the nxt 2 sc, sc in nxt 6, 2 sc in each of last 2 sts. (22)
Rnd 13: sc in 1st 6, 2 sc in each of the nxt 3, sc in nxt 10, 2 sc in each of the last 3 sc. (28)
Rnd 14: sc in each sc around. (28)
Rnd 15: sc in nxt 7, 2 sc in each of the nxt 4, sc in nxt 11, 2 sc in each of the nxt 4 sc, sc in the last 2. (36)
Rnd 16: sc in each sc around. (36)
Rnd 17: sc in nxt 10, (sc dec over nxt 2 sc) twice, sc in nxt 16 sc, (sc dec over nxt 2 sc) twice, sc in the last 2 sc. (32)
Rnd 18: sc in nxt 9, sc dec over nxt 2 sc, sc in nxt 18, sc dec over nxt 2 sc, sc in last sc. (30)
Rnd 19: sc dec over nxt 2 sc, sc in nxt 5, sc dec over nxt 2 sc, sc in last 21 sc. (28)
Rnd 20: sc in nxt 6 sc, (sc dec over nxt 2 sc) THREE times, sc in last 16. (25)
Rnd 21: sc in nxt 4 sc, (sc dec over nxt 2 sc) THREE times, sc in nxt 10 sts, sc dec over nxt 2 sc, sc in last 3 sc. (21)
Rnd 22: sc in nxt 3 sc, (sc dec over nxt 2 sc) THREE times, sc in last 12 sc. (18)
Rnd 23: (sc in nxt sc, sc dec over nxt 2 sc) SIX times. (12)
Rnd 24: (sc dec over nxt 2 sc) SIX times, sl st to 1st st made, leave long tail to seam opening closed and to secure ear to hat
I think these look best when secured through the bottom inner ear so that all the edges are free, similar to a real ear.
I’ve also blinged them out using some flat back rhinestones and E6000 glue, because my fairy dreams are fancy!
I would really love to see what you ELF! Show me on one of the social media sites linked below!
Much Love & Yarn,
Stephanie
The information and photos in this posting are the sole copyrighted property of Crochetverse©2016. Please do not copy and paste any of the information contained within either electronically, verbally, or written in part or in whole. Instead, please share the DIRECT LINK to this posting only, and if you do, I thank you for sharing. You of course may sell anything you make from this pattern that you have made with your own two hands, no contract labor or mass productions are permitted. If you credit Crochetverse as the designer that is greatly appreciated! If you are seeing this pattern anywhere but www.crochetverse.com, you are being presented a stolen copy. I work really hard to make fun stuff for all my crochet family. Please let me know if you see this elsewhere!


What about the stocking cap???????
My friends and I have fallen in love with this.
Is there a pattern Anywhere?
I apologize if I missed it. Still recovering from brain injuries.
Thanks in advance for any suggestions.
Hi! I hope you are doing well! That is called the Fairy Bells Hat and you can find it at http://www.ravelry.com/designers/stephanie-pokorny <3
Comments are closed.