Well, today I pulled down the 2015 calender and put up the new one. Welcome 2016!
Christmas is over. New Year is here. This can only mean one thing to a holiday obsessed person such as myself.
VALENTINE’S DAY is here! LOL, well, maybe not yet, but all the candy is in the stores already, so that must mean it’s true 😉 And YOU, most definitely, ROCK!
But, it’s finally COLD here. So what to do, what to do? Crochet something of course.
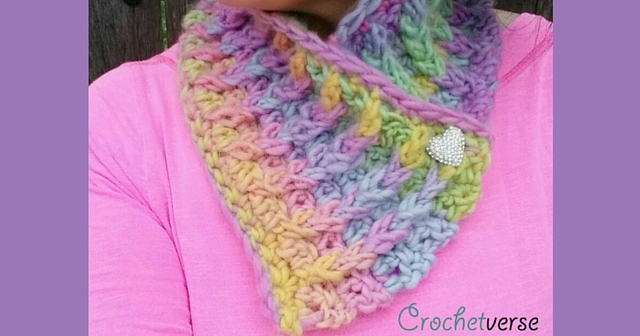
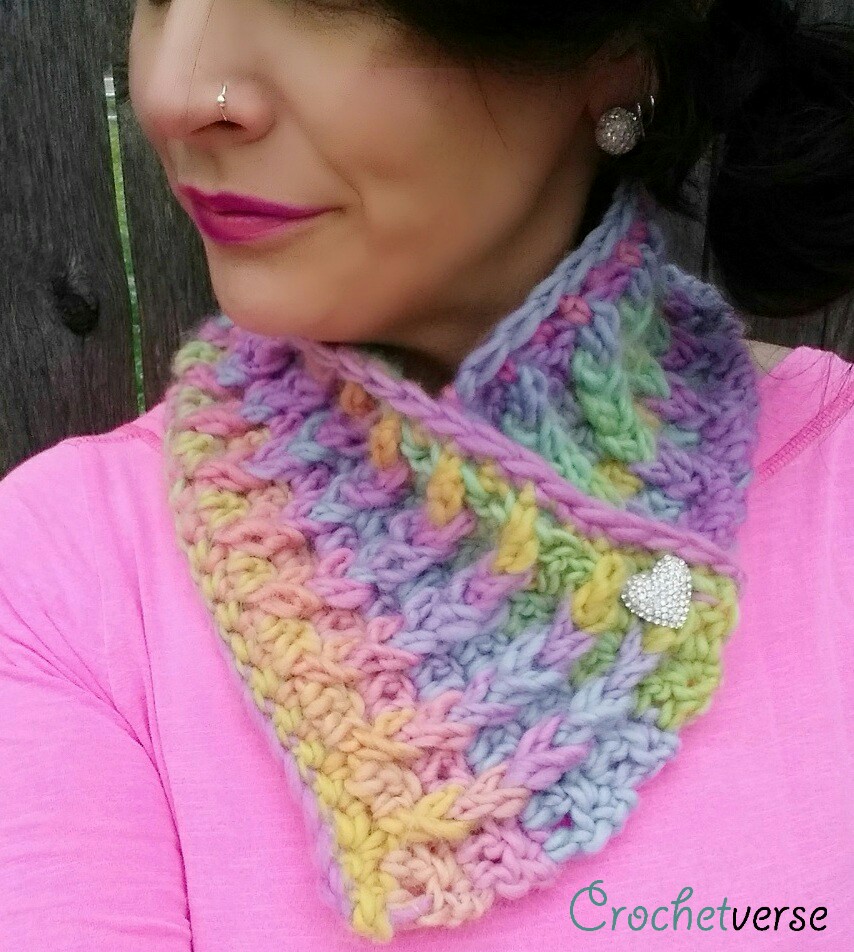
Have a look-see at my new “Be Mine” Candy Cabled Cowl.
Don’t those colors just scream Conversation Hearts?! I think I even heard it say “Kiss Me” (Which I did. But I do that to all my yarn. Don’t judge)
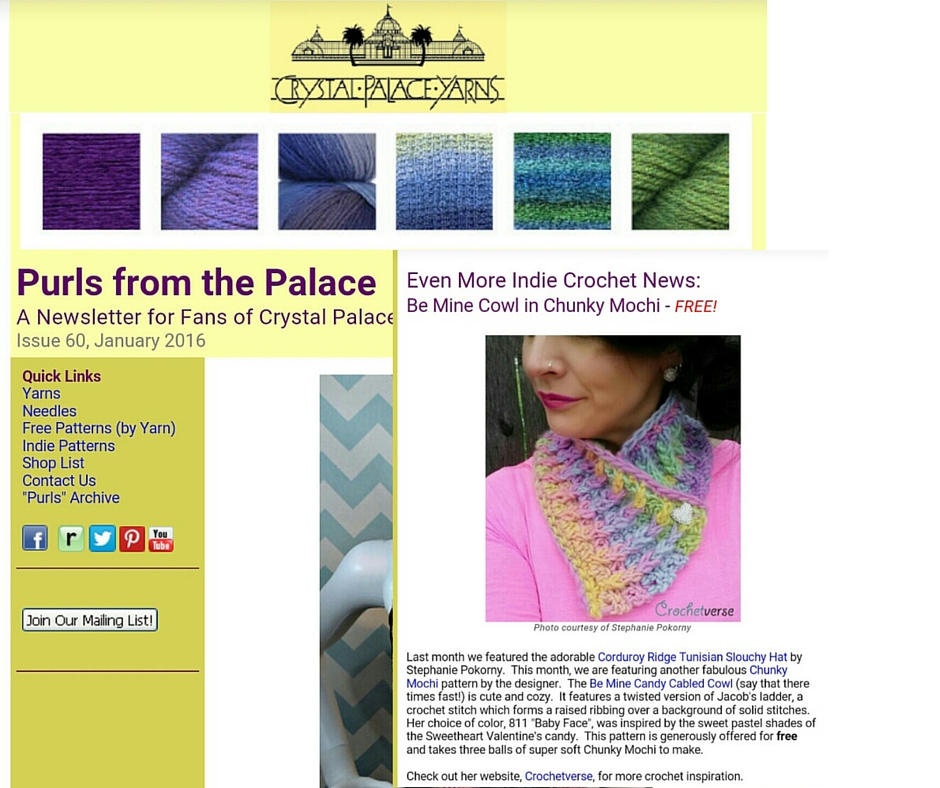
Delighted to have the cowl featured in the January 2016 Newsletter for Crystal Place Yarns, the manufacturer of the gorgeous yarn used in the cowl, Chunky Mochi!
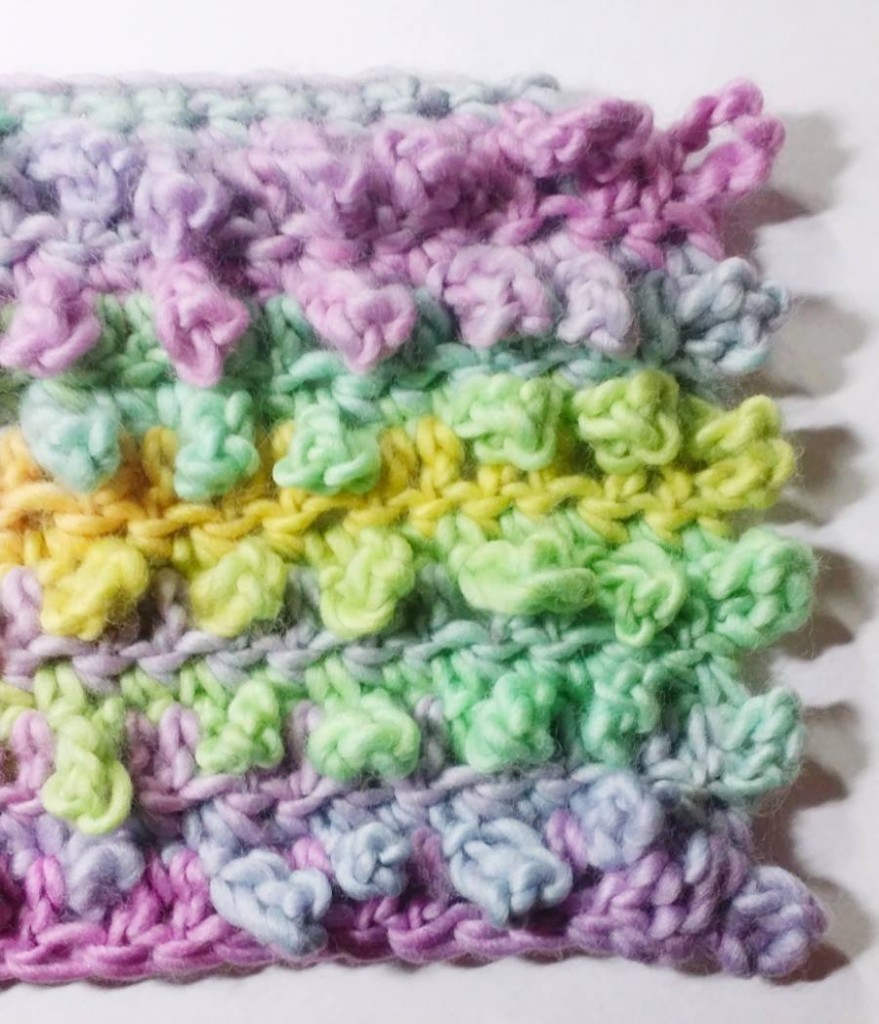
The interesting thing is…it looks cabled, but it is NOT done using standard crochet cable techniques. It’s actually a spin in the Jacob’s Ladder stitch, but with a TWIST….literally!!!
It can be made with 150 yards of any chunky weight yarn, but the design really lends well to a self-striping yarn.
Materials:
– 150 yards chunky weight size 5 yarn
(Shown: 3 Balls Crystal Palace Chunky Mochi in Babyface)
– size N (9.0mm) crochet hook
– large eye tapestry needle for weaving ends
– button, pin, or closure of your choosing
Finished Size:
5.5” tall x 24” long
Sized For:
One size fits most teen to adult
Instructions:
Chain 45:
**as opposed to working in the loop of the chain as standard, turn the chain over and see the BUMPS on the back of each chain, insert your hook under the BUMP for this piece, it creates a neater edge**
Row 1: Sc in 2nd hump from hook and each hump across. (44 sc)
Row 2: ch 1, turn, sc in same st and nxt st, ch 6, *sc in nxt 2 sts, ch 6, repeat from *, across, after the final ch-6 that is hanging off the end, sl st back into the last sc made to close that loop.
Row 3: While working keep all ch-6 loops to the BACK or BEHIND the current row, ch 1 (doesn’t count as a stitch), dc in the 1st sc and each sc across. (44 dc)
Row 4-13: Repeat Rows 2-3, FIVE times more.
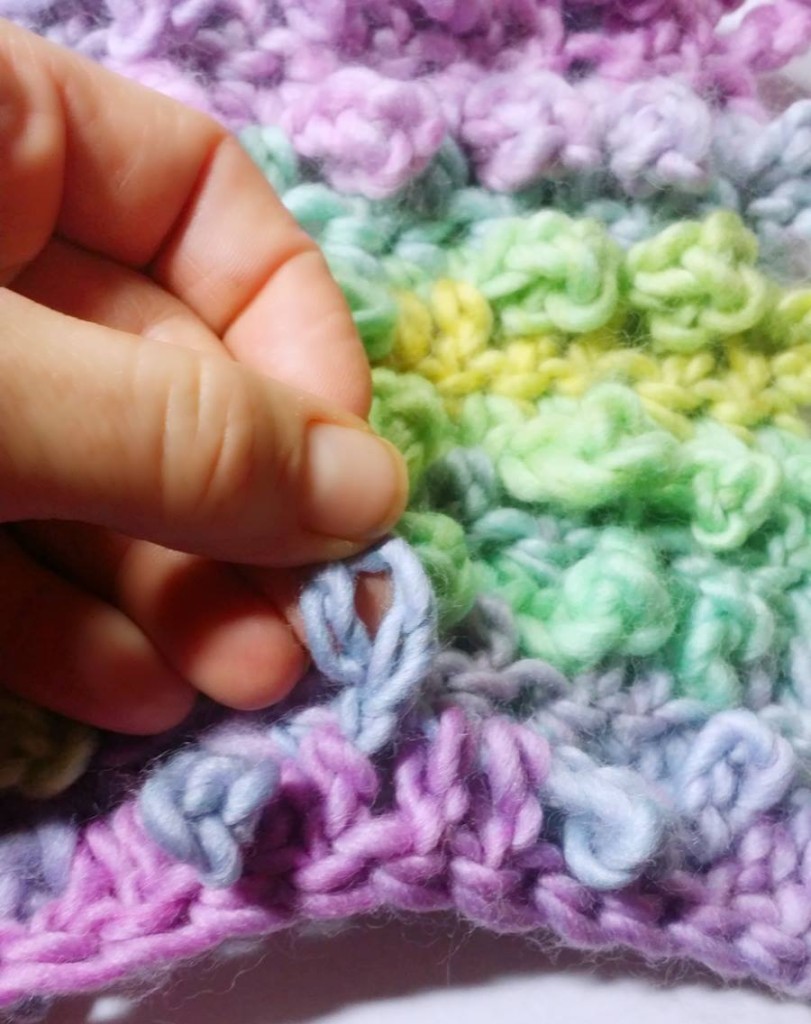
At this point you will have a rectangle with 22 vertical rows of 6 loops each, like this:
Now we will cable and secure the loops. Align the cowl so row 1 is on the bottom, row 13 is on the top and the loops are all facing you. Begin, at the bottom right corner loop (this is not the one shown in the photo, but start where I’ve stated), grab the loop and give it a ½ COUNTER clockwise turn, like so:
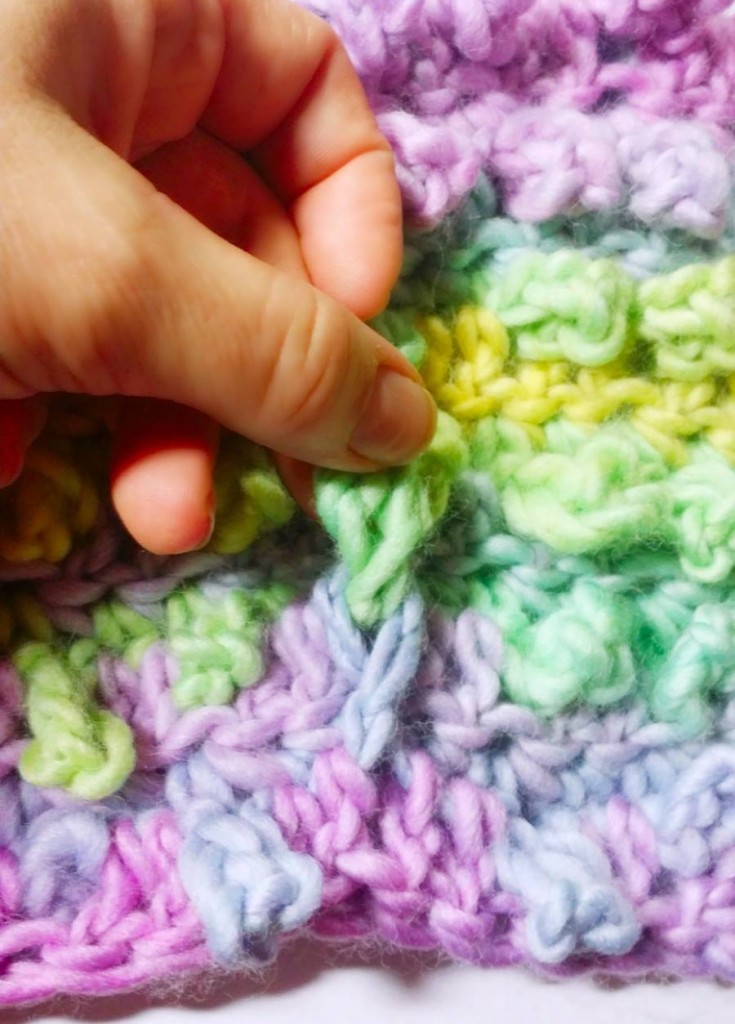
Next, pull the untwisted loop directly above it THROUGH the loop you just twisted, like this:
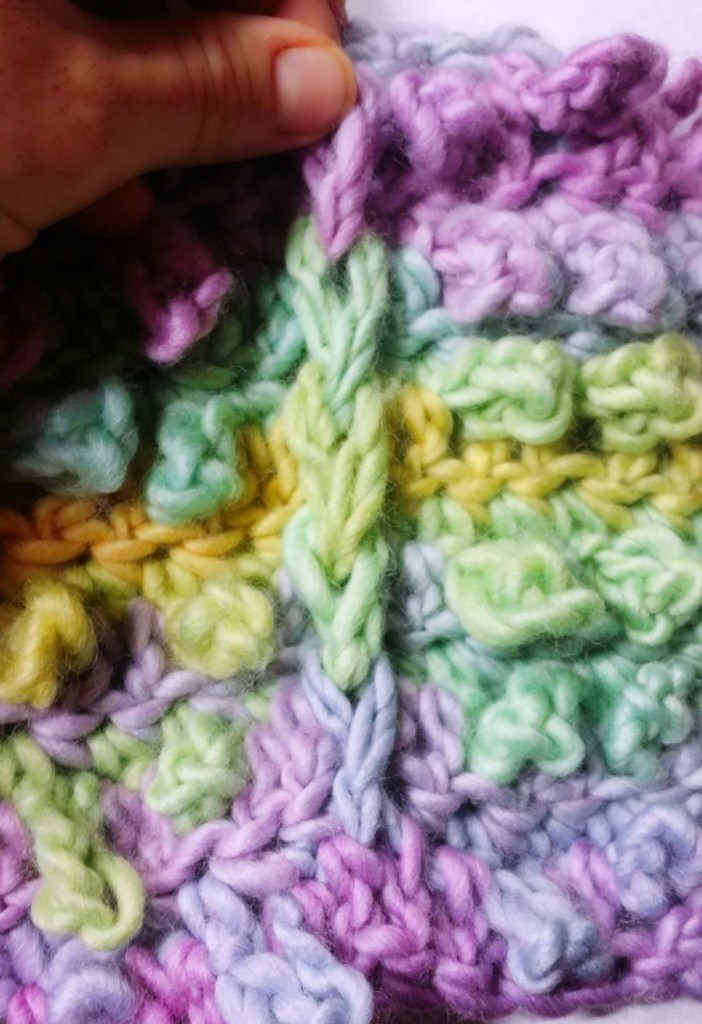
Now, twist that loop you just pulled through ½ turn counterclockwise, then pull the next loop above it through that twisted loop as before. Continue to pull each loop above through the twisted loop below it, then twist that loop, all the way to the top, shown here:
Finally, we will secure these top loops by working a row of single crochet across the top, catching that final loop as we work.
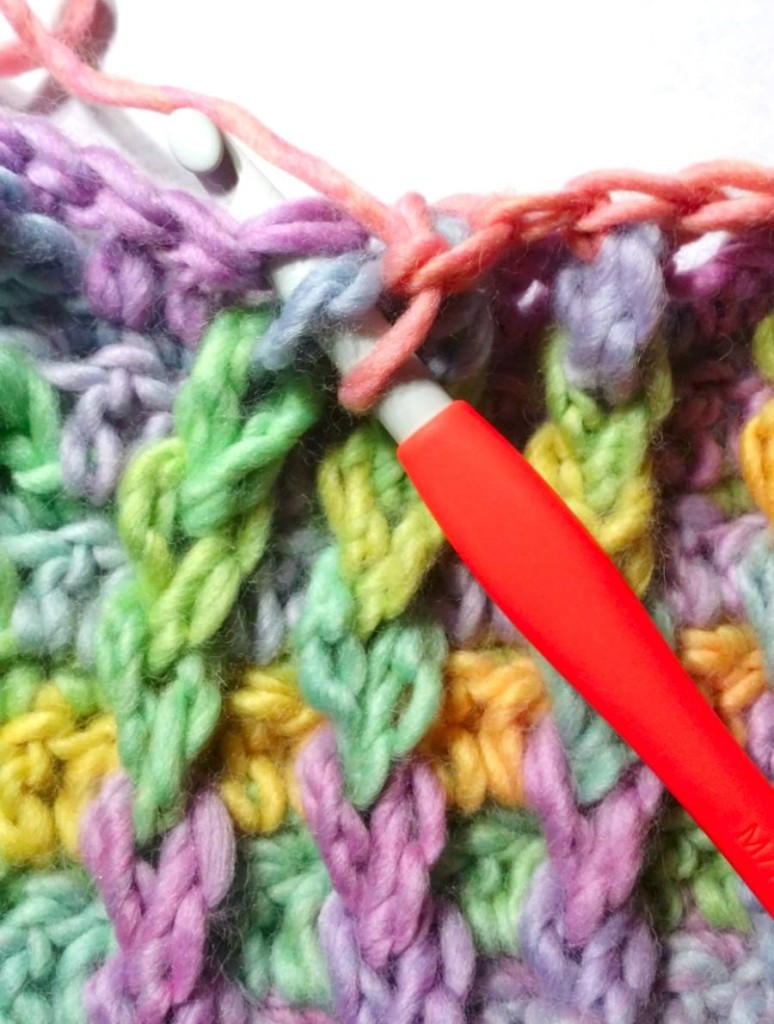
Row 14: ch 1, sc in the 1st st, now catch that final twisted loop and single crochet through that and into the next sc of row 13 as shown below (working yarn, through the twisted loop from front to back and into the nxt sc on the row), sc in the nxt sc on row 13 normally, twist the next vertical row of loops to the top and then sc in the next sc on row 13 catching that loop. Continue to alternate a sc on row 13, then a sc on row 13 securing the next loop until you reach the other end.
Row 15: ch 1, turn, sc in each sc across, tie off.
Finishing:
Weave in all ends and attach whatever buttons or pins you’d like.
If you’d be a sweetheart, I’d LOVE if you’d come over and post your projects on the FACEBOOK PAGE HERE! That way I can see your pretty creations and you can stay up to date with all the exciting things here in the big wild world of the Crochetverse!
2016: Please share the link and watermarked photo anywhere you like! Please do not copy the info within and post elsewhere. You may sell anything that you make from it, that you, the original pattern purchaser, makes with your own two hands. No farming out of labor or mass productions permitted. Thank you so much!
Follow us on Instagram HERE!
Follow us on Facebook HERE!
Follow us on Twitter @Crochetverse



Hi! I like everything you make,you have so much talent.I love that your patterns are explained so well,makes it easy to follow. Keep-up the good work! Always looking forward toseeing what you create so well. 🙂
Thank you Diane! That’s so wonderful to hear!
Thanks for sharing this pattern!
Thank you! HAPPY NEW YEAR!
where do I find the type of yarn you used for this cabled candy cowl?
The yarn can be found at Jimmybeans Wool and Craftsy as well 🙂 It is by Crystal Palace. You could also sub in any chunky weight self striping yarn as well. I’ve also seen some folks thinking about trying it holding Lion Brand Unforgettable double stranded. In addition, If you have a worsted weight yarn and want to work it singly, the pattern is a multiple of 2, so you could increase the beginning chain to any multiple of 2+1 to achieve a length you like. Someone was telling me they had plans to double it for an infinity scarf as well. Hope this helps, please ask if I can help you further!
Wanted to say THANK YOU THANK YOU for your note ** working the 1st row in the BUMP on the back of the chain”, I’ve been doing this for years with scarfs, blankets even the bottom edge of sweaters! Looks so neat and matches the ending edge of scarfs etc.
So welcome thank you so much for visiting me here on Crochetverse!
WHERE ARE DIRECTIONS FORF SUNSHINIFIED CHUNKIFIED COWL..KIKDEEPS SENDING ME TO
CABLED CANDIED COWL????
HI! THEY ARE THE SAME! If you read the sunshine cowl, it firstly states the materials, then offers link to the instructions at the cabled candy cowl. BELOW that there are three bullet points telling you how to modify to achieve. Just read through the entire post and all the info is there so you can make that chunky version of the cowl. THANKS!
Comments are closed.