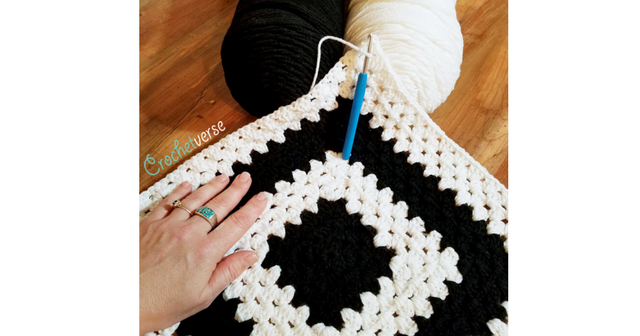
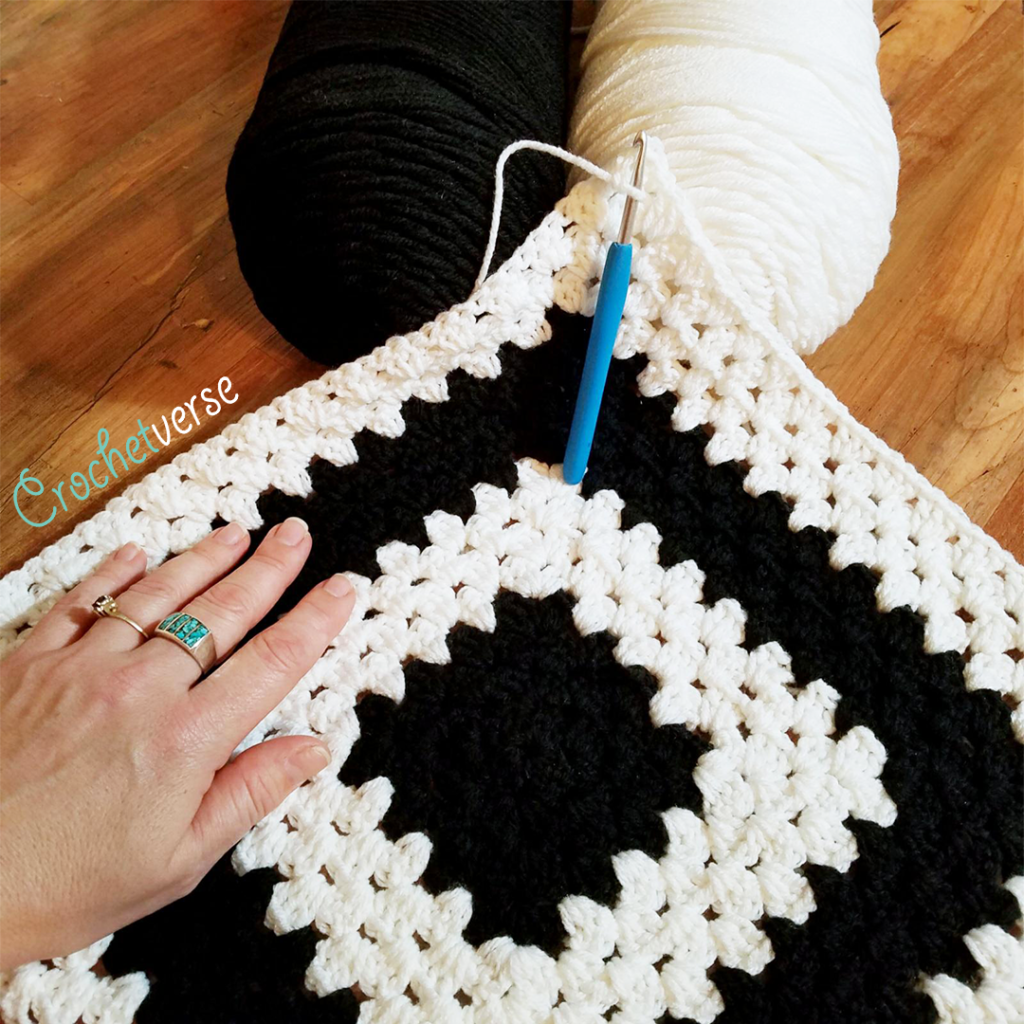
Let’s Talk About our Grannies! Crochet ones that is!
One of the most calming things ever for me, nearly therapy, is sitting down and making a good ole’ classic granny square. Sometimes, when I am super calm I can do it without even looking. Always has been and always will be one of my favorite things in crochet!
BUT…as classic as it is…everyone seems to do it a *hair* different!
I am a round turner, 3 dc grouper, no chains between the sider, and only one chain in my corners! I know there are so many way to do a granny, but over the years, I have found that *these* are my favorite things and ways to make a nice granny!
Have you ever seen a granny begin to slant and rotate in the center as it grows larger and larger? I can solve that! All you have to to do is turn your work between every round. This makes it stay nice and squared up no matter how big you grow!
I like a nice worsted weight yarn and I usually pair it with a H (5.0mm) crochet hook.
It gives me some flexibility in the fabric, but still offers nice stitch definition and not huge holes between the stitches.
You can use ANY yarn and ANY hook that you think makes a nice fabric as you begin to work. If you want it less “holey” drop a hook size or two. If you want it more “lacey” and open, go up a hook size or two!
Here is my simple pattern, hope you enjoy!
Instructions: (US Terms)
Make a magic circle:
Rnd 1: ch 2 (counts as the 1st dc), 2 dc in the ring, ch 1, *3 dc in the ring, ch 1, repeat from * two times more, sl st to top of beg ch-2. (12 dc or 4 groups of 3 dc each)
Rnd 2: turn, sl st into the 1st ch-1 sp (might be a little tight, but you can do it), ch 2 (counts as 1st dc), (2 dc, ch 1, 3 dc) all in the same ch-1 sp, *(3 dc, ch 1, 3 dc) in the next ch-1 sp, repeat from * two times more, sl st to top of beg ch-2. (24 dc or 8 groups of 3 dc each)
Rnd 3: turn, sl st into the sp between the 3dc groups on the side (not the corner ch-1 sp), ch 2 (counts as 1st dc), 2 dc in the same sp, (3 dc, ch 1, 3 dc) in the nxt ch-1 sp at the corner, *3 dc in the nxt sp between the 3dc groups on the side, (3 dc, ch 1, 3 dc) in the nxt ch-1 sp at the corner, repeat from around, sl st to top of beg ch-2.
Rnd 4: turn, sl st into the sp between the nxt two 3dc groups on the side, ch 2 (counts as 1st dc), 2 dc in the same sp, *(3 dc, ch 1, 3 dc) in the nxt ch-1 sp at the corner, 3 dc between each 3dc group on the side until the nxt ch-1 sp corner is reached or beginning 3dc group if you were in the middle of a side when the round began, repeat from * around, sl st to top of beg ch-2.
Continue repeating round 4 until the piece is the desired size, BUT NOTE THE FOLLOWING:
As you work you will eventually shift to having your first ch-2 in the corner, at this time you will begin with the ch-2 and complete the corner by working (2 dc, ch 1, 3 dc) in the space.
In short, it is as easy as making:
THREE DC in each space between 3dc groupings along the sides.
(THREE DC, CHAIN ONE, THREE DC) all in the ch-1 sp at each corner.
Color Change: If you want to change colors, you can do so at any new round. I join my new color in the same space I would have slip stitched to if I was not changing color, then begin by chaining 2 to start the round as in the pattern.
Join me on my Facebook page with a like! http://www.facebook.com/crochetverse
Join my grou to share projects with others! https://www.facebook.com/groups/251695645349035/
Copyright Info/Selling: You MAY sell anything you make from this pattern, anywhere and anytime. I do ask that you credit Crochetverse as the designer if you do. You MAY NOT copy the info and post it elsewhere either free or paid. Please instead LINK to this page directly. You may NOT change parts of the pattern and claim it as your own, to offer for free or for sale. I love crochet and by doing these things for me and honoring copyright, I can continue to share my love and passion with you allowing you to bring joy to others through your hand created art.
Much Love and Yarn,
Stephanie
The information and photos in this posting are the sole copyrighted property of Crochetverse©2018. Please do not copy and paste any of the information contained within either electronically, verbally, or written in part or in whole. Instead, please share the DIRECT LINK to this posting only, and if you do, I thank you for sharing. You of course may sell anything you make from this pattern that you have made with your own two hands, no contract labor or mass productions are permitted. If you credit Crochetverse as the designer that is greatly appreciated!


Great tutorial! I love Granny squares. I think they are a wonderful introduction to crochet. There are so many variations and color combinations to explore, you would never get bored. Thanks for sharing!
Thank you so much Kathryn!
[…] Stephanie Pokorny of Crochetverse has done it again! Get her sandworm appliqué here and the free afghan pattern here. […]
Comment:hi, i love your granny blanket, but could you please tell me what do you mean by just turn your work to keep the blanket from slanting, should i bind off and start from a different corner ?
Hi! When you do a continuous granny square blanket, you can either work in continuous rounds without ever turning your work (just round and round and round) and this can sometimes result in a finished piece where the center begins to “twirl” from the outside rounds, just by nature of the general slant of crochet work. I prefer to turn after ever round to eliminate this possibility. I would NOT bind off and start from a corner, I would just chain up and begin on a cluster if I was in the middle of the row. Then just treat that chain 2 (or 3 if you prefer for dc) and join to it, then turn the work to begin. Hope that helps! If you need more help, visit me on Facebook at http://www.facebook.com/crochetverse <3
I’m trying my first Granny square afghan and I’m enjoying this pattern – especially turning the work to keep everything in line.
I do have a question – you slip stitch at the end of each round to join and then turn and slip stitch into the space before double crocheting. Why not just double crochet into the space?
Is it about moving the yarn to the other side of the piece (because of the turn)? Or is there some other purpose?
Thanks!
I like to do that so I am in the correct position for the start of the row. I like that double crochet to originate from the space there. With that being said, if you are ok with the other, please feel free! Thanks for visiting!
I’m trying my hand with this Granny square pattern . Thanks for sharing it . I’m fairly new at crocheting also .
Hi! I hope you like it! I do because it can basically grow to any size and be any number of colors!
Comments are closed.