

")
Recently, I was exposed to this fun new trend!
Rock Hiding/Hunting/Hashtagging! Via Facebook!
In short, the members of your local area start a Facebook group as a “meeting place” for the hunt. Our local group is called “Northeast Ohio Rocks!”
(If you are local to Northeast Ohio, find that here: https://www.facebook.com/groups/303929096607159/)
In short, the members of your community hunt rocks (be sure they come from a place you are permitted to remove them from; our rivers here are a no-no usually, but trails are fair game!) Then, you decorate the rocks…most people paint them! On the back, you write the name of the Facebook group and your personally chosen hashtag, mine is #crochetverse! But you can get yours by using something similar to this instagram hashtag generator if you really wanted to be creative. Then, you place them in your community; whether at parks, craft stores, or a restaurant! When you come across one of the rocks, you take a photo and upload it to the Facebook group stating when and where you found it and use the hashtag so the creator can see! By doing this, we have managed to build a community on Facebook and have had a lot of people show interest. But this can work on any social platform. Maybe if you prefer Instagram, you can start building a community on there are hopefully grow your instagram followers. You may find that a lot of people take an interest in what you do and might want to be a part of it too! It’s all about having fun at the end of the day.
My kids loved finding the rocks, decorating and hiding them!
But, COME ON…you KNOW I was gonna take it “THERE”…. CROCHET COVERED ROCKS!
(and my painted ones! The rocks literally TOLD me what to paint them as!)
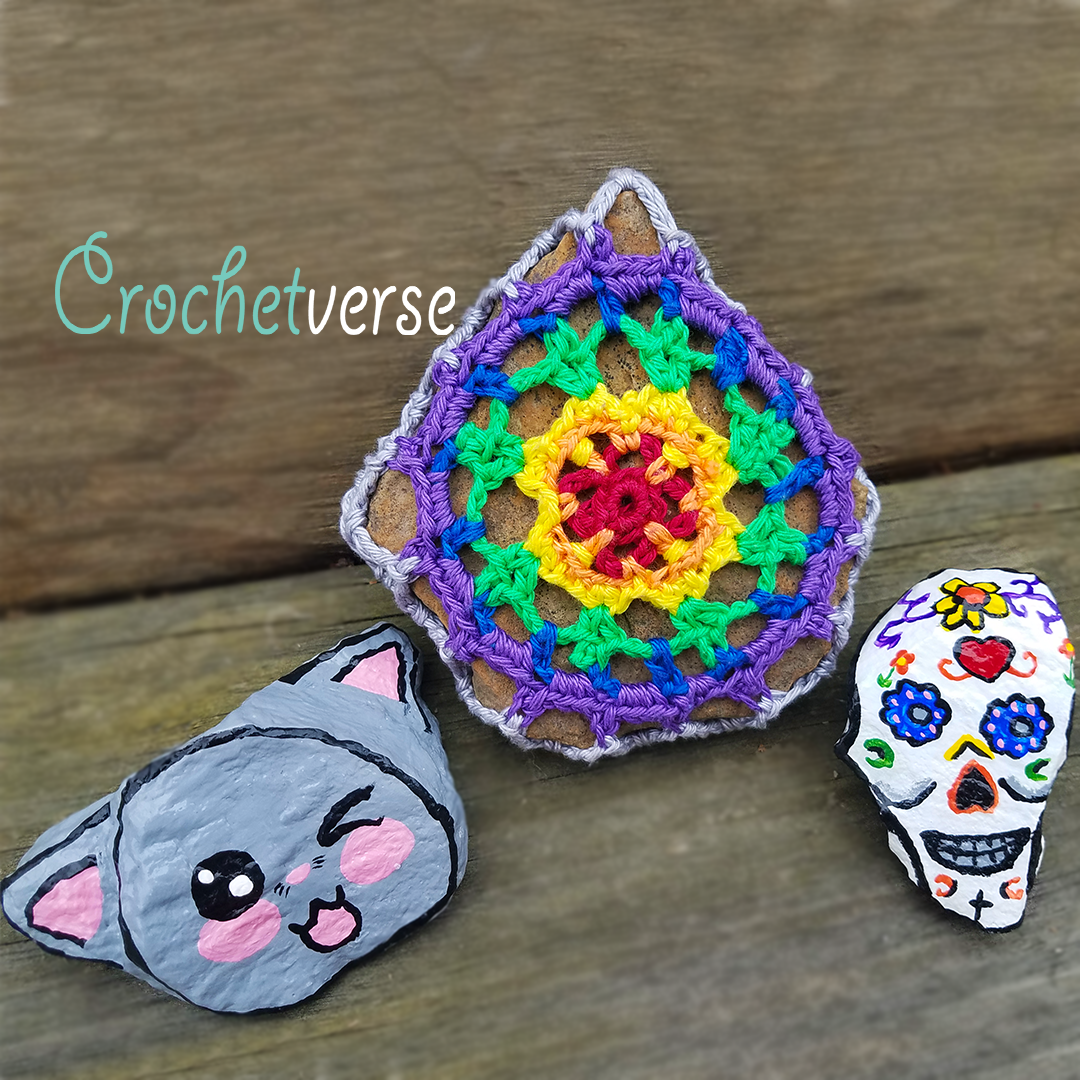
Sure, you can use this mandala for ANYTHING, a mini dream catcher, an applique, a coaster…whatever you wish too!
Choosing your rock:
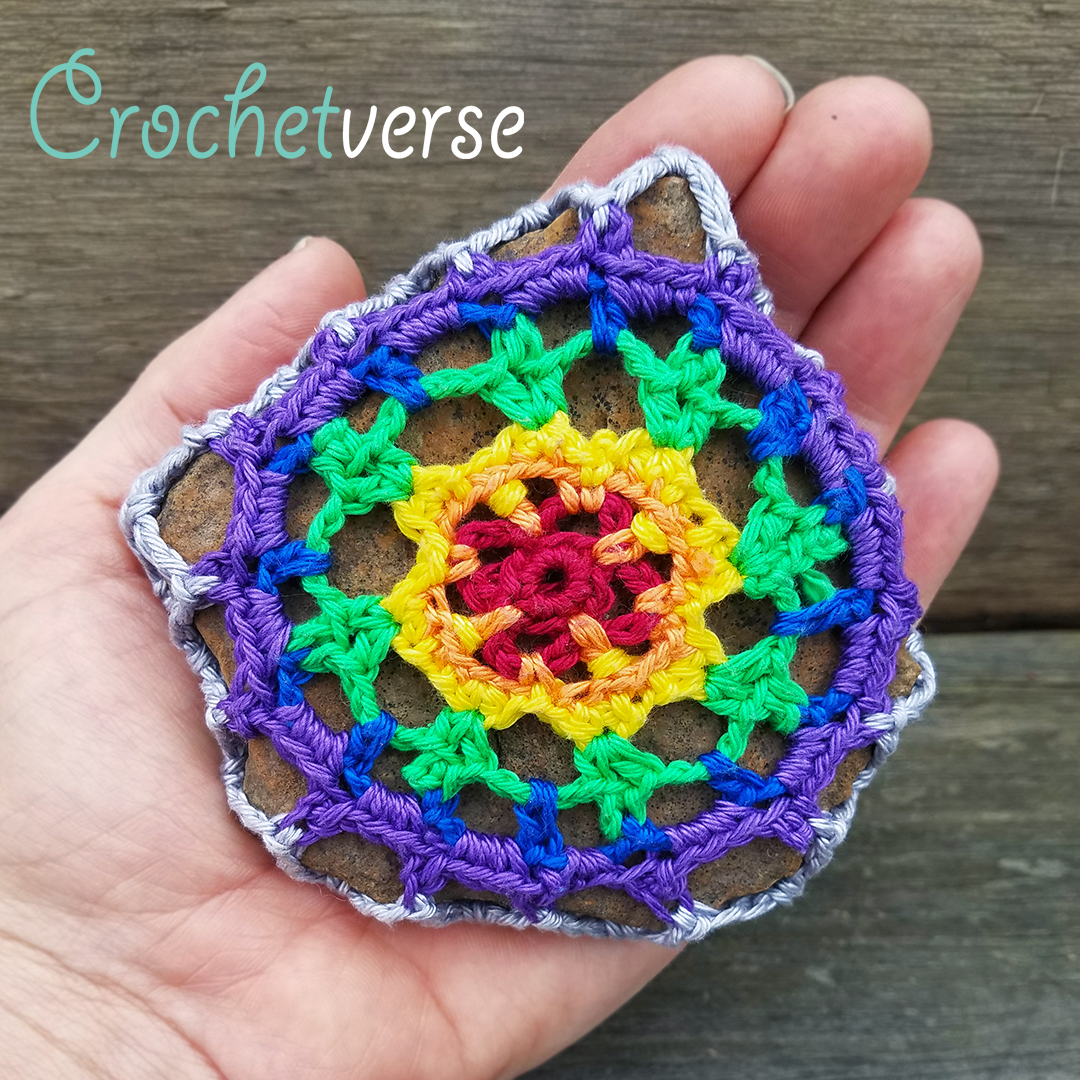
The finished mandala as written is about 3″ in diameter, so you will want to select a rock with a front or face surface AT LEAST THAT large and preferably a tad larger so the main mandala portion sits nicely on top of the rock.
The pattern will take you perfectly through the main rainbow mandala and then give you guidance to get it on YOUR rock, because of course, I cannot predict the shape and size of your own pet rock…nature at it’s finest!
Materials:
– small amounts of fingering weight cotton in colors of your choice -OR- DMC embroidery floss is a readily available perfect substitute!
(Shown is Scheepjes Catona in red, orange, yellow, green, blue, purple, and light gray)
– size B(2.25mm) crochet hook (careful as you close around the rock to not scratch your fave hook or use a cheapy for that part!)
– scissors and tapestry needle
Main Mandala Instructions:
Do not turn rounds:
With red, make magic circle; alterntely ch 2 and work round 1 in the 2nd chain from hook:
Rnd 1 (Red): ch 1, 8 sc in ring, sl st to 1st sc made. (8 sc)
Rnd 2 (Red): ch 1, sc in same st, (ch 5, sk nxt sc, sc in nxt sc) three times, ch 5, sk nxt sc, sl st to 1st sc made, tie off red. (4 ch-5 loops)
Rnd 3 (Orange): join orange with a sl st IN any ch-5 sp around, ch 1, (or join with a standing sc) sc in same sp, ch 3, dc in nxt sc on round 2 (between the ch-5 loops), *ch 3, sc in nxt ch-5 sp, ch 3, dc in nxt sc on round 2, repeat from * two times more, ch 3, sl st to 1st sc made, tie off orange. (4 dc and 8 ch-3 spaces)
Rnd 4 (Yellow): join yellow with a sl st in any sc around, ch 1 (counts as the sl st for that st), working into the actual chains of the nxt ch-3, *sl st in the nxt ch, 2 hdc in the nxt ch, sl st in the nxt ch, bphdc around the nxt dc, sl st in the nxt ch, 2 hdc in the nxt ch, sl st in the nxt ch, sl st in the nxt sc, repeat from *, two times more, eliminate final sl st on last repeat and sl st to 1st ch-1 made, tie off yellow. (8 flower “petals” made)
Rnd 5 (Green): join green with a sl st in the 2nd hdc of any 2hdc grouping around, ch 1 (does not count as st, all in same hdc work (hdc, ch 3, sl st in 1st ch of chain 3 “picot made”, hdc), then ch 3, *(hdc, ch 3, sl st in 1st ch of chain 3 “picot made”, hdc) in nxt 2nd hdc of nxt 2hdc group, ch 3, repeat from * six times more, sl st to 1st hdc made, tie off green. (8 “leafs” made)
Rnd 6 (Blue): join blue with a sl st in any ch-3 sp around, ch 1 (does not count as a st), hdc in same ch-3 sp, *ch 3, sl st in the next picot, ch 3, hdc in the nxt ch-3 sp, repeat from * seven times more, on final repeat eliminate the final hdc and instead sl st to the 1st hdc made, tie off blue. (16 ch-3 loops)
Rnd 7 (Purple): join purple with a sl st in any ch-3 sp around, ch 1, 3 sc in same ch-3 sp, ch 3, sl st in 1st chain of ch 3 “picot made”, *3 sc in nxt ch-3 sp, chain 3, sl st in 1st chain of ch 3 “picot made”, repeat from * around, sl st to 1st sc made, tie off purple. (16 picots, 16 3sc groups)
Customize and close around your rock:
I have used a simple chain mesh to close around my rock. This is basically a combo of sc and chains of varying counts to increase and decrease.
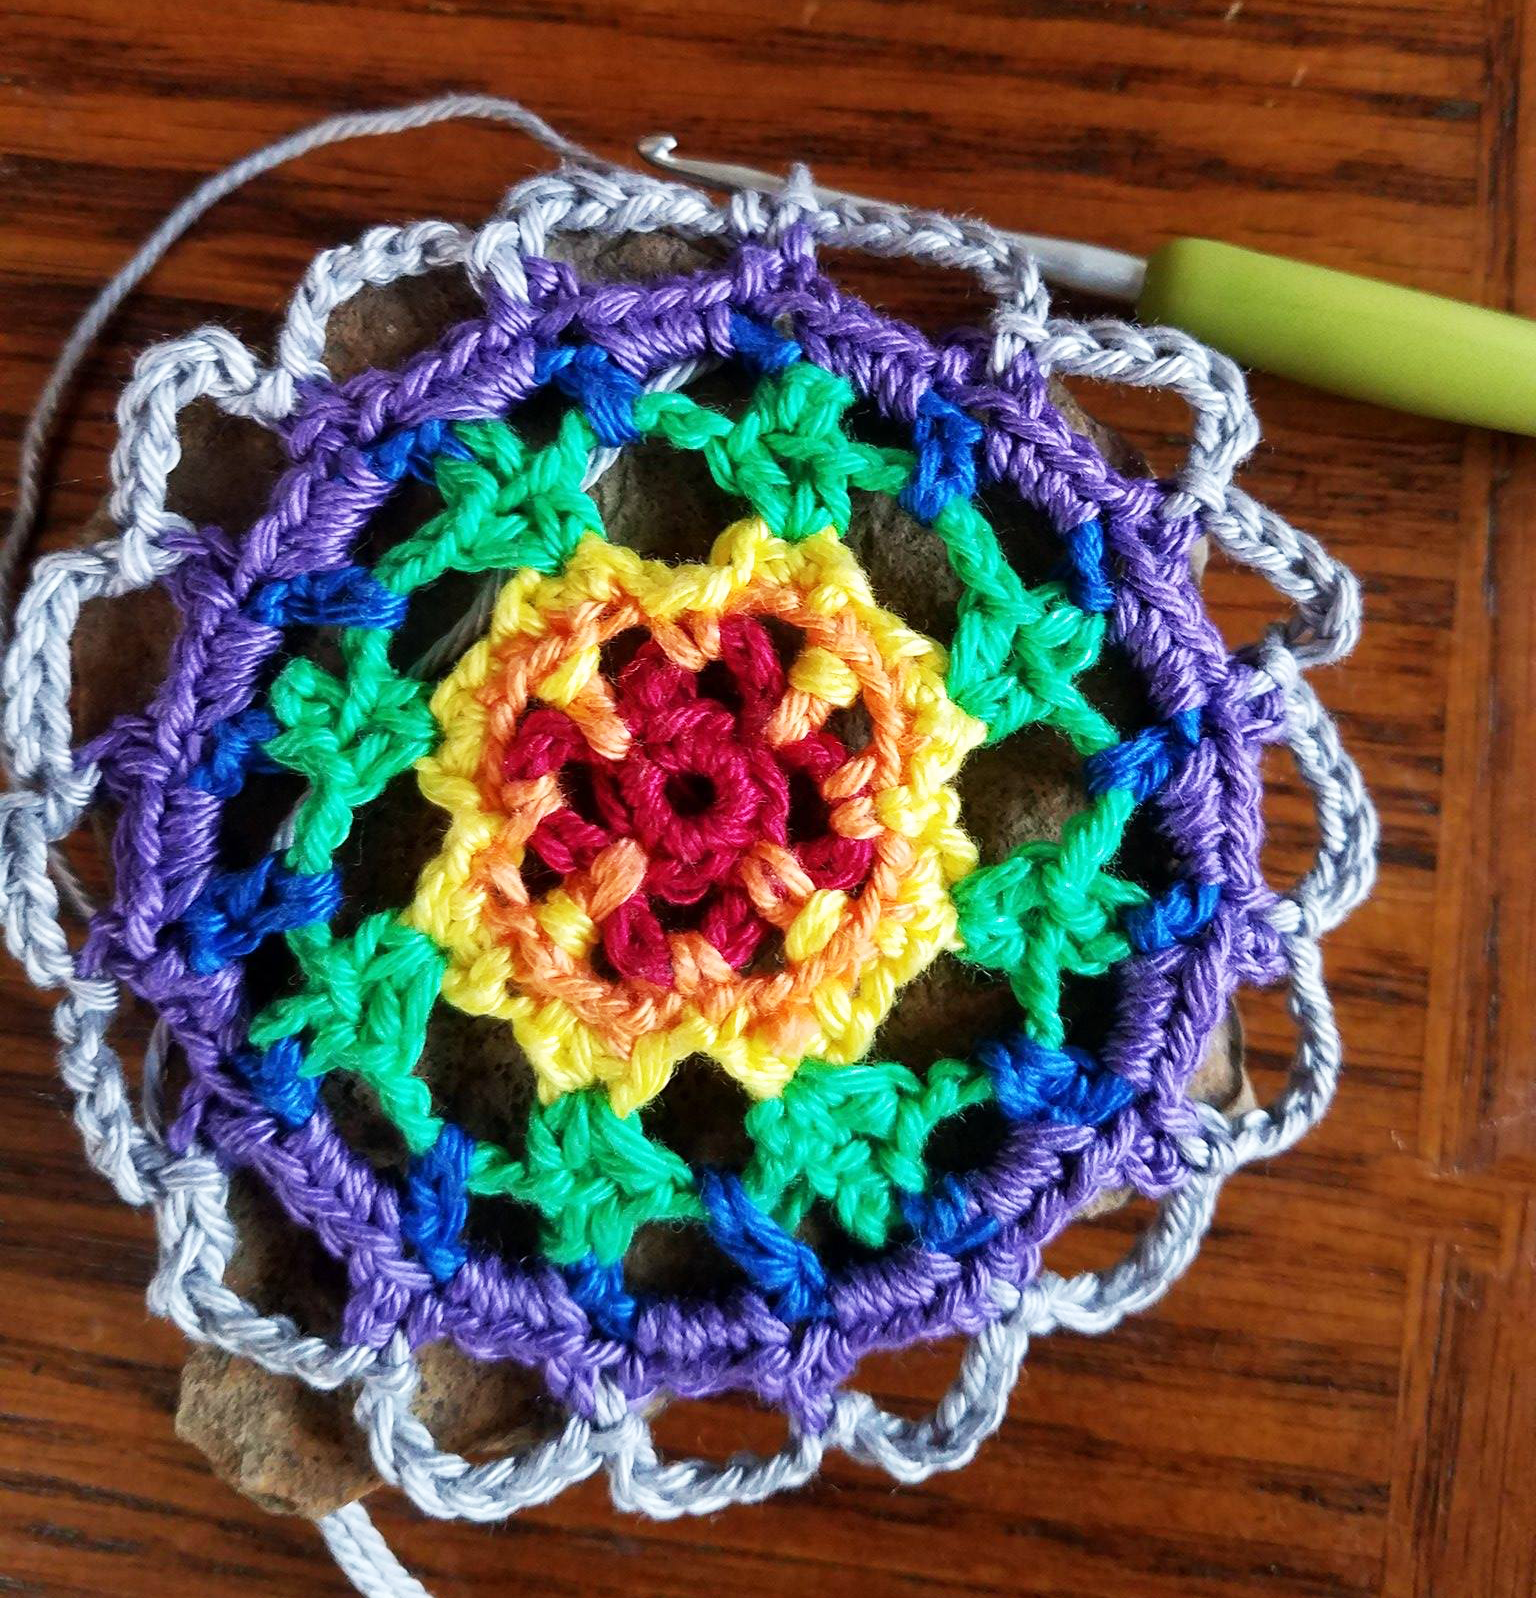
First increase to cover face of rock: Join the gray to any picot of round 7 with a sl st. Your goal is to first create rounds so the piece covers the top of the rock. If it is larger than the mandala you will increase a bit. My rock was a bit larger than my mandala so for MY first round, I worked:
ch 6, sl st in the nxt picot of round 7, ch 6, sl st in the next picot, repeat around, then sl st in the sl st join.
My rock was now covered across the face of it. If yours is larger still, you will sl st into the 1st ch-6 space you made, ch 1, sc in the same sp, then chain 8 and sc in the nxt ch-6 space, then chain 8, and repeat that around.
Continue increasing with the chains by 2 until your rock face is covered. Next round would be 10 chains between the single crochets. Here is my rock after increasing to cover the face; only one round did the trick:
Second decrease to wrap and secure cover around rock: Here you will need to use your discretion and artistic license to complete your rock. If it is a thick rock, you can work a few rounds the same as your last increase round to span the sides. If the rock is fairly flat, you will begin to immediately decrease to close the cover.
To decrease, you will simply decrease the number of chains worked in between the single crochets that you work in the chain spaces of the previous round. My rock was pretty flat. So, after I worked the chain 6 mesh round to cover the face of my rock; I immediately dropped to 4 chains between my sc.
Then, I slipped the piece over the rock and finished crocheting with it on the rock.
WARNING: Use an old hook or one that is not your fave in case you scrape it on the rock as you are crocheting.
After that I went to 2 chains between the single crochet. Finally, I chained 2 and single crocheted but only in every other chain space from the previous round, skipping one chain space in between each ch-2.
Final Close Round:
For a nice final round, I worked a single crochet for each chain around of the final net round, sl st to the 1st made and tied off.
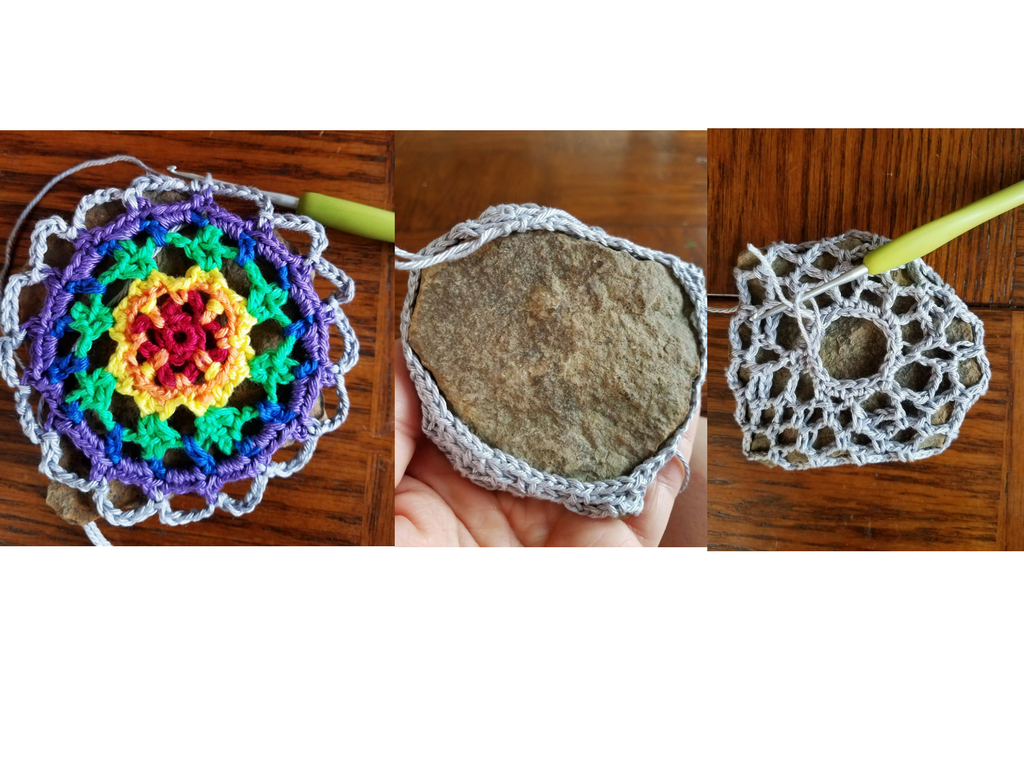
Here is mine, after covering the face (left), then decreasing the chains to work down the sides (middle), then decreasing and the final round to neaten the end (right):
 Weave in all the ends. NOW GO PUT THAT ROCK OUT! (Or save it, or whatever!)
Yes, it will get dirty, but it is made of cotton, so should be fine for a while. And heck, it is fun, so why not!
Thank you so super much to my amazing tester on this SUSAN, the woman, the myth, the legend!
If you are viewing this pattern anywhere but crochetverse.com or downloaded from the Official Crochetverse Ravelry or Etsy store, it is an illegal reproduction copy. Please help me stay on top of this by emailing me, so I may stay afloat and continue to share patterns and ideas with you all! <3 Much Love and Yarn Stephanie Follow on Facebook Here!
The information and photos in this posting are the sole copyrighted property of Crochetverse©2017. Please do not copy and paste any of the information contained within either electronically, verbally, or written in part or in whole. Instead, please share the DIRECT LINK to this posting only, and if you do, I thank you for sharing. You of course may sell anything you make from this pattern that you have made with your own two hands, no contract labor or mass productions are permitted. If you credit Crochetverse as the designer, that is greatly appreciated!

So cute!!!! Would look amazing lines up on a windowsill ❤️❤️❤️
Thank you so much, that would be so pretty!!
Comments are closed.