Free Tiny Crochet Octopus Pattern!
Crazy Hair Day? Keychain? On a hairclip? Hanging from your rearview mirror?
Just chillin’ on your desk?
Who wouldn’t need one of these teeny cuties?!
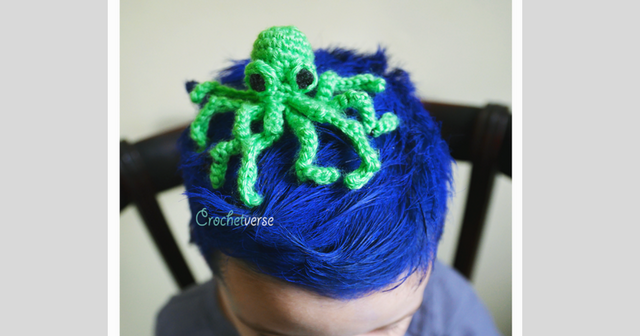
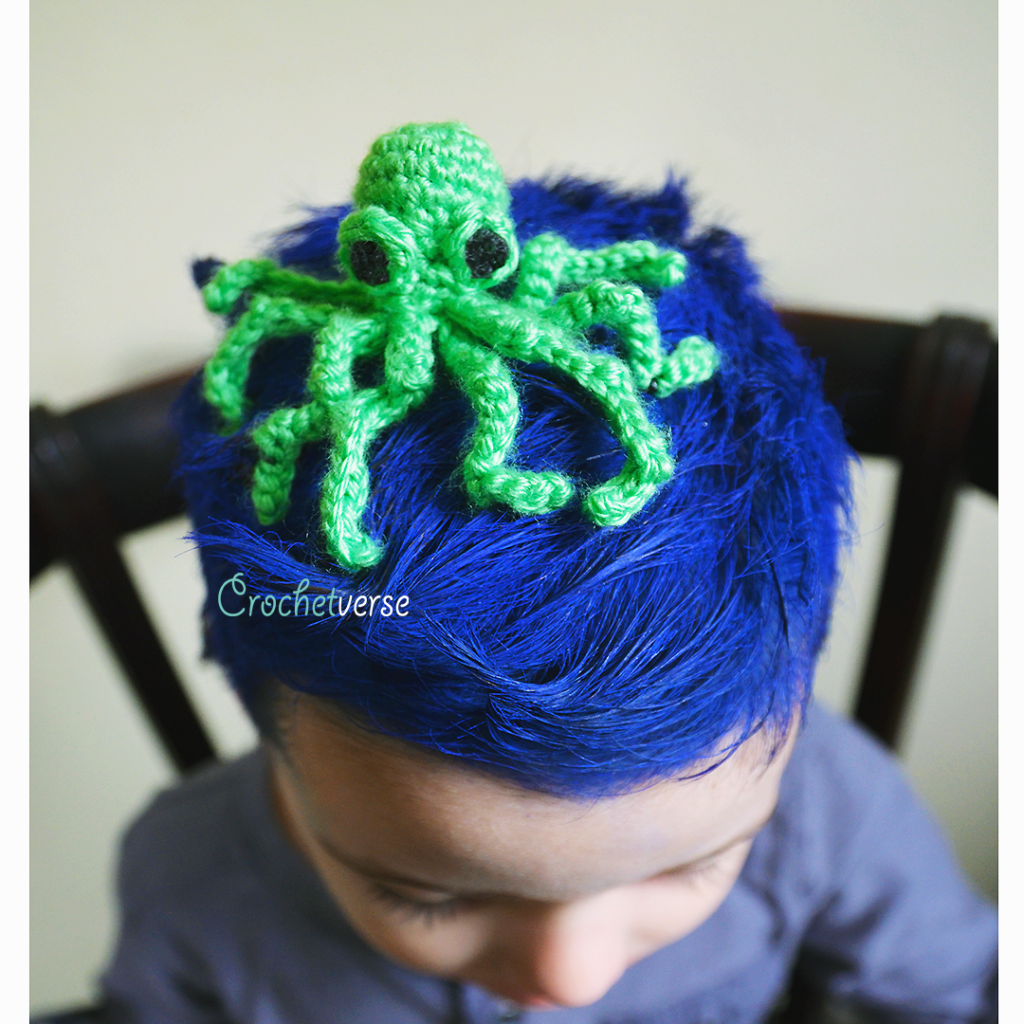
It was crazy hair day at my son’s school and there are TONS of ideas for girls, but really very few for boys. SOOO… we set out to fix that! A little blue temporary colored hairspray and some swirls to simulate the ocean and the little octopus is attached on top and…
RELEASE THE KRAKEN!!
This little mini amigurumi is fast and easy, let’s make one!
Materials:
- small amounts of worsted weight yarn, a light worsted such as Caron Simply Soft is the perfect choice for this. Shown is Caron Simply Soft in Limelight and Black.
- size E(3.5mm) crochet hook
- scissors & tapestry needle
- 8mm safety eyes OR black yarn to crochet them
Gauge:
While you don’t need to meet a certain gauge, you MUST be sure to work with TIGHT tension so there are no holes in your work. I tend to crochet on the tight side, so you may need to drop a hook size to achieve the same tight look that I have.
Finished Size:
As shown including all those legs, the octopus measures about 3″ tall.
Instructions: (US Terms)
Rounds are not joined or turned, the piece is worked in spiral. Use a stitch marker to keep track of rounds as needed.
Body (Make 1):
In body color, make magic ring, ch1:
Rnd 1: make 6sc in the ring, pull tail to close ring tightly. (6)
Rnd 2: 2sc in each sc around. (12)
Rnd 3: (sc in nxt sc, 2sc in nxt sc) 6x total. (18)
Rnds 4-5: sc in each sc around. (18)
Rnd 6: (sc in nxt sc, sc dec over nxt 2sc) 6x total. (12)
Rnd 7: sc in each st around. (12)
Rnd 8: (sc in nxt st, sc dec over nxt 2 sts) 4x total, cut yarn leaving long tail. (8)
If using safety eyes, insert them now between round 7 and 8 about 3sts apart.
Legs: (round 1 makes all 8 legs)
I work in the bb or back bump of the ch, this is the small hump on the reverse side of the ch. You can also work these sts in the traditional ch space.
Round 1: (ch16, slst in 2nd bb from hook, slst in nxt 2bb, 2sc in nxt bb, slst in nxt 3bb, scdec over nxt 2bb, slst in nxt 3bb, 2sc in nxt bb, slst in each of last 2bb) 8x total, slst to the 1st st made in the 1st leg made, cut yarn leaving a 12″ end tail.
Eyes (Make 2) (If crocheting them):
With black and leaving an 8″ beginning tail, make a magic circle, ch 1:
Row 1: make 3 sc in the ring, cut yarn leaving an 8″ end tail.
Row 2: leave an 8″ beginning tail, join the green with a slstblo of the 1st sc made in row 1, ch1, hdc in same back loop, make 2hdcblo in nxt st, hdcblo in last st, leave an 8″ end tail.
Eyelids (ONLY IF USING SAFETY EYES, Eyelids are already worked in the crochet eyes.)
Make 2. In body color, ch6, cut yarn leaving a long tail for sewing.
Assembly:
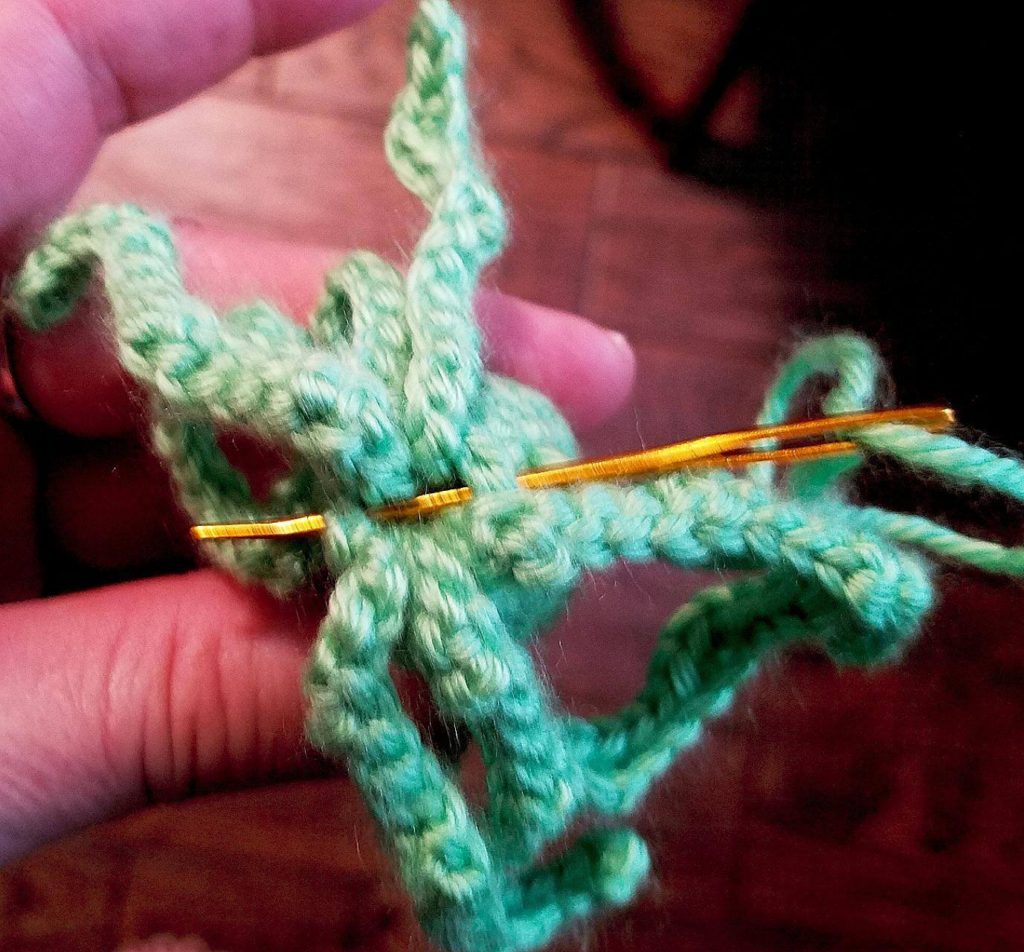
Using your hook or a pencil, shove the tail ends (for a little stuffing I don’t weave them, just shove them inside the head. Using the tail end from the body, stitch back and forth catching the legs to secure them inside the head and shape. Weave in beg tail of head.
Shape & Attach Eyes (crochet eyes only):
Take all the tails from one eye and overhand knot them together as you did the tentacles, being sure the knot is as close to the stitches as possible. Leave ONE of the body color tails aside, and use the remaining 3 and insert the needle into the body where you want the eye to sit, positioning the black stitches nearer the legs. Use the main pattern photo as placement guide. Trim those 3 tails close to the body. Take that 4th tail in the body color and use it to close the bottom of the green circle around the black with a few stitches to cover. Then, weave that tail in the body and trim. Repeat for the other eye.
Sew the ch6 eyelid in a complete circle around the eyes (either safety or crocheted), catch a loop of some of the chs to secure it around. When done, weave in all ends.
I used standard bobby pins to attach to my child’s head. Inserting the end into various places along the legs as I secured it so some stuck up and some stuck down. ENJOY!
That’s it, this little baby is done!
Please head to my Facebook page http://www.facebook.com/crochetverse and show me your newborn octopi!
Much Love and Yarn,
Stephanie
The information and photos in this posting are the sole copyrighted property of Crochetverse©2017. Please do not copy and paste any of the information contained within either electronically, verbally, or written in part or in whole. Instead, please share the DIRECT LINK to this posting only, and if you do, I thank you for sharing. You of course may sell anything you make from this pattern that you have made with your own two hands, no contract labor or mass productions are permitted. If you credit Crochetverse as the designer that is greatly appreciated!


He is adorable!! Thank you for sharing!!
Comments are closed.