

")
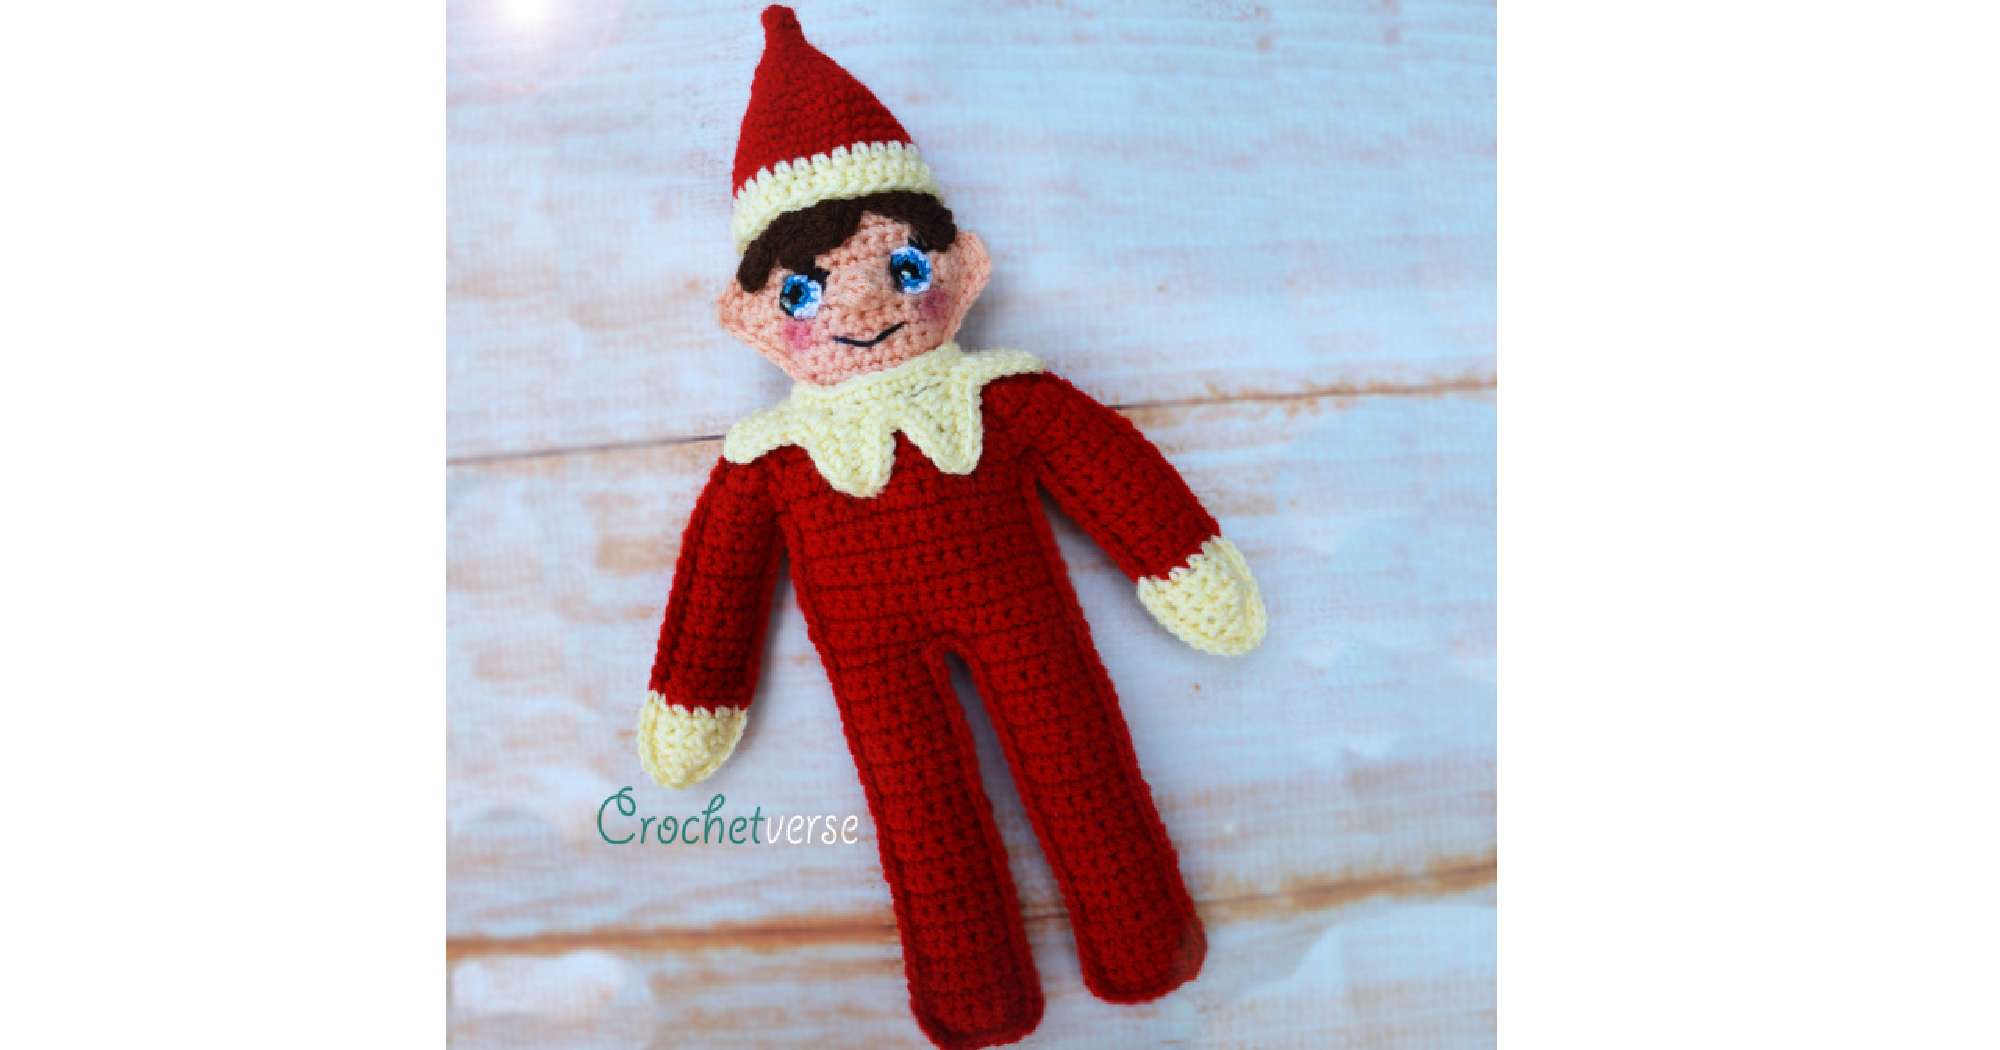
Welcome to Part Two of the Free Elf Ragdoll Crochet Along! This week…. we finish!
If you missed the Supply & Info Post, find that here: https://crochetverse.com/elf-ragdoll/
If you missed Part One, find that here: https://crochetverse.com/elf-ragdoll-part-one/
Please be sure to join the CAL – Crochet A Long group on Facebook. Not only are they our amazing hosts for the CAL, they have TONS of amazing other crochet alongs that you will be so happy you didn’t miss! Find that group here: https://www.facebook.com/groups/668646249929007/
Please also “Like & Follow” my Facebook page to stay up to date with everything going on at the Crochetverse. Find that here: https://www.facebook.com/crochetverse/
Not in CAL form, but I have MANY other Ragdolls and patterns, both free and paid, that I think you will enjoy browsing! Find all of them here: https://www.ravelry.com/designers/stephanie-pokorny
Finally, you can join my Facebook group for fun and showcasing your work! Do that here: https://www.facebook.com/groups/251695645349035/
Let’s dive right in, his collar is up first!
Collar:
With white, chain 25:
Row 1: sl st in 2nd ch from hook, ch 5, sc in 2nd ch from hook and nxt ch, hdc in nxt ch, dc in nxt ch, sk nxt 2 chs and sl st in the nxt ch, *sl st in the nxt st, ch 5, sc in 2nd ch from hook and nxt ch, hdc in nxt ch, dc in nxt ch, sk nxt 2 chs and sl st in the nxt ch*, repeat from *-* four times more, do not cut yarn. Continue to edge:
EDGE: ch 1, do not turn, working across the top edge in the loops of the beginning chain, make 3 sc in the 1st st, sc in the nxt 22 sts, work 3 sc in the last st, do not turn.
Continue along each “point” of the collar, work 3 sc up the sides, then 3 sc in the same st at the tips, make 3 sc down the sides, between the points work 1 sc into each st, join with a sl st to the 1st sc made for this edge round. Cut yarn leaving a 24” long tail to sew to body.
Position the collar around the neck with 2 of the points centered on the chest, one point will rest on each shoulder and the remaining 2 points will sit on the back. The seam should be on the back. I tacked the points into place on the body so they didn’t curl up.
Using the long end tail sew in place. Once done, weave the tails back into the body or collar and trim.
Nose:
With skin tone, chain 4:
Row 1: sc in 2nd ch from hook, (yo, insert hook into next st, yo and pull up a loop, yo, insert hook into the same st, yo and pull up a loop again, yo once more, insert hook into the same st, yo and pull up a loop, then yo one final time and pull through all loops on the hook), ch 1, sc in the last ch, leave a long end tail to sew to face.
Hair: (worked in the round)
With brown, chain 25, sl st to 1st ch made to form a ring:
Round 1: ch 1, hdc in same ch and in each ch around, sl st to top of 1st hdc made. (25)
Round 2: ch 4, do not turn, sc in 2nd ch from hook, hdc in nxt ch, dc in nxt ch, sk nxt st on round 1 and (sc, hdc) in the nxt st, sc in the nxt st, ch 6, sl st in the 3rd ch from the hook, hdc in the nxt ch, dc the nxt ch, 3 dc in the nxt ch, sk nxt st on round 1 and sc in the nxt 3 sts, ch 4, sc in 2nd ch from hook, hdc in nxt ch, dc in nxt ch, sk nxt st on round 1 and (sc, hdc) in the nxt st, dc in each rem st of the round, sl st to the 1st ch of the ch-4, cut yarn leaving a long tail to sew to head.
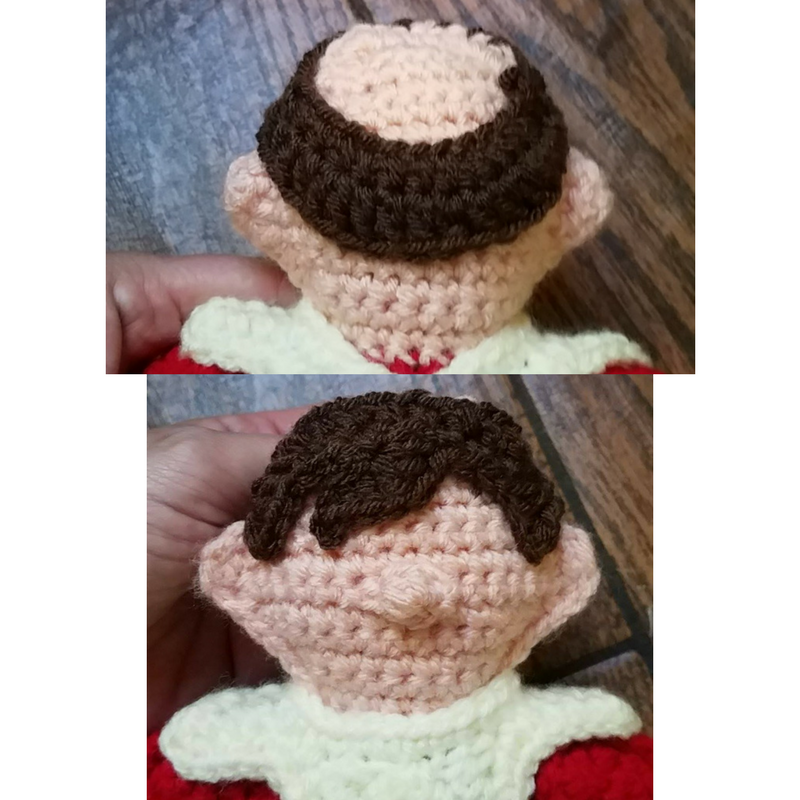
The hair slips over the top of the head in a ring, it does NOT cover the whole head. I didn’t want to create too much bulk and the hat will cover it anyway. Position so the points of round 2 face down and round 1 is nearer the top of the head. Slide it so the bulk sits behind the head so the hair will peek out from the rear of the hat too. The front side meets up with the top of head.
The two side points sit just in front of the ears and the middle point sits just to the left of center of the face. You can use a stitch to enhance the “left swoop” of the center hair point Pin in place if needed, then sew in place.
Hat:
With red, make a magic circle:
Worked in the round. Do not turn or join rounds unless specifically instructed, use a marker to mark rounds so you do not lose count.
The ch-1 at round beginnings does not count as a stitch.
Round 1: Work 4 sc in the ring. (4)
Round 2: sc in each sc around. (4)
Round 3: (sc in nxt sc, 2 sc in nxt sc) twice. (6)
Round 4: (sc in nxt 2 sc, 2 sc in nxt sc) twice. (8)
Round 5: (sc in nxt sc, 2 sc in nxt sc) four times. (12)
Round 6: (sc in nxt 2 sc, 2 sc in nxt sc) four times. (16)
Round 7: sc in each sc around. (16)
Round 8: (sc in nxt 3 sc, 2 sc in nxt sc) four times. (20)
Round 9: (sc in nxt 3 sts, 2 sc in nxt sc) five times. (25)
Round 10: (sc in nxt 4 sts, 2 sc in nxt sc) five times. (30)
Rounds 11-13: sc in each sc around. (30)
Round 14: sc in each sc around, sl st to nxt sc, cut yarn. (30)
Round 15: with the right side facing out, join white with a sl st in the nxt st after the sl st ending.
Round 16: ch 1, hdc in same st and in each rem st around, sl st to 1st hdc made, cut yarn leaving a long tail to sew the hat onto the head. (30)
Using the long end tail, sew the hat to the head, shifting it towards the back as you did with the hair ring. Be sure you do not cover the tips of the hair ring as you attach. It should come down and sit right on top of each ear. Pin in place if needed before sewing. When done, weave the tails within the body and trim. I did NOT stuff the hat at all, but you may if you wish.
Eyes (Make 2):
All eye components are made using the B (2.25mm) crochet hook.
In addition, SPLIT the yarn plies (there are 4 in your worsted strand of yarn) and use ONLY two of them held together for the components. This will allow us to create an eye more scaled for the size of the head.
With black, make a magic circle:
Chain 1 at the beginning of rounds does not count as a st.
Round 1: ch 1, work 4 sc in the ring, sl st to 1st sc made, cut black yarn. (4)
Round 2: join blue in any sc around, ch 1, work 3 sc in the same st, 3 sc in each of the nxt 2 sts, leave the last st unworked, cut blue yarn. (9)
Round 3: join white in the 1st blue sc made, ch 1, hdc in the same st and hdc in the nxt st, sc in the nxt 3 sc, sl st in the nxt st, cut yarn leaving a long tail to sew the eye on later and add sparkle stitch. (5)
Sew on eyes:
FIRST: I threaded all the tails, except for the long white one from the last fasten off, through the needle and wove them inside the head. Then I used the white tail to strategically sew the eye to the face, just at the side of the nose. You can go in and out of the head as needed, but take care to not pucker the head with tight pulls of the threads. When the eye is sewn in place, use that same tail to stitch the “sparkle” in the eye. Twice around the stitch should do it. Repeat for other eye noting that. Take note of the sparkle position in both eyes is in the same place, around the 7-8 o’clock position and on the black.
SECOND: Using 2 plys of black yarn, stitch an outline just on the left side of the eye along the blue and black. Use the same tail to create three small eyelashes in about the 2 o’clock position on each eye. Again, using 2 plys of black yarn, sew on a mouth using the photo as a guide.
FINISHING:
Weave in any remaining ends if there are any. Using your finger or a q-tip gently and LIGHTLY (you can always add more if you decide) tap on a little pink blush for the cheeks.
And you new Elf is complete! Please oh please pop over to one of my social media sites linked below and share and tag me! I would love to see your work!
Much Love & Yarn,
Stephanie
The information and photos in this posting are the sole copyrighted property of Crochetverse©2017. Please do not copy and paste any of the information contained within either electronically, verbally, or written in part or in whole. Instead, please share the DIRECT LINK to this posting only, and if you do, I thank you for sharing. You of course may sell anything you make from this pattern that you have made with your own two hands, no contract labor or mass productions are permitted. If you credit Crochetverse as the designer that is greatly appreciated!
