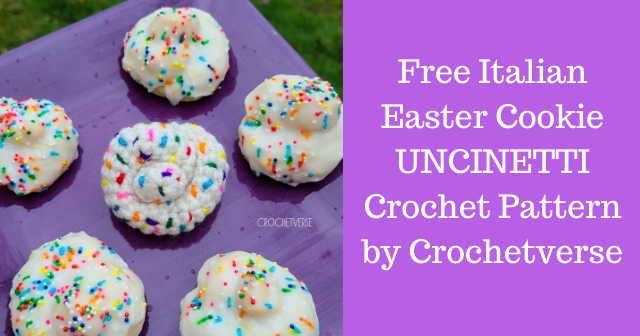
These traditional Itlian Easter cookies are lemony, colorful, and super easy to make! The best part about this cookie after eating them, is that the name TRANSLATES as the word CROCHET! UM HOW COOL IS THAT!? A namesake cookie for our art form!
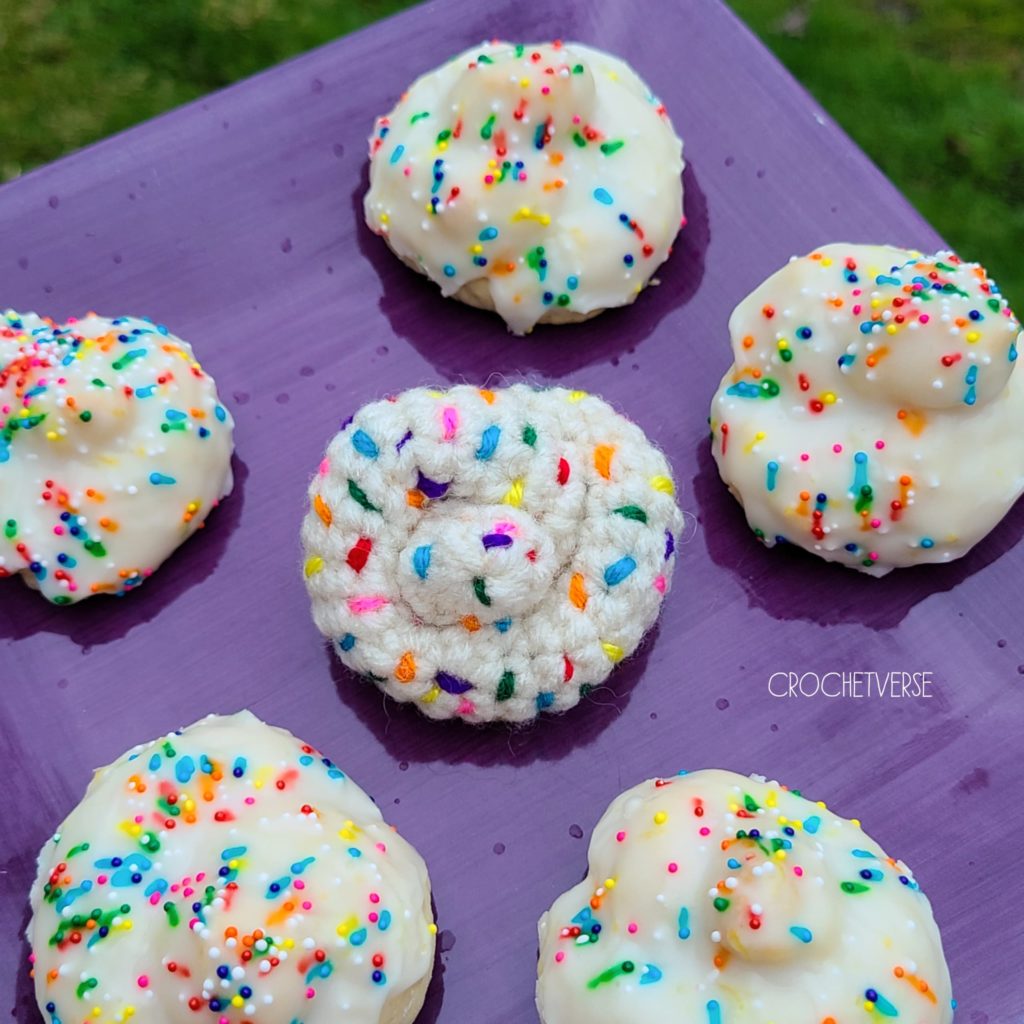
I hope you have the happiest of Easter celebrations this beautiful day. I have for you both a recipe that I have personally made and can vouch for AND A FREE CROCHET PATTERN! So, sit back make the cookies and while they cool, whip up a crochet one too! I’m thinking a Christmas ornament is how I will use mine!
Firstly, here is the recipe I used from “An Italian in My Kitchen” Blog! https://bit.ly/3a1BYfZ
Secondly, I have a FREE SUPER easy crochet pattern to make one!
You’ll need:
- 25 yards off white/cream worsted weight yarn
- 24″ strand of each pink, red, orange, yellow, green, turquoise, and purple
- G(4.25mm) crochet hook
- tapestry needle, scissors, stitch marker
- small amount stuffing
The Instructions: (US Terms)
With the cream yarn, make a magic ring:
Do not join or turn rounds, work in a spiral. Mark rounds if needed to keep track.
Rnd 1: ch 1, make 8 sc in ring. (8)
*Stuff gently as you go with stuffing to gently hold shape. *
Rnds 2-38: sc in each sc around
Rnd 39: (scdecrease over the next 2 sts) 4 times total, sl st to 1st st made and cut yarn leaving a long tail for sewing. (4)
The tube will be a bit over 6″ long. A little difference won’t matter.
Knot it up: (Genuinely, this is just a basic knot.)
- Make a “9” shape with the piece as shown in the photo, short end on top of long end. I have round 39 (4 sts) pointing down on the long end and round 1 (8sts) folded short.
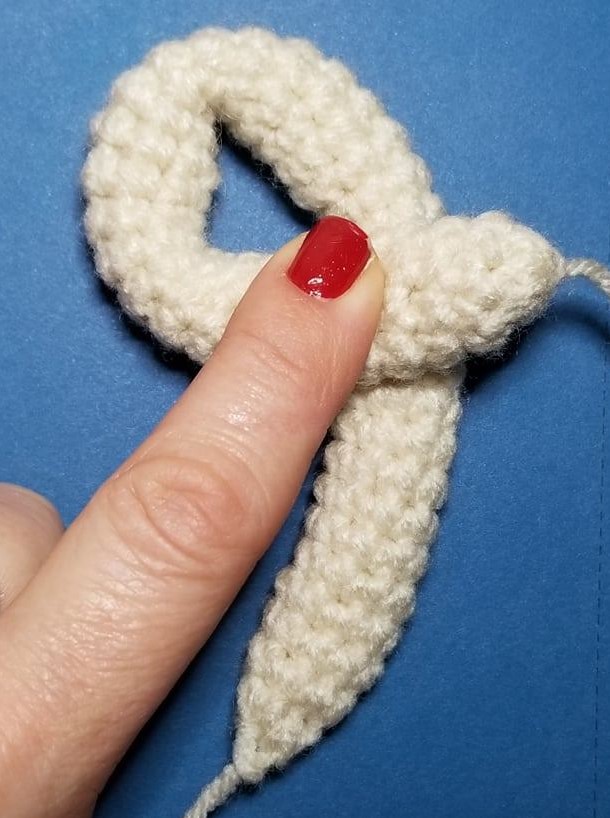
2. Bring the tip of the long end up and dive it through the center hole.
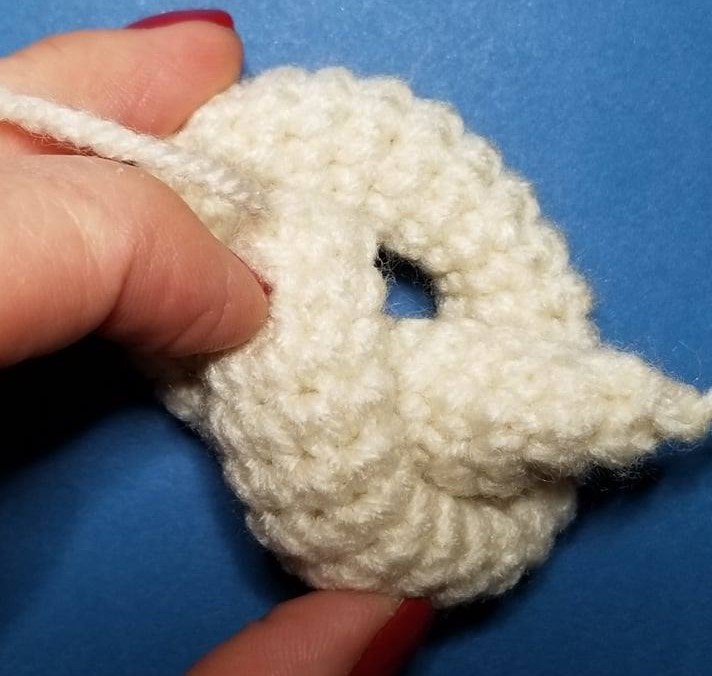
3. Pull that end through the hole to the other side and flip over. Once flipped, this is the right side of the cookie.
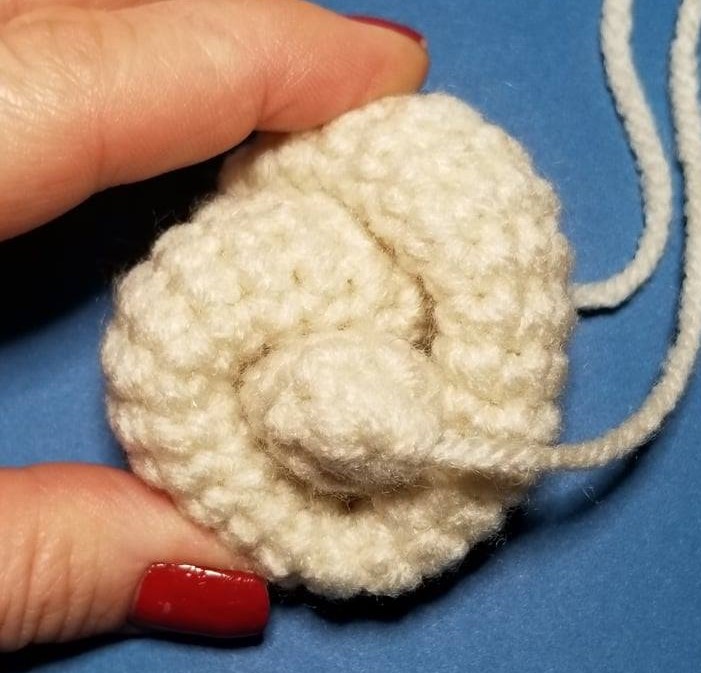
4. Using the long tail end, stitch around/up/down to secure and hold it into this shape permanently. Weave in the ends.
5. Using one of the 24″ strands of color, begin to sew “sprinkles” all over the surface 1 sc in length, moving the yarn by stitching through the tube inside so the outside looks nice and clean on the outside still. Once done with the color, weave the end inside to be hidden and cut the yarn. Repeat for all the sprinkle colors.
THAT’S IT! Many blessings to you and your family! Find me on Facebook and show me a photo, I would love to see! https://www.facebook.com/crochetverse/
Join my Facebook closed group, for some seriously cool projects. Crochetverse Community here: https://www.facebook.com/groups/251695645349035/
Here is my LinkTree which has EVERY link you could hope for and I hope you follow me on Insta, Twitter, and the others too!https://linktr.ee/Crochetverse
This pattern is provided free of charge by me, Stephanie Pokorny, of Crochetverse on this blog only. Copyright 2020. The pattern may not be shared in any manner, in part or in whole anywhere. The pattern may not be altered a little or a lot and claimed as your own for free or paid at any time. Please do not sell using my images. You may sell the items you make from the pattern on a small business basis. Thank you and much love!!


